
Okay, let’s get started with my flooring project.
So, the other day, I decided it was finally time to upgrade the flooring in my little home basketball court. I’d been putting it off, but the old surface was just… sad. Really sad. I wanted something that looked good, felt good underfoot, and could handle some serious dribbling action. After poking around and asking some friends, I landed on the idea of keel basketball soft maple assembling wooden flooring. Sounded fancy, right?
Prepping the Space
First things first, I had to clear out the old flooring. This was a bit of a workout, ripping up the old stuff and hauling it out. Let me tell you, it wasn’t pretty. There were some questionable stains and plenty of dust bunnies. Once everything was cleared, I made sure the subfloor was level. This is super important, or your new floor will be all wonky. I used a level and some self-leveling compound to fill in any dips or low spots. I’m no pro, but it seemed to do the trick.
Getting the Materials
Next up, I got my hands on the materials. The soft maple flooring came in these long planks, and they smelled amazing, like fresh-cut wood. I also picked up the keel system, which is basically the support structure that goes underneath. It looked like a bunch of interlocking pieces – kind of like a giant puzzle.
Laying Down the Keel
I started assembling the keel system. This was actually pretty fun. The pieces clicked together fairly easily, and I just followed the instructions that came with it. It’s important to leave a little gap around the edges of the room for expansion and contraction, so the floor doesn’t buckle when the weather changes. I used some spacers to make sure I got that gap right.
Installing the Flooring
Now for the main event: laying down the maple planks. I started in one corner and worked my way across the room. Each plank had these grooves on the sides that fit together, kind of like tongue-and-groove. I used a rubber mallet to gently tap them into place. You don’t want to slam them too hard, or you could damage the wood.
I continued this process, row by row, making sure everything was nice and snug. I had to cut some of the planks to fit around the edges of the room, which was a little tricky. But, using a circular saw, I made those cuts, no big problem.
The Finishing Touches
Once all the flooring was down, I installed some baseboards around the edges of the room to cover up the expansion gap and give it a finished look. And that was pretty much it!
The Result
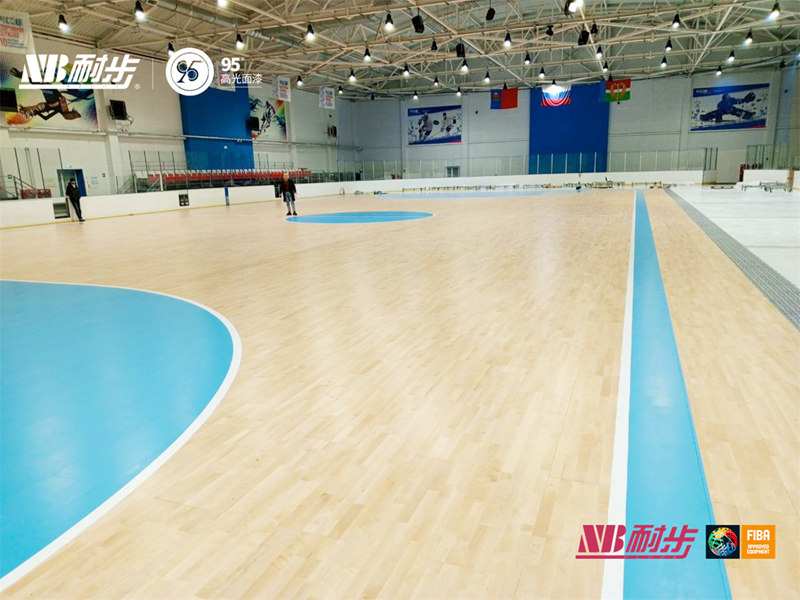
I have to say, I’m pretty stoked with how it turned out. The floor looks amazing, and it feels great to play on. It’s got that nice, solid feel, and the soft maple has a beautiful grain pattern. It’s definitely a huge upgrade from what I had before. I’m ready for some serious basketball games!
- Clear out the old floor!
- Level that subfloor!
- Assemble the keel!
- Install flooring planks!
- Add baseboards!
- Enjoy the game!
It was a bit of work, but totally worth it. If you’re thinking about doing something similar, I’d say go for it! Just take your time, follow the instructions, and don’t be afraid to ask for help if you need it. And most importantly, have fun with it!


