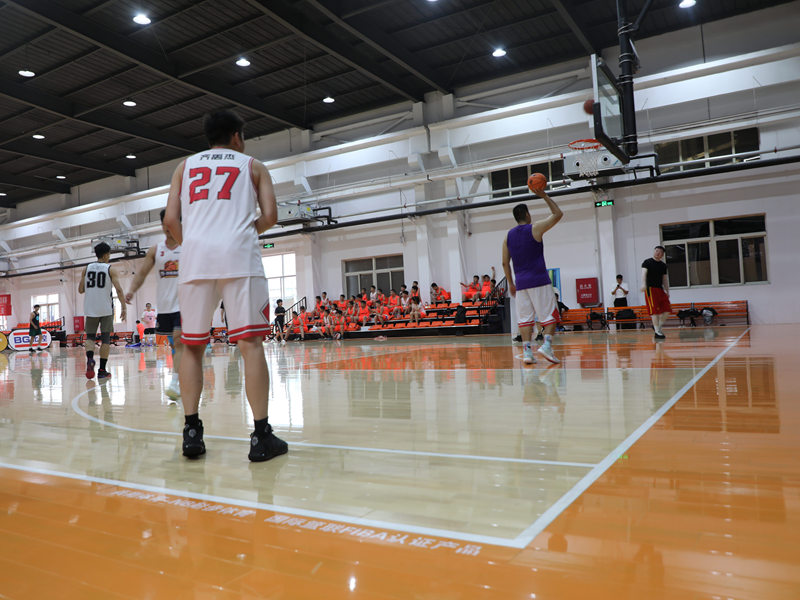
Putting Down Some Beech Flooring for Basketball
Alright, let me tell you about this little project I got myself into recently. Had this space, right? And I thought, wouldn’t it be cool to have a solid spot for bouncing a basketball, something proper, not just plain concrete. So, I decided on putting in some real wooden flooring, the kind they use for sports, specifically beech wood, with that cushion stuff underneath.

First off, getting the materials was step one. Ordered the beech planks and the cushioning rolls. When they arrived, man, that was a load. Beech wood isn’t light, let me tell you. Stacked it all up and let it sit in the space for a bit. Heard you’re supposed to do that, let the wood get used to the room or whatever. Seemed like a good idea.
Prepping the Area
Before anything else, I had to clean the existing floor. Swept it, vacuumed it, made sure it was totally clear of dust and junk. You don’t want lumps under your nice new floor. This part’s boring but super important, trust me. Skipping this just asks for trouble later.
Laying the Cushions
Next up was the cushioning layer. Came in these big rolls. I started at one end and just rolled it out across the floor. Had to cut it to size at the edges. Making sure it laid flat without big wrinkles took some fiddling. Taped the seams together so it wouldn’t shift around when I started putting the wood down. Felt a bit like laying carpet underlay, just thicker, more rubbery I guess.
Getting the Beech Down
This was the main event. Those beech planks looked great. Most had tongue and groove edges, makes them slot together. Started along the longest wall, like they say you should. Put down the first row, using spacers against the wall to leave a little gap for expansion. Getting that first row perfectly straight was a bit finicky, took some adjusting.
- Laying plank by plank.
- Tapping them together gently with a mallet and a tapping block. Didn’t want to damage the edges.
- Making cuts at the end of rows. Measured twice, cut once… mostly. Had a couple of oops moments but nothing major. A chop saw really helped here.
It was slow going at first, finding the rhythm. Click, tap, slide the next one in. Row by row, the floor started to take shape. You really see the progress, which feels good. Some planks needed a bit more persuasion than others to fit snug, but that’s wood for you. Nothing’s ever perfectly uniform.
Finishing Up
Once all the main planks were down, I had to deal with the edges and the last row, which usually needs cutting lengthwise. That required careful measuring. Finally, removed the spacers from around the edges and installed some trim to cover the expansion gap. Makes it look neat and finished.
Stepping back and looking at it, yeah, felt pretty satisfying. Took a basketball and gave it a few bounces. Definitely different from concrete. Has that nice solid sound and a bit of give from the cushions underneath. Exactly what I was going for.
It wasn’t rocket science, just took time and patience. Like most things I end up doing myself, it’s partly about saving money, sure, but mostly it’s about the process. Figuring things out, working with my hands, and ending up with something solid you built yourself. Can’t beat that feeling. Now, just gotta work on my free throws.


