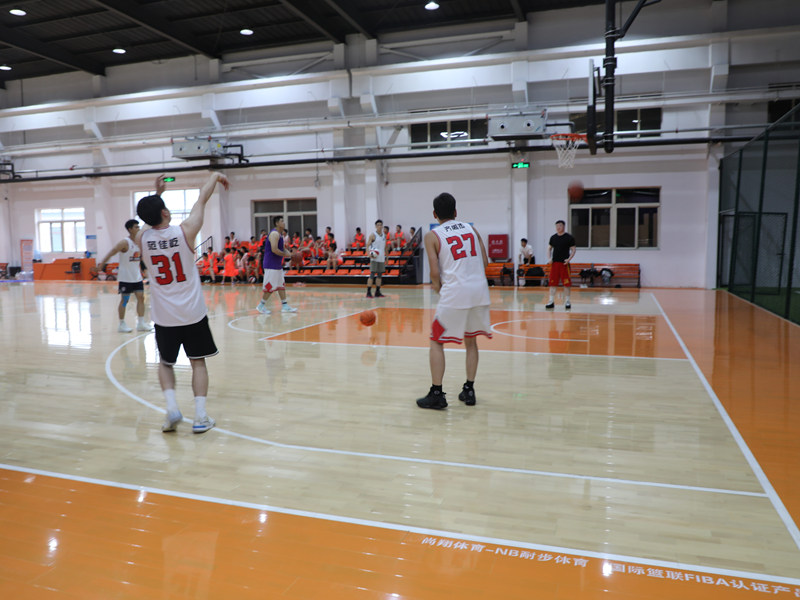
Alright guys, today’s project was a doozy – building this shock absorbing volleyball floor thing. Real birch wood panels, all supposed to snap together. Sounded straightforward enough when I clicked “buy”, right? Ha!

The Unboxing Mess
First off, the delivery guy practically threw the boxes onto my porch. Heavy suckers. Dragged them all inside, sweating buckets already. Opened the first box expecting nice, labeled pieces. Nope. Just a bunch of identical-looking birch panels and a little baggie of weird plastic pegs. Like puzzle pieces with no picture on the box. Great start. Spent forever just sorting them out on the garage floor.
Figuring Out This Puzzle
Tried to lay out the first row. Easy, they said! You just tap them together! Picked up two panels, lined up the tongue-and-groove edge thing, gave it a little tap with the rubber mallet I bought specially. Nothing. Gave it a harder whack. CRACK. Oh, wonderful. Almost split the damn tongue right off. Panicked for a solid five minutes thinking I’d wrecked it before it even began. Turns out, I was trying to go the wrong way. The grooves have these teeny arrows barely visible. Who designs this stuff? Found a magnifying glass. Still had to squint.
The Assembly Shuffle
Okay, arrows pointing the right way. First panel down. Second panel, line up, gently tap the tongue into the groove at an angle. Felt a little click! Victory! Did the same for the next few. Felt like I was getting the hang of it.
Then came joining the next row. This is where it gets weird. You have to slide the new row sideways onto the pegs sticking up from the first row. Sounds simple. Is not simple. Getting that angle just right so the grooves catch? Kept sliding off. My back started yelling at me from all the bending and twisting. Knocked over my coffee. Twice. Wanted to cry a little. Took a break, stared at the instructions (mostly useless pictures), and eventually brute-forced it with patience I didn’t know I had. Got one side locked in. Then the other side popped out. Cue deep sigh.
Shock Absorber Showdown
Almost forgot the whole “shock absorbing” part! That’s where those little plastic pegs come in. Found the pre-drilled holes underneath the panels – easy to miss. Pushed the pegs in firmly with my thumbs. Thumbs were sore afterward, man. Felt like pushing little stubborn pebbles into stone. But got them all seated. Supposed to make the floor bouncy, right?
Finally got the whole area covered. Took way longer than I thought. Sweatier than I care to admit. Mess everywhere. Tools scattered.
The Final Taps and The Test
Last step? Tapping around the edges with the mallet to make sure everything’s really locked down tight. Tap-tap-tap. Felt strangely satisfying after all that wrestle. Then the moment of truth. Dropped my kid’s volleyball onto it. Just… dropped. Listened. Thud. Not loud! Then I jumped. Like, proper jumped. Landed with a quiet whoomp, not a hard SLAM. My knees noticed the difference immediately. It worked!
It looks pretty sharp, the birch is nice. Shock absorbing bit? Yeah, definitely feels softer than slamming onto concrete or even regular wood. Worth the thumb ache and the near-nervous breakdown figuring out that peg system? Ask me again after I’ve recovered. But yeah, I made a floor!


