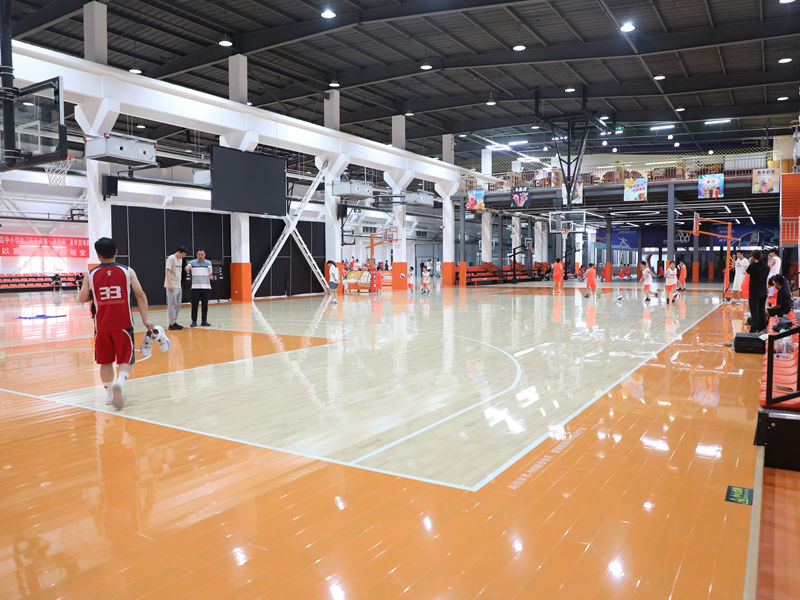
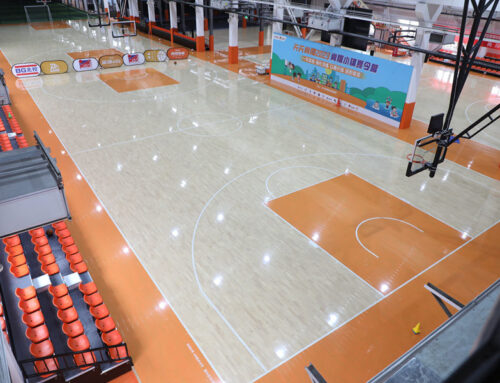
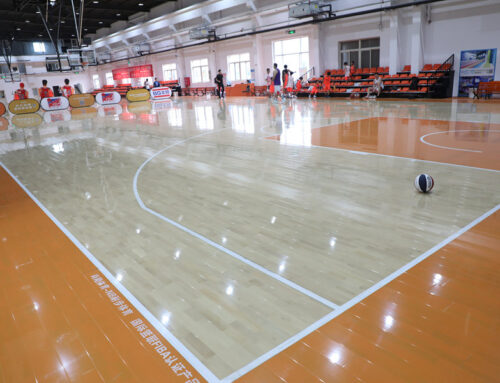
Okay, so today I finally got around to tackling that basketball plywood floor kit. Been sitting in the garage for weeks, looking all intimidating.

First, the Great Unpacking Mess
Dragged all the boxes into my basement space. Ripped them open, and plywood sheets, screws, these weird rubber sticky bits, and tools went flying everywhere. Classic me. Had to spend ten minutes just finding all the parts and checking the crumpled instruction sheet against the box contents. Lucky for me, everything seemed to be there. For once.
Figuring Out That Rubber Stuff
The plywood sheets themselves looked fine, thick and sturdy. But the star players were these thick, grid-like rubber pads – the “shock absorbing” magic. Instructions kept calling them the “underlayment system.” Fancy. My job? Stick them on the bottom of the plywood. Seemed straightforward enough. Measured roughly, peeled off the backing paper – which felt like wrestling with super sticky tape – and slapped them down. Had to eyeball the placement for the beams underneath. Made sure the rubber was spaced right so the plywood panels wouldn’t sag later. Pressed down hard, walked all over each sheet. Felt kind of ridiculous, stomping around.
Connecting the Big Puzzle Pieces
Now for the fun part – actually putting the floor together. Carried the first plywood sheet with the rubber side down to its spot. Huffed and puffed a bit; those things aren’t light. Lined up the edge nice and tight against the wall I was starting from. The panels have these tongue-and-groove edges – like a giant wood puzzle. Slid the tongue of the next panel into the groove of the first one. Had to bang it in with my rubber mallet – carefully! Didn’t want to split the wood. Repeated this over and over. Tap-tap-tap across the joint, then slide the next one in. It actually started to look like a floor!
Locking it Down (The Scary Bit)
The kit came with special screws. Shorter ones for anchoring into the floor beams through the plywood, and longer ones to join the plywood panels together at the seams. This bit made me nervous. Screwing up meant visible damage. Drilled pilot holes first; didn’t want the wood splitting. Then, countersunk the screw heads so they were nice and flush, sinking below the surface. Used my impact driver carefully. For the seams, I drilled at a slight angle down through the tongue of one panel into the groove of the next one. That really locks them tight together. Worked my way across the whole floor. My arms were getting tired.
The Sore Thumb Finale
Got to the very last panel. Of course, it needed trimming to fit. Measured the gap carefully – twice. Marked the plywood, then grabbed my trusty circular saw. Took a deep breath and sliced off the excess. Fit like a glove! Secured it the same way. Did a final walk-around, checking every screw was sunk properly and no panels were rocking. Gave it a little jump test. Solid! The rubber pads underneath must be doing their thing, because it felt way less “dead” than walking on plain plywood.
End Result? One slightly messy (but hopefully functional) shock-absorbing basketball plywood subfloor. Ready for the actual court surface to go on top. Definitely a workout for the shoulders and patience, but seeing it all come together piece by piece? That was pretty satisfying. Labeled it as “Good enough for my drunk uncles to dunk on.”


