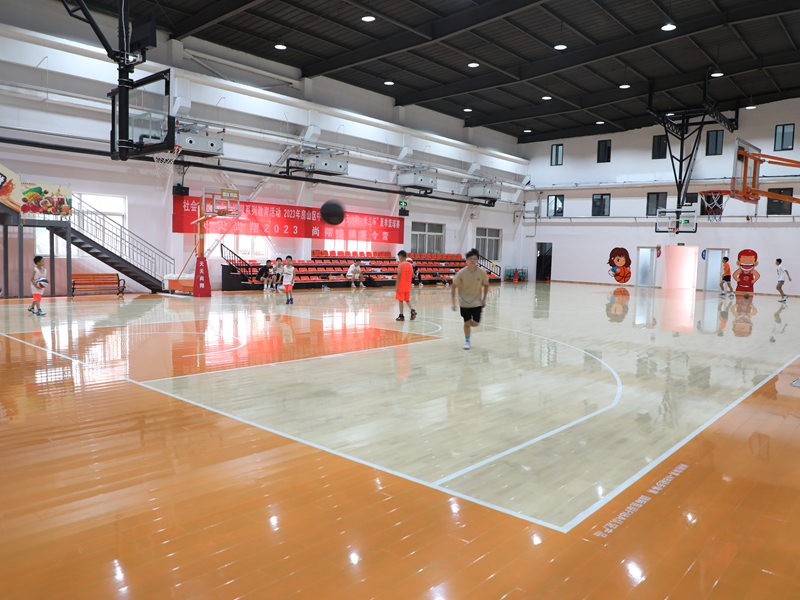
Alright folks, so I finally tackled that portable basketball floor project I’d been eyeing forever. Always wanted a decent spot for shooting hoops without wrecking my knees or the driveway concrete. Saw these shock absorbing wood panels online and figured, hey, why not give it a shot?

The Hunt and Delivery
First thing was finding the stuff. Spent ages scrolling through different sellers. Wanted something sturdy but not crazy heavy, supposed to be good for shocks, and obviously portable – that was the whole point. Finally clicked “buy” on a set of those interlocking wood floor tiles, specifically billed for basketball. Felt good hitting that order button. Then I waited. And waited. Boxes showed up eventually, looked a bit roughed up from the trip, but hey, what do you expect?
Dragged the boxes out to my backyard spot. Man, those suckers were heavier than I thought! Each box was a real workout. Unpacked them all, checking for any cracks or broken bits. Luckily, everything looked okay. Just a ton of individual wood panels staring back at me.
Prepping the Pit
Alright, time to actually build this thing. The spot I picked? Needed work. It wasn’t exactly a putting green. Gravel, bumps, some stupid rocks, the usual backyard nonsense. Grabbed my shovel and rake – started scraping and digging to level things out. Sweating like crazy already, just trying to get a somewhat flat base. Dumped a load of sand into the pit I’d dug, spread it out with the back of a rake. Needed it smooth, needed it packed down tight. Spent forever stomping on that sand, jumping up and down, trying to compact it as much as possible. Wanted no lumps poking through later.
Putting the Puzzle Together
Now came the fun part – laying the tiles. Started at one corner, plopping the first panel down. Then snapped the next one right into its groove. Click. That satisfying sound! Kept going, row by row, crawling around on my knees. Had to whack a few stubborn pieces with my rubber hammer – they weren’t clicking into place as easy as the instructions showed. Some needed a good old-fashioned shove. Had to stop and pull panels apart a couple times where the base sand wasn’t quite level enough underneath, making the panel wobble. Back to stomping sand, then back to snapping panels.
Here are the main things I definitely needed:
- A real damn heavy shovel
- Rake (the sturdier, the better)
- Lots of sand (way more than you think)
- Rubber Mallet (for those uncooperative panels)
- Level (even if it’s just a small one, helps spot bumps)
- Knee pads (trust me, after an hour crawling, you’ll thank me)
- Water (just to keep yourself going!)
The Big Test
Finally, the last panel clicked in. Stood back and looked at my new little basketball court. Looked pretty darn good! But the real test? The bounce. Grabbed the ball, gave it a solid thump right in the center of the floor. Felt… good. Different from concrete for sure. Definitely softer, springier. You could feel the panels giving just a little under the ball, taking some of that harsh smack out of it. Jumped up and down myself a few times – yeah, knees appreciated that cushion way more than straight pavement. Dribbled around, took some shots. The ball didn’t bounce like a trampoline, but it bounced softer, quieter, nicer on the legs. Mission accomplished!
Was it a perfect install? Nah. Got some slightly uneven spots where my sand level wasn’t impeccable. But overall? Totally works. Can pick this whole thing up and move it if I ever need to. Beats the concrete by a mile. Worth the sweat!


