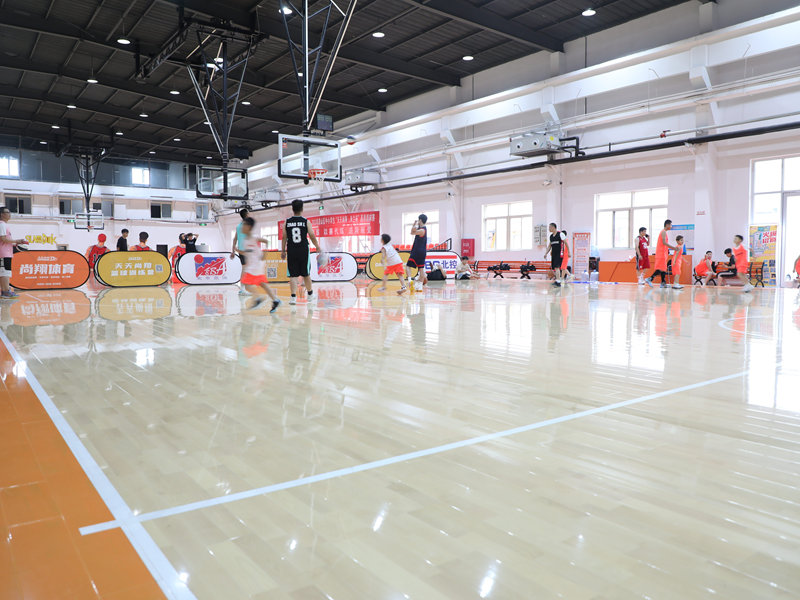
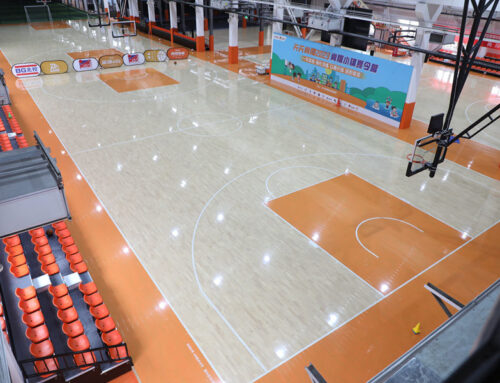
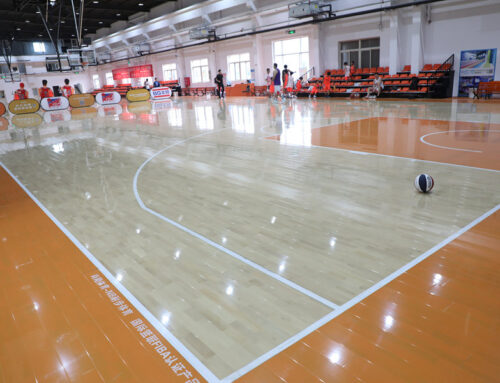
Okay so last week, I finally tackled that awful echo in my garage-turned-half-court. Been bugging me for ages, especially the jarring thud every time someone landed wrong. Decided it was time for some proper shock absorbing basketball flooring using that Hevea wood stuff everyone’s talking about. Here’s how the whole assembly went down.

The Starting Point: Concrete Blues
Look, my setup wasn’t terrible – decent hoop, good lighting. But man, that bare concrete floor? Brutal. Knees and ankles were complaining after every pickup game. Found out about these assembled wooden panels with built-in rubber cushions – supposedly absorbs impact like a dream. Called it ‘Hevea Assembled Wooden Flooring’. Sounded fancy, figured it was worth a shot.
Phase One: Prep Work Slog
First things first: gotta clean that concrete floor properly. Sweeping wasn’t enough. Got down on hands and knees, scrubbed like crazy to get rid of every speck of dust, oil stain, anything that might mess with the glue later. Dried it completely – used a fan for hours ’cause moisture under there is a nightmare waiting to happen. Measured the space like five times – my math isn’t great, didn’t wanna end up short on planks. Level-checked the floor too; thankfully, it was decently flat.
The Actual Assembly: Puzzles and Rubber
Took delivery – bunch of wooden planks with dovetail edges and these rubbery shock pads stuck underneath each one. Felt pretty sturdy. Started laying them out dry, without glue, playing a giant, heavy floor puzzle. The tongues slid into the grooves, click-clack, felt kinda satisfying.
- Direction Matters: Figured to lay them parallel to the long side of the court. Looked right.
- Staggering is Key: Made sure the end joints never lined up row to row. Like brickwork. Ended up cutting a plank in half to start the next row – felt wasteful, but that’s how it goes.
- Battle with the Rubber: This part was fiddly. Those rubber pads underneath have channels, right? Gotta make sure the edge strips connect those channels together. If they don’t lock tight, the whole shock absorbing deal breaks down. Pushed and pulled, tapped them with a rubber mallet like crazy.
Kept crawling around checking alignment. Gaps are bad news. Used big floor clamps along the edges to keep things snug while I worked my way across the room. Sweat pouring, back aching – typical DIY vibes.
The Glue Gauntlet
Okay, here’s where I got nervous. Applied that adhesive like they said – trowel with the right notch size. Went section by section, spreading it nice and even. Working quick ’cause this stuff skins over fast. Dropped the glued sections into place, hard. Slammed my weight down, used the mallet over every inch. Absolute mission to get air bubbles out and ensure full contact. Got adhesive everywhere – gloves saved me, barely.
Finishing Up & The Big Test
Let it cure for way longer than the minimum time. Patience isn’t my strong suit, but you mess this up, you wreck the whole floor. Finally, carefully pulled the spacers out from around the edges. Installed the skirting boards – painted mine white beforehand.
The Moment of Truth
Grabbed a ball. Dropped it. Thump. Okay, sounded… woodier, obviously. But the vibration? Different. Then I jumped, hard, landing flat-footed. Normally, that sends a jolt right up your spine. This time? Just a solid, dampened boom. Felt… cushioned. Played some 1-on-1 later. The difference for footwork and landings was immediately noticeable. Less fatigue, no nasty jarring.
Yeah, assembling that Hevea flooring was a solid weekend project – messy, kinda stressful, physically demanding. But watching that ball bounce true and feeling the impact just… soak away instead of rattling your bones? Totally worth the effort and the sore muscles. Garage court just leveled up.


