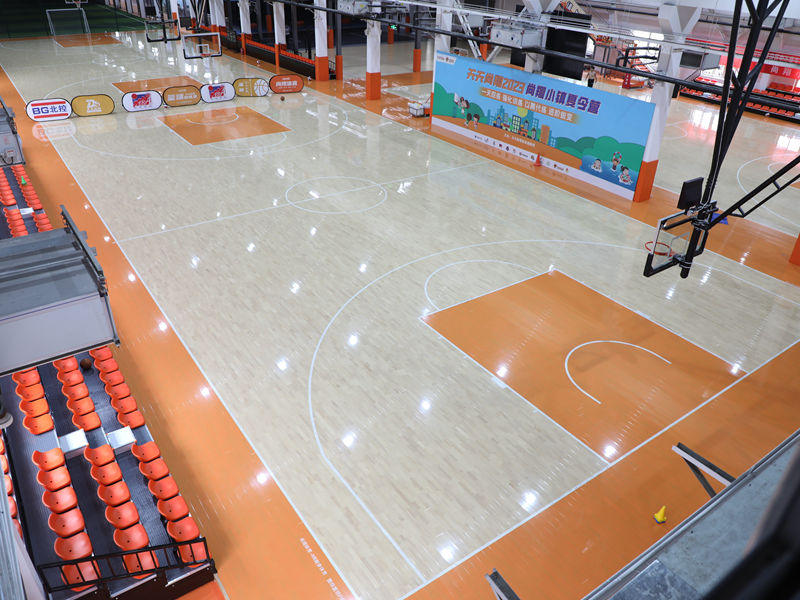
Okay, so picture this: my garage basketball court. Been rockin’ the classic hard maple, real tough stuff. But man, jumping and landing? Started feeling like concrete after a while, knees were not happy campers. Needed something softer, something that gives a little.

What Was Bothering Me
First off, I realized the maple planks themselves? Solid as a rock. No problem there. It was the connection between them and what they sat on. The base underneath, that whole assembly thing? Seemed too rigid. Needed to break up that shock wave before it hit my legs.
The Brainstorm Phase (Okay, Mostly Googling Late)
Started digging. Everyone talks about rubber pads under the whole floor, right? Expensive, thick, a pain to install over existing stuff. Not what I wanted. Then I stumbled on people talking about where the planks join together, how they join to the battens underneath. That was the “aha!” moment. Maybe I could add something soft right there, at those stress points?
Thought about materials:
- Rubber strips? Too thick maybe? Might mess with how tight the planks fit.
- Foam tape? Worried it’d squish flat and disappear after a month of ball.
- Special silicone stuff? Kept popping up. Flexible, durable, kinda like a mini shock absorber inside the joint itself. That sounded promising.
Taking the Plunge
Alright, time for action. Couldn’t mess with the whole floor at once. Picked my test zone – the free throw line area, gets good pounding.
- Opened it up. Carefully pried up a few maple planks. My poor fingers… splinters ahoy!
- Check-up. Underneath, the tongue-and-groove edges looked fine. The battens holding everything? Fine too. Just that stiff wood-on-wood connection.
- Prep work. Cleaned those edges obsessively. Every speck of old dust or glue? Gone. Used alcohol wipes – thorough is key!
- Silicone time. Grabbed this flexible construction-grade silicone adhesive/sealant. Applied a thin, even line along the top edge of the batten where the plank groove would sit, and also a tiny bead along the bottom edge of the tongue. Seriously, less is more here. Don’t want it oozing everywhere.
- Reassembly. Carefully placed the plank back down onto the batten. Didn’t slam it! Used clamps and some weights to press it gently but firmly into place while the silicone cured overnight. Did this for maybe 6 planks side-by-side.
The Nervous Wait & First Test
Let it sit for a full day. Was pacing around it like an expectant father. Finally, time to stomp.
- Stepped hard where I had the silicone? Felt… different. Noticeably softer than the untouched wood right next to it.
- Dropped a basketball from head height? The bounce sounded slightly deeper, less harsh.
- Then the real test: jumped and landed hard. Holy smokes! Where the silicone was? My knee thanked me. Still solid underfoot, no weird wobble, just way less jarring impact.
Sealing the Deal
Worked! Over the next couple of weekends, went nuts. Opened up sections bit by bit:
- Prepped each joint meticulously (cleaning is non-negotiable!).
- Applied that silicone like I was painting the Mona Lisa – thin, perfect lines.
- Pressed down, clamped, and waited patiently.
The whole project took ages because I was so careful and let every section cure properly. Was it messy? Yeah. Silicone gets everywhere. Was it tedious? Absolutely. But man, playing on it now? Total game-changer. Landing from a rebound isn’t a mini earthquake anymore. The wood still looks amazing, plays firm and fast, but now it also takes care of my poor old joints. Best garage DIY upgrade by a mile. Worth every splinter.


