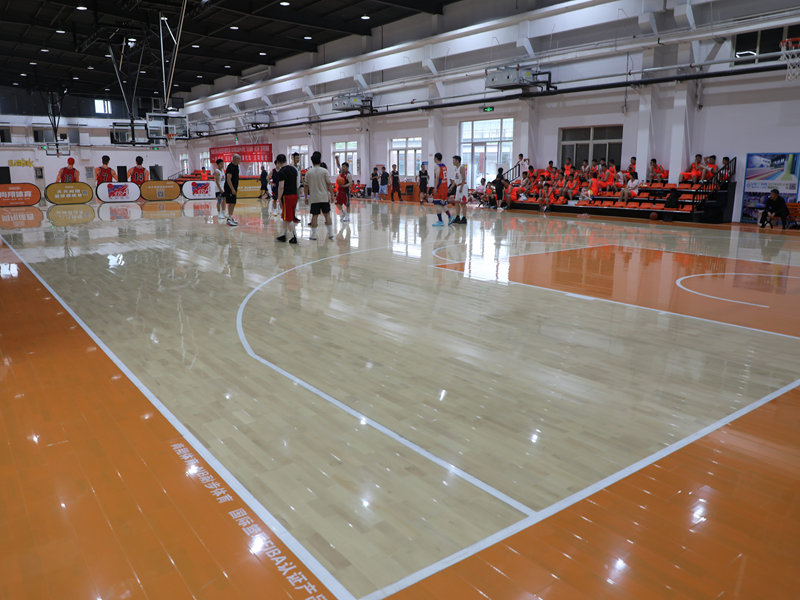
Alright, here’s how I put together that shock-absorbing basketball hardwood floor in my garage last week. Woke up Saturday morning sick of playing on concrete – my knees were killing me after every game. Figured it was time for a proper setup.

The Gear Hunting
First hit the hardware store for shock pads. Grabbed these thick rubber squares – felt like wrestling with mattress toppers when I loaded them in the truck. Then snagged tongue-and-groove maple planks. Manager kept pushing fancy finishes but nah, raw wood does fine. Almost forgot the glue till I was unloading.
Ground Zero Prep
Cleared out all the garage junk – bikes, old paint cans, that broken freezer. Swept until no more dust bunnies. Laid a plastic vapor barrier first cause moisture kills wood. Unrolled it like cheap wallpaper, fighting wrinkles for twenty minutes.
Key steps getting the base down:
- Started at one wall laying rubber pads like giant puzzle pieces
- Cut gaps around pipes with a steak knife – legit kitchen knife
- Got on hands and knees sealing edges with duct tape
The Wood Wrestling
First row took an hour. Had to:
- Spread glue like peanut butter with a notched trowel
- Tap planks together with a dead-blow hammer
- Stack weight plates on seams while glue dried
Hit trouble when planks stopped aligning. Realized my concrete floor wasn’t flat – dipped near the door. Solution? Shoved playing cards under low spots like a poker cheat. Two decks of Bicycle cards sacrificed for the cause.
Finishing Touches Got Real
Wanted clean edges so I:
- Taped off walls with blue painter’s tape
- Poured polyurethane like pancake batter
- Spilled half on my work boots – still sticky
- Stayed up till 2am watching dry
Tested it Sunday morning. Jumped hard – knees felt springy! Dribbled – ball bounced true. Still got gaps by the water heater but hey, ball doesn’t care. Worth every splinter and glue stain. Wife still mad about the garage though.


