Last Saturday morning, I finally tackled that worn-out section of my garage floor where my kids play basketball. Concrete’s just too hard on their knees, y’know? So I decided to put together that shock-absorbing basketball beech wood flooring kit I’d been eyeing.

Opening the Box & First Impressions
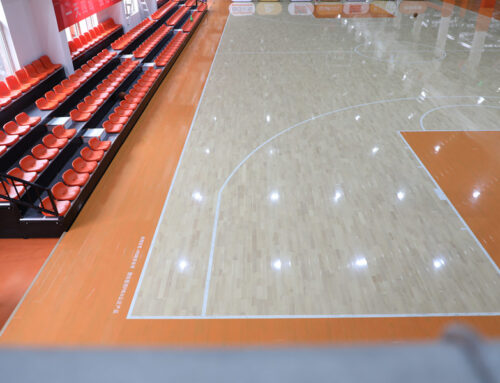
Ripped open the heavy boxes – wow, that fresh wood smell hit me immediately! Stacked up all those pale, honey-colored beech planks in a corner. Felt smooth but super dense. Dug through the packing peanuts and found the shock pads, screws, connectors, and this little rubber mallet thing. Directions? Just one crumpled sheet with blurry diagrams. Classic.
Prepping the Space
Hauled everything out of half the garage – bikes, toolboxes, that dusty treadmill. Swept like crazy, then got down on my knees checking the concrete slab for bumps or cracks. Found a few rough spots near the wall. Grabbed my concrete grinder (that dusty beast from the back shelf) and smoothed ’em out. Took forever! Threw down a moisture barrier plastic sheet just in case. Better safe than sorry.
Laying the Foundation & Shock Pads
Started in one corner. Peeled the sticky backing off those black rubber shock pads – they smelled like new tires. Pressed ’em onto the concrete in a neat grid pattern, about a foot apart. Pro tip: Press HARD. First couple popped loose later. Lesson learned. Walked over the whole grid afterward; felt weirdly springy, like a stiff trampoline.
Putting the Puzzle Together
Time for the wood! Lifted the first beech plank – dang, heavy! – and lined up its grooved edge against the wall. Lowered it gently onto the shock pads. Tried clicking plank number two into its side… nope. Misaligned. Scraped the tongues and grooves with a utility knife to shave off some rough spots. Still fussy! Finally, smacked the plank’s edge sideways with that rubber mallet from the kit. WHACK! Heard this satisfying click. Yes! Repeated the whack-and-click routine down the row. Sweating bullets by plank five.
Dealing With the Last Row & Finishing
Reached the far wall and hit the snag I knew was coming. Last row needed trimming. Measured the gap – about two and a half inches. Marked the planks with a fat carpenter’s pencil. My jigsaw blade? Yup, blunt as butter. Swore loudly, hunted for a new blade, finally cut ’em to size. Sanded the rough cut edges with sandpaper till they felt smooth. Crowbarred those final pieces into place – took some real muscle. Tossed the heavy, U-shaped connector brackets over the seams every few feet and screwed ’em down tight. Felt solid!
The Final Test Drive
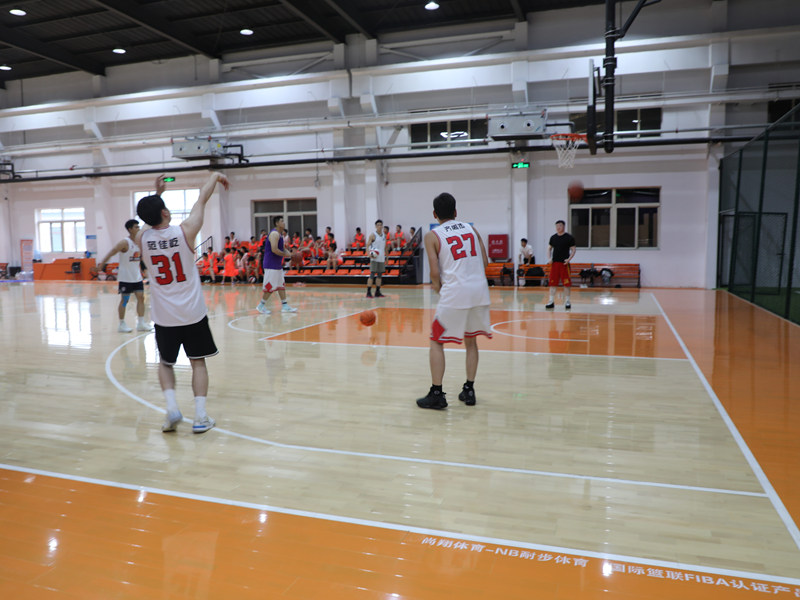
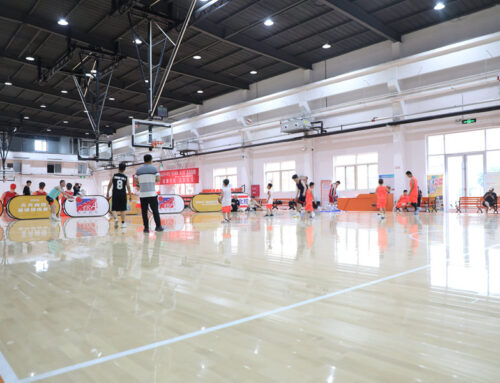
Stepped back, wiped my brow. Looked like a proper court! Couldn’t resist – grabbed the ball. Dribbled hard right in the center. Felt incredible! That stiff thud I hated on concrete? Gone. Just a deep, muffled bounceback. Tried jumping straight up and landing. Big difference – knees felt way less jarred. Called the kids down. Their eyes lit up. Half an hour later, they were sweat-drenched, laughing, and my new floor hadn’t creaked once. That springy give in the wood? Absolutely worth the bruised thumbs and blunt blades. Works exactly like they promised.


