
Alright, let me tell you about my latest weekend project – putting together a basketball floor. Yeah, a whole court right in my own garage! It wasn’t easy, and I messed up more than a few times, but man, finally got it done. Here’s how it went down.
Seeing the Mess and Getting an Idea
My garage looked awful. Just this old, cracked concrete floor. Every time my kids tried to dribble out there, it felt like playing on rocks. Plus, the ball wouldn’t bounce right half the time. Saw pictures online of these nice maple courts and thought, “Why not?”. Gave me that itch to try.
Going Shopping Like a Crazy Person
Headed straight to the big lumber store. Knew I wanted those hard maple planks everyone talks about for basketball floors – tough stuff. Wandered those aisles forever, got lost for maybe an hour. Found the maple section finally. Got myself some standard strips, like 2-3 inches wide maybe. Also grabbed a big roll of that shock-absorbing rubber stuff that goes underneath – gotta save the knees, right? Threw in nails, glue – all the basics. Almost forgot a bunch of the supplies at first, had to go back twice.
Prepping the Garage Floor
First job: cleaning that nasty garage floor. Swept like crazy, got every bit of dirt and grease up. Then it had to be smooth. Used a long level to check everywhere. Found some big dips – poured in that self-leveling goop. Looked messy and felt kinda dumb doing it, but it worked. Gave it way longer to dry than the bag said, wasn’t taking chances this time.
Laying Down the Rubber Layer
Unrolled that big rubber sheet next day. It felt thick and tough. Measured the garage roughly with the tape, started cutting it with heavy-duty scissors. Took forever! Fit it down nice and tight, pushed out any air bubbles under it. Taped all the seams real good so it wouldn’t move around.
The Wood Part: Slow and Painful
Okay, the hard part. Laid out the first row of maple planks tight against the wall. Used these spacers I bought to leave a little room at the edges – wood swells, apparently. Started nailing them down. My arm got tired fast! Had a little air nailer, but it kept jamming or wouldn’t sink the nail deep enough. Got so frustrated. Ended up using this special glue too under the tongue-and-groove parts. Made it stronger. Row by row… felt slower than watching paint dry. Had to cut the last plank in each row to fit – my saw skills are terrible.
Things got messy. Planks weren’t always straight; some had warped spots. Had to shove boards together with clamps and banging on them with a hammer and block. Broke a couple tongues accidentally. Almost gave up right then. Kept thinking, “Why didn’t I hire someone?”. Smashed my thumb hammering one piece in – still sore now.
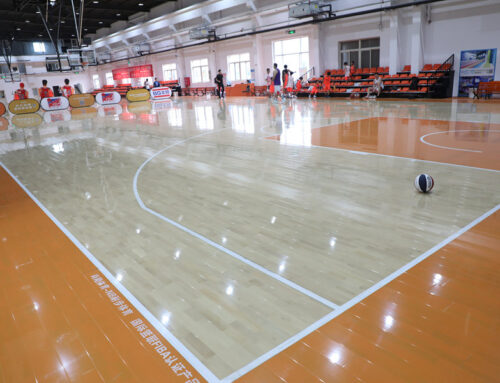
Finishing Touches (Finally!)
Got to the last row, squeezed it in tight. Pulled out all those spacer things. Swept off the whole floor to get all the sawdust. Then put down this cheap polyurethane finish stuff. Put on three thin coats. Waited ages for each one to dry properly. It smells awful even now.
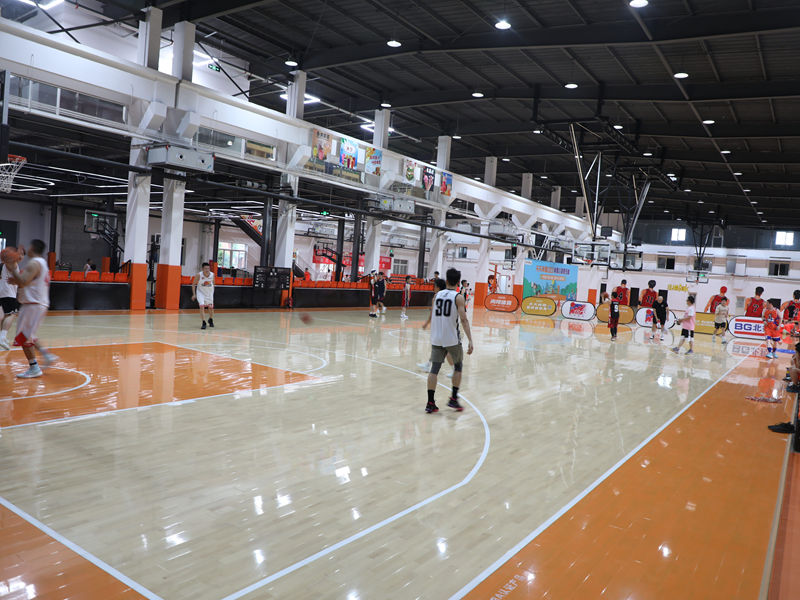
Hitting the Court
The kids couldn’t wait. Took an old basketball – didn’t wanna risk messing up the finish right away. Dribbled around. That bounce? Perfect. Solid. Took a shot – my feet felt so good landing. It had that satisfying sound, the classic squeak everyone knows.
Not perfect? Sure. Some gaps between planks. Cut my hand grabbing the nailer again. Totally worn out. But standing there dribbling? Felt amazing.


