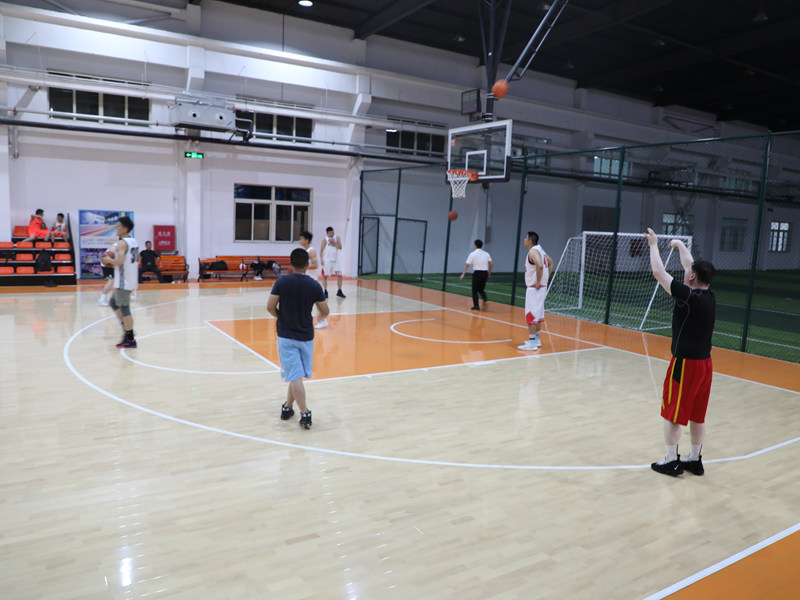
Alright folks, grab a coffee, ’cause I finally wrestled that rubber basketball court project to the ground. Learned a ton the hard way, like usual. Here’s the down-and-dirty of slapping together that wooden floor court kit.

Stage 1: The Big Box Blues
First off, gotta haul the giant boxes outta the truck. Seriously heavy stuff. Dragged ’em right into the backyard space I cleared earlier. Grabbed my trusty utility knife and went to town on the packaging tape. Plastic wrap, cardboard, polystyrene peanuts exploding everywhere – total chaos. Dug out the instruction manual first thing, even though experience tells me it might be useless later.
The Parts Parade:
- Heaps of wood planks, all sealed up nice.
- Big rolls of black rubber stuff, felt kinda like a thick yoga mat.
- A whole pile of weird connectors, plastic feet thingies, and tools that looked… interesting.
- And of course, a bag of stupid tiny hex keys.
Spent like an hour just poking at everything, trying to match pieces to the vague diagrams in the manual. Definitely got on my knees and sorted the planks by size. Measured the base area twice – learned that lesson ages ago.
Stage 2: Building the Bones
Right, so the base is this interlocking plastic grid thing they call a ‘sub-floor’. Laid it out flat where the court would sit. Took some effort clicking those big square panels together – had to whack a few with a rubber mallet when they got stubborn. Felt a bit flimsy at first, like walking on empty soda cans, but once the whole grid was down and locked? Solid as a rock. Kinda satisfying, actually.
Stage 3: Rubber Meets The Road (Well, Grid)
Unrolled those big black rubber sheets onto the plastic grid. Man, that stuff is stiff outta the box! Had to wrestle it flat, get the wrinkles out. Used the big roll of double-sided tape that came with it – the industrial kind that sticks like glue. Peeled off the backing paper, smoothed the rubber down hard. Sweating buckets already. Repeated this with the other sheets, buttin’ ’em up tight against each other. No gaps allowed, or the wood would feel wobbly later.
Stage 4: Wood Plank Puzzle Time
Here’s where it got tricky, or so I thought. Started laying the wood planks on top of the rubber. They click together on the sides – tongue and groove style. First few rows went in okay, tapping ’em gently with the mallet and a scrap wood block. Had to be careful not to smash the edges. But halfway across? Bam! Whacked the edge of a plank wrong, took a little chip out. Grrr. Lesson: Patience is cheaper than replacement planks.
Kept going, row after row. Had to crawl around on the floor like a crab. My knees were begging for mercy. Saw this clever groove system on the ends too. Used these little metal connector plates they provided. Slot them into the groove on one plank, slide the next plank’s groove right onto it. Super easy. Felt smart after figuring that part out quickly. Soon enough, had a giant honey-colored rectangle staring back at me.
Stage 5: Border Patrol
Now for the borders. These were chunkier pieces, gotta frame the court nice. Fitted ’em around the edge. Needed to drill pilot holes (remembered the manual that time) before screwing ’em into the side of the perimeter wood planks. Used those weird screwdriver bits from the kit – they were perfect. Gave everything a clean, finished look. Suddenly looked like a real basketball court!
Stage 6: Feet & Finishing Touches
Final hurdle: The adjustable plastic feet. Little things you screw into the bottom of the frame at the corners and midway points. Turn ’em to adjust the height, level everything out. Used a long level – super crucial. Found a few slight dips. Just tweaked the feet underneath until my level was happy. Perfection! Brushed off any sawdust, gave it a quick mop down. Boom.
Honestly? Once you get past the box explosion and the knee-killing plank crawl, it went together way smoother than that complicated furniture IKEA sells. The key is prepping the base right and taking your time clicking the wood planks together. Now, who wants to come shoot some hoops?


