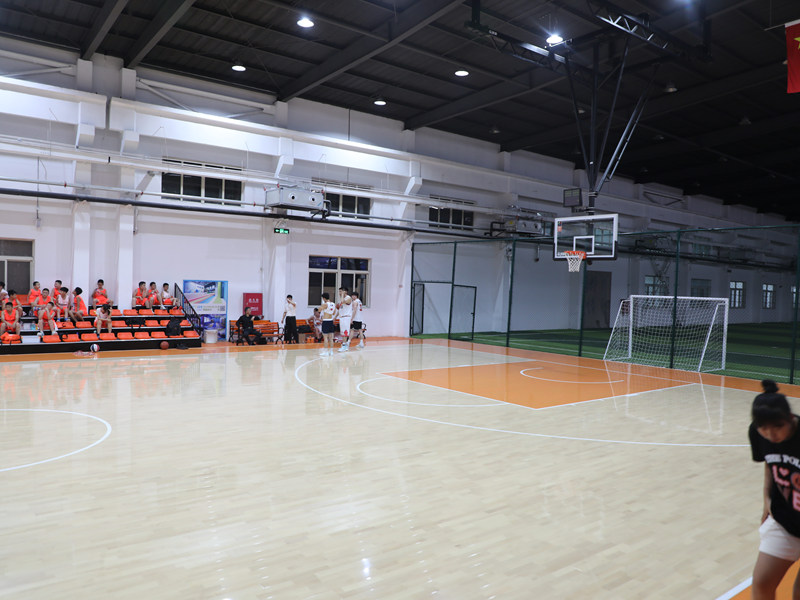
Starting the Assembly Journey
Alright, so I finally got my hands on those removable wooden flooring planks meant for a volleyball court. Super excited and also kinda nervous, because let’s be honest, I’m not exactly a professional carpenter. The boxes arrived, man were they heavy! Lugged them all into the garage – that was a workout in itself.

Unboxing and Getting My Bearings
First thing first, ripped open the boxes. Everything looked pretty decent, lots of wood boards, a bunch of connectors, screws, and instructions. I gotta admit, those instructions felt like they were written in some secret code at first glance. Had to lay everything out on the floor just to see what bits went where.
- Unpacked: Spread all the planks out, grouped by size (mostly long planks and some shorter end pieces).
- Sorted Hardware: Separated all the little metal connectors, different screw types, and rubber bumpers. Didn’t want to mix those up later!
- Checked Tools: Dug out my rubber mallet, electric screwdriver (bless this thing!), a level, and my trusty measuring tape. Thought I was ready to roll.
The Struggle Was Real (At First)
Dove in by trying to connect two long planks. The connectors fit into grooves underneath. Sounded simple? Nope. Getting them perfectly lined up so they’d slide together smoothly was tricky. Had to fiddle with them, knocking gently with the mallet, lifting, adjusting. One plank was slightly warped – that didn’t help. Took way longer than expected just for the first two!
Then came attaching the end pieces. Different connectors, more fiddling. And measuring? Holy smokes, constant measuring! Had to make sure things were square and straight, otherwise the whole floor would be a wobbly mess later. Found out pretty quick my floor wasn’t perfectly level either. Needed little shims under some connectors. It was slow going, pretty frustrating sometimes. Got a splinter too, because of course I did.
Finding the Groove
After assembling the first proper big section (like a 2×3 block of planks), things started making more sense. It clicked how the connectors worked. Found a rhythm: lay out the planks, lock in the lengthwise connectors with the mallet, line up the ends, bang in those connectors, check level, add shims if needed. Then screw down through the top where marked – the electric screwdriver became my best friend.
The locking system underneath is pretty clever. Once a plank is connected on all sides, it feels solid, but you can still unlock it if you whack it hard enough upwards from underneath. That’s the “removable” part. Still took muscle to actually separate them when testing, but knowing I could disassemble it later felt good.
The Sweet Moment of Completion
Piece by piece, section by section, the court started covering the floor. Seeing it all come together, the wood surface looking smooth and even? That felt amazing, truly. Sweating buckets, sure, but pumped. Once the last plank was locked in, I walked all over it, jumped a bit. Solid! No wobbles, no gaps where the ball could catch. The ball bounced nice and true, making that satisfying “thump”.
Final Thoughts
So yeah, assembling this removable volleyball floor was a project. Took time, patience, some swearing, and definitely required double-checking everything. Was it worth it? Absolutely. It’s incredibly sturdy when assembled, feels like a real court surface under your feet, and knowing I can pack it all up and move it or store it easily is the best part. Totally recommend it, just be ready to put in the elbow grease!


