
Okay so I finally got around to that dancing floor project I kept talking about. Removable oak planks meant for dancing? Sounded perfect for my spare room turned practice space. Here’s how the whole mess went down.
Getting the Stuff & The Big Plan
First, I needed the actual flooring. Found this “removable dancing oak” setup online – basically thick oak veneer tiles with a special rubber backing and edge locks. Expensive, damn it. Bought enough for roughly 12×12 feet. While waiting for delivery, I prepped the room. Yanked out the old rug – that thing was gross anyway. Swept and mopped the subfloor like crazy. It had to be clean and level. Used my laser level, checked every damn corner. Found a few low spots; slapped down some self-leveling compound patches. Annoying extra step, but no way was I starting on a wonky floor.
Laying it Out – The Tricky Part
Boxes arrived. Opened them up and let the planks sit inside the house for two whole days. Gotta let that wood adjust to the room temp and humidity, right? Didn’t want them swelling or shrinking later. Started laying them out dry first, without locking them. Just to see the pattern and figure out where cuts would be needed near the walls. Wanted a brickwork pattern, looked nicer. Measured like three times for every cut. Used my circular saw outside – wood dust everywhere. My cat thought it was snowing.
Then came the actual installation. First row is the most important, gotta be super straight. Used spacers against the wall like normal flooring. Clicked the first two planks together short-end to short-end – that was the easy part. Getting the next row to lock into the first row? Damn, that needed some serious oomph. These locks are tight – the good thing is they won’t pop loose when you’re jumping around. The bad thing? My knuckles were bruised from banging them together. Had to use a scrap wood block and a rubber mallet. Tap, tap, tap… all along the long edge. Repeat. And repeat again. Felt like forever laying each row, making sure every seam clicked properly. My back was yelling at me halfway through.
Testing & Trimming
Finally got all the tiles locked in. Now for the edges. Had to trim the spacers out. Then installed these skinny quarter-round mouldings around the entire edge, nailed into the baseboard, not the floor. This lets the whole thing float. It also hides the expansion gap so the floor can move slightly without buckling. Important step! Without it, it wouldn’t be truly removable either.
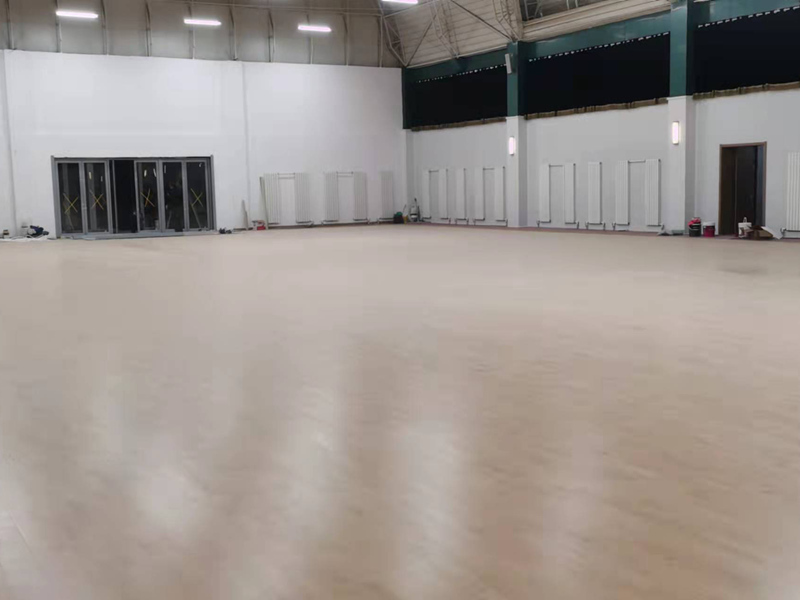
Time for the moment of truth. Swept it clean. Put on my dance shoes. Took a tentative slide… then a bigger step… then a proper turn. Felt amazing! Solid, stable, that oak gives just the right amount of grip and slide. No squeaks, no shifting. Jumped. Stomped. The rubber backing deadened the sound nicely, way better than just wood on concrete. My downstairs neighbor probably sends her thanks!
The Verdict So Far
Been using it a few weeks now for practice sessions. So far, it’s holding up great:
- Stability: No gaps opening up, no tiles popping loose. Stays flat.
- Feel: That oak surface is wonderful underfoot, predictable for spins.
- Sound: The rubber backing really does dampen the impact noise.
- Removable? In theory, yeah. Haven’t needed to pull it up yet. But lifting the moulding and starting in a corner should unlock the whole thing. Hope I never have to move it soon though – locking it in was a workout!
Honestly? Worth the cost and the bruised knuckles. Gives my practice space that legit studio floor feel without needing glue or nails. Just gotta deal with the initial pain of getting the damn tiles clicked together properly! Solid recommend if you need a good home dance surface you can take with you.


