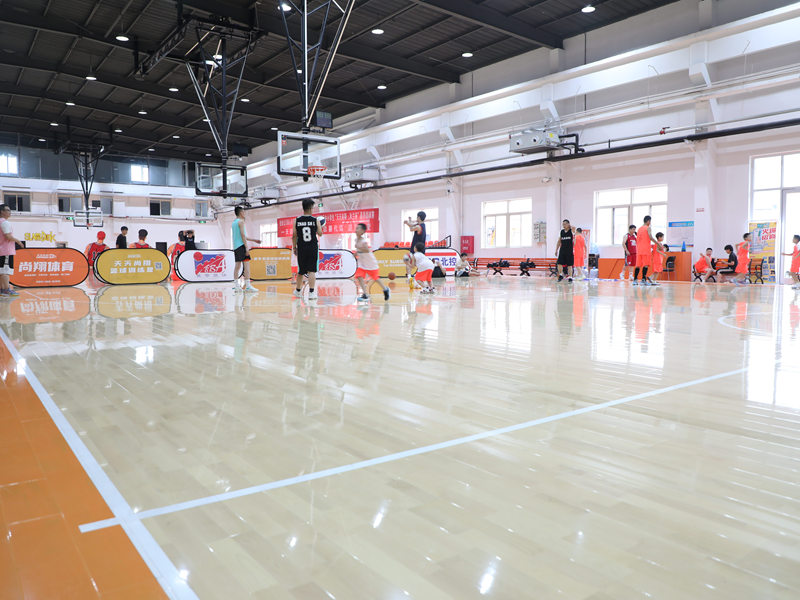
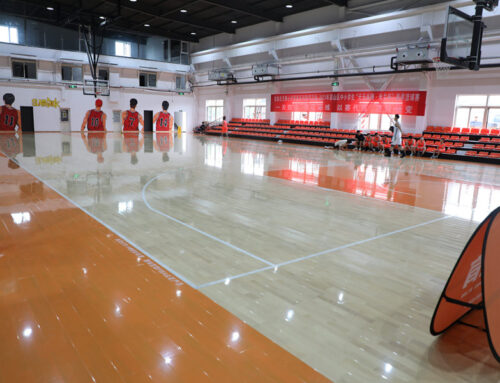
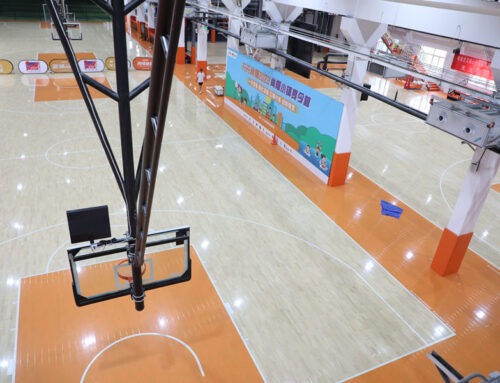
Okay, so I’ve been wanting to redo the flooring in my makeshift home gym for a while now. It’s in the basement, and the concrete was just… ugh. Cold, hard, and not exactly inspiring for a workout. I did some digging and stumbled upon LVL (Laminated Veneer Lumber) basketball court flooring, specifically the beech wooden kind. Sounded fancy, looked good in pictures, and seemed durable, so I decided to give it a shot.

First things first, I measured the whole area. Twice. Because, you know, “measure twice, cut once” is the mantra, and I didn’t want to mess this up. I then created simple sketch of the floor plan.
Next, I ordered the flooring. Finding a supplier wasn’t too bad, but let me tell you, this stuff isn’t cheap. It was a bit of an investment, but I figured it’d be worth it in the long run. I also made sure to order a bit extra, just in case of mistakes (which, spoiler alert, definitely happened).
The Prep Work
Before the flooring arrived, I had to prepare the basement floor. This involved a lot of cleaning. I swept, vacuumed, and even scrubbed the concrete to get rid of any dust, debris, or anything that might interfere with the installation. Also, I have to check my basement floor to see whether it is flat and remove some uneven area.
I also laid down a vapor barrier. Since it’s a basement, moisture can be an issue, and I didn’t want the wood to warp or rot. The vapor barrier was basically a thick plastic sheet that I taped down securely to the concrete.
The Installation
When the flooring arrived, it was… a lot. Big, heavy planks of beech wood. I enlisted the help of a friend (thanks, Mark!), because there was no way I was handling this alone.
We followed flooring installation instructions:
- Start laying: Position the first row, groove side facing the wall.
- Expand space reserved:Insert expansion spacers along walls.
- Subsequent rows:Install, ensuring tight seams.
- Secure:Use recommended fasteners.
We started by laying out the first row of planks along the longest wall, making sure to leave a small expansion gap between the wood and the wall (wood expands and contracts with temperature changes, so this gap is crucial). Then came the fun part: connecting the planks. They had a tongue-and-groove system, which basically meant they clicked together. It sounds easy, but it took some finesse and a rubber mallet to get them perfectly aligned.
We slowly worked our way across the room, row by row. There were definitely some tricky cuts around doorways and corners. I learned the hard way that a jigsaw is your best friend in these situations. And remember that extra flooring I ordered? Yeah, it came in handy after a couple of miscuts. Oops!
The Finishing Touches
Once all the planks were down, I installed baseboards around the perimeter of the room to cover the expansion gap and give it a finished look. I also applied a sealant to the floor to protect it from spills and wear and tear. I went with a matte finish because I didn’t want it to be too slippery.
And that was it! It took a couple of weekends and a lot of sweat, but I finally had my own LVL basketball beech wooden floor. It looks amazing, feels great underfoot, and has definitely upped my workout motivation. Plus, I can now say I built it myself, which is pretty cool.


