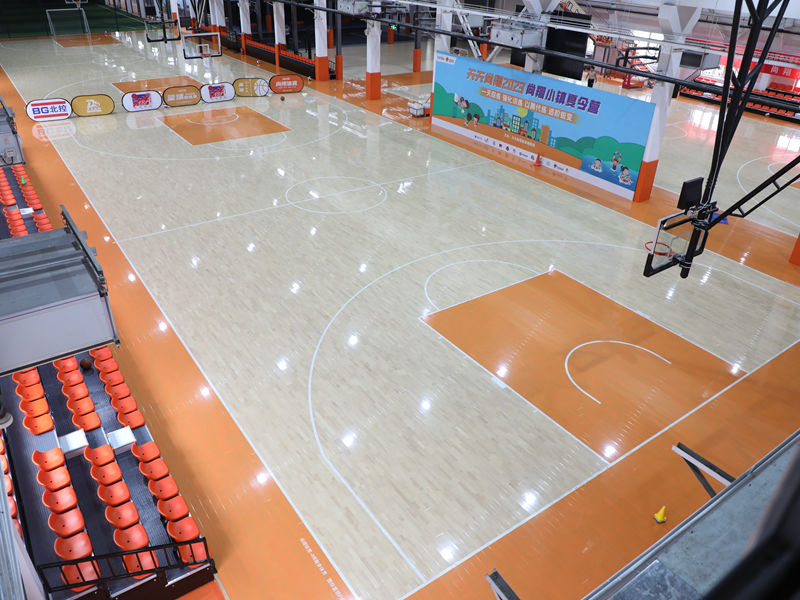
Alright, let’s talk about this portable basketball flooring project I tackled. It all started because my kids are really into basketball, and our driveway is, well, let’s just say it’s seen better days. It’s cracked, uneven, and definitely not ideal for dribbling.
So, I started looking into options. A full-on concrete court was way out of my budget, and honestly, overkill for our needs. That’s when I stumbled upon these portable basketball flooring tiles. Sounded perfect – something I could potentially install myself and wouldn’t break the bank.

The Prep Work
First things first, I had to figure out how much flooring I actually needed. I measured the area I wanted to cover in our backyard, keeping in mind I wanted a bit of extra space around the “court” for out-of-bounds and general goofing around. Once I had the square footage, I started researching different brands and types of tiles.
There are tons of options out there, it’s a little overwhelming! Some are made of hard plastic, others a more rubbery material. I ended up going with a polypropylene tile that seemed like a good balance of durability and price. It also claimed to be UV-resistant, which is important since it’ll be baking in the sun all day.
Before the tiles arrived, I cleared the area where the court would go. This involved moving some patio furniture, pulling up some weeds, and generally making sure the ground was as level as possible. I didn’t go crazy with it, since the tiles are supposed to handle minor imperfections, but I didn’t want any huge bumps or dips.
Laying the Tiles
The tiles arrived in a bunch of boxes, and honestly, it looked a bit like a giant jigsaw puzzle. Luckily, the installation was surprisingly easy. The tiles clicked together with these little interlocking tabs. It was kind of satisfying, actually!
I started in one corner and worked my way out, row by row. It took a little bit of figuring out at first, especially around the edges where I had to cut some tiles to fit. For that, I just used a regular hand saw – nothing fancy. It wasn’t the prettiest cutting job, but it got the job done.
Interlocking each piece of tile took a little bit of effort, had to line them up just right.
The Finished Product
It took me a couple of afternoons, working on and off, but I finally got the whole thing finished! And you know what? It looks pretty darn good. The kids were super excited, and honestly, so was I. We now have a decent-sized, flat surface for them to practice their dribbling and shooting.
The tiles feel pretty solid underfoot, and they have a bit of give, which is nice. They also seem to drain water pretty well, which is important since we get a fair amount of rain. Only time will tell how well they hold up to the elements and the constant abuse from my kids, but so far, so good!
Overall, this project was a win. It wasn’t too expensive, it was relatively easy to do myself, and it solved a problem. Plus, my kids are happy, which is the most important thing. If you’re thinking about doing something similar, I’d say go for it! Just do your research, measure carefully, and don’t be afraid to get your hands a little dirty.


