
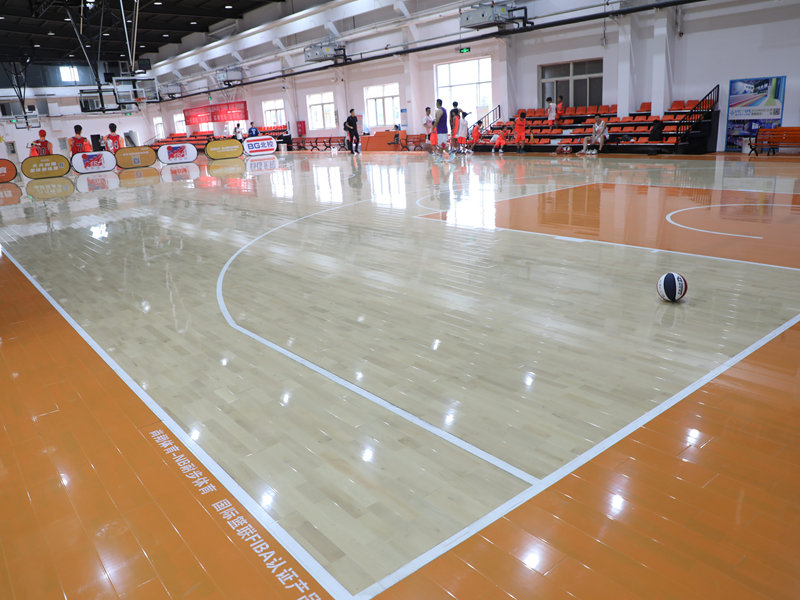
So I decided to try this pad dancing thing on beech assembly flooring, yeah? Been hearing it might feel nicer underfoot for the living room corner where the kid likes to bust moves. Looked straightforward enough online – snap-together boards, foam pad underneath. Ordered the boxes and waited.

Gettin’ Started Wasn’t So Smooth
Day they arrived, lugged everything upstairs. Heavy buggers. First step was clearin’ the space, right? Swept and vacuumed like crazy, made sure it was totally flat. Unrolled that foam underlayment pad thing. Tried to get it smooth, but man, it wanted to curl up at the edges. Threw some heavy books on the corners, figured it could chill while I sorted the planks.
Then came the wood. Pulled out the first beech plank. Supposed to just click together. Ha. Yeah, right. Tried connecting the short ends first like some said. Couldn’t get the dang groove over the tongue without feeling like I was gonna snap the plank in half. Turned one around, tried again. Still wouldn’t go. Tapped it gently with a rubber mallet. Nothing. Tapped it less gently. Finally got a click! Success!
- First Mistake: Didn’t realize the whole first row needed the tongue facing me. Ended up clicking the first two planks long-ways together perfectly… but then realized the groove side was facing the wall. Dumb. Had to unclick ’em and flip one.
- Second Ouch: That foam pad underneath? It’s soft, good. But it also means the boards kinda slide on it when you’re trying to lock ’em together. Needed a knee on the plank I was workin’ on just to hold it steady while I shoved the new one against it.
Findin’ a Rhythm (Sorta)
Once I got the first row all in a line, tongue facing me, groove against the wall (used spacers!), things went a bit easier. Putting the next row in became like a weird little ritual:
- Angle the new plank down on the tongue of the board below.
- Slide it sideways hard towards the previous plank in the row.
- Hear that satisfying ‘click’ on the long edge.
- Press down firmly on the plank near the seam to lock it down onto the tongue from the row below. Sometime a tap with the mallet helped here too.
Mostly worked. Mostly. Sometimes that side click just wouldn’t happen without a fight. Sometimes I tapped too hard and dinged the beech. Oops. Gotta go slow. Kept checkin’ the gaps with my fingers and a level. Got maybe halfway across the room before realizing the whole layout was drifting off a bit from being perfectly square. Needed to whack the whole installed section sideways with the mallet and a scrap piece of wood to nudge it straight again. Sweaty work.
The Final Stretch & How It Holds Up
Cutting the final row sucked. Had to measure each piece individually cause the wall wasn’t dead straight. Used a regular handsaw and a guide block. Edges were a bit rough, so sanded ’em down quick with fine sandpaper. Needed to use the pull bar tool pretty hard to get the last planks clicked in snug against the wall. Trimmed the excess foam pad with a box cutter.
And boom. Done. Swept it clean. Sat back, kinda amazed it didn’t look horrible. Kid immediately ran over and started sliding around in socks. Looks pretty good!
Been a few weeks now. How’s the “pad dancing”? Honestly? Feels good! Boards are stable, no gaps opened up. No creaking or clicking noises when you walk on it. Beech feels nice and smooth and kind of warm, softer on the feet than the old tile was. The padding underneath makes jumping and goofing off way nicer. Is it perfect? Nah. Can still feel some tiny imperfections where the cutting wasn’t laser-straight, and that one plank I dinged still bugs me. But for a DIY project? It feels solid. Feels good when you kick off your shoes.
Why bother with all this? Honestly? It wasn’t just about the floor. Wanted a spot where the kid could fall over without me worrying she’d crack her head on tile. Wanted something I could say I did myself. Messed up a bunch, figured it out, got dirty, got it done. Feels real. Feels good. And now we have a little dance corner. Worth it.


