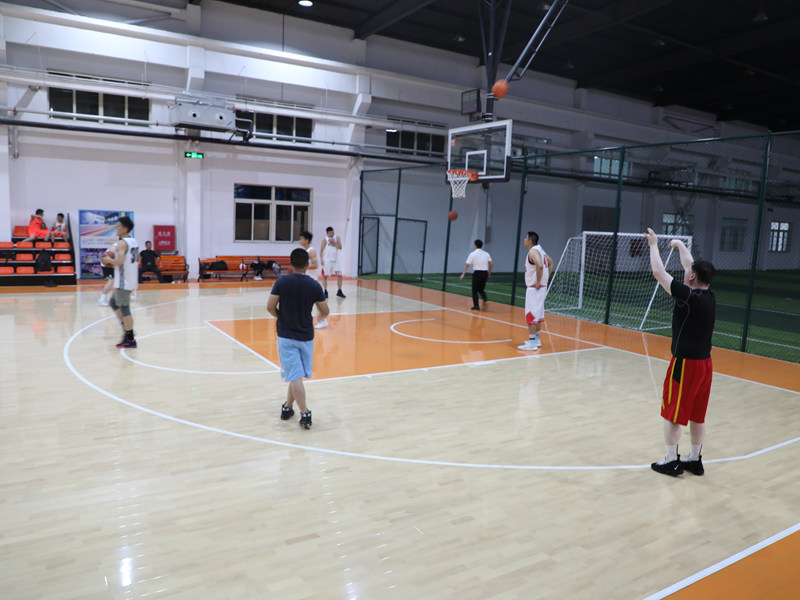
Alright folks, gotta share how I finally got that homemade pad basketball court floor sorted out in my backyard shed. Been wanting this for ages, and let me tell ya, it wasn’t as simple as slapping some wood together. Here’s the nitty-gritty.

Gathering the Stuff
First thing’s first, gotta drag all the plywood sheets from the garage. Ordered this special maple plywood online – supposed to be good for sports floors. Grabbed my impact driver, wood screws, measuring tape, chalk line, and my trusty circular saw. Oh, and safety glasses! Almost forgot those babies last time. Rented a heavy-duty floor roller too – figured it’d help keep things flat and tight.
Prepping the Pad Surface
The concrete pad I poured last summer was kinda rough. Swept it like crazy, got every leaf and pebble off. Found a couple low spots – gotta fix those! Mixed up some leveling compound, slapped it on smooth, and let it dry overnight. Woke up early, checked it with a long level – felt weirdly satisfying seeing that little bubble sit dead center.
Laying Down the Underlayment
Rolled out this foam stuff they call “moisture barrier.” Sounds fancy, eh? Just cut it to fit the pad with a utility knife. Taped the seams nice and snug. Didn’t want any dampness sneaking up from the concrete later.
The Main Event: Plywood Assembly
Time for the muscle work! Carried each ply sheet over – felt heavier than it looked. Laid the first sheet down in the corner, triple-checking the straight edge. Used those fancy plastic shims underneath to keep a tiny gap at the wall for expansion. Gotta remember that gap!
- Drilling Starter Holes: Measured where the beams were underneath – didn’t wanna miss them. Drilled pilot holes every six inches or so along the edges and centers. Skipping this meant cracked plywood later. No shortcuts here.
- Screwing It Down: Impact driver time! Felt like a machine gun going off. Held the plywood firm with my knee – got a bruise as a souvenir. Kept screws flush but not sunk into the wood.
- Lining Up Sheets: This was the real headache. Cut the next sheet edge super straight. Butted it tight against the first one – like, no gap allowed! Used a rubber mallet to persuade ’em snug. Lost track after the sixth sheet – my back started complaining loud.
- Tightening the Gap: After all sheets were screwed down? Rolled that floor roller across the whole thing, back and forth like a madman. Heard creaks and pops – just the ply settling and compressing the underlayment. Worked wonders!
Seam Work & Finishing
Okay, surface felt solid, but those seams bugged me. Sanded the joints smooth with a belt sander – wore a mask, dust was insane. Then applied wood filler over the screw heads and seams, scrapped it flat with a putty knife. Sanded it all down again until it felt smoother than my grandma’s old table. Wiped the whole surface with damp rags – twice.
The Final Stretch
Applied two coats of clear polyurethane finish. Used a lambswool applicator – messy but quick. Made the maple grain just POP! Let it cure for a full 48 hours, even though I was dying to bounce a ball on it. Patience is key.
Finally, unboxed a new basketball… First dribble? That sweet, crisp bounce sound – man, worth every sore muscle and splinter. This wasn’t just plywood on concrete – it was a court. Took six full weekends, nearly lost my thumb once (drill mishap, don’t ask), but now? My kids and their friends won’t get off it.


