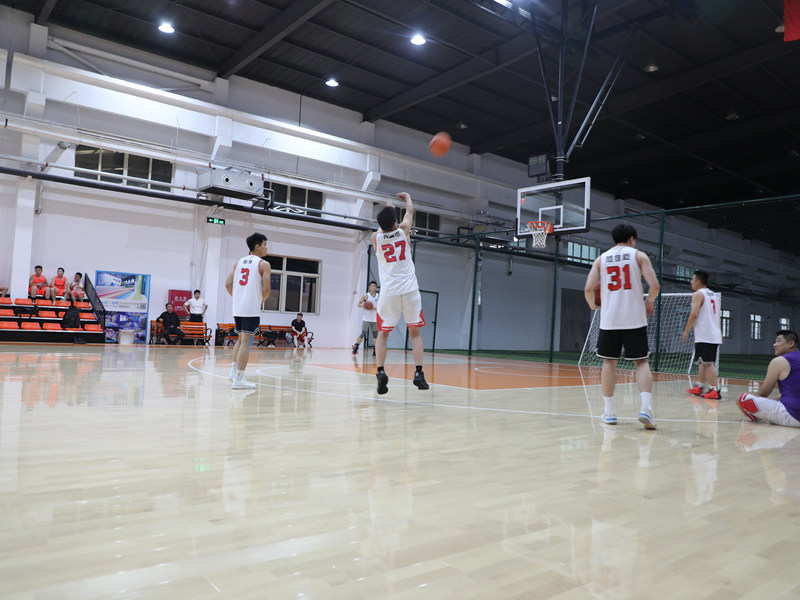
Got the idea watching some hoops videos online – people making those sweet mini courts indoors. Thought hey, why not try building my own parquet section? Something smaller, like a pad. Focused on the classic herringbone look, just scaled way down.

Digging In & Planning
First thing? Researched hard. Poured over tons of pics and basic plans for those assembled flooring tiles – the kind that click together. Not the full court experience, just the pattern itself. Needed to understand how those little wood blocks fit. Measured out my available space in the garage workshop. Wanted a pad big enough to feel real, but small enough to actually finish. Settled on about 4 feet by 4 feet. Drew a simple sketch, marking out the direction the blocks would run.
Gathering Stuff
Hit the hardware store. Bought:
- Several packs of those small solid wood click-together flooring planks – got extras.
- A hand saw for cutting (don’t have fancy tools).
- Wood glue.
- A decent measuring tape.
- Sandpaper, different grits.
- A rubber mallet to tap the pieces together.
- A simple varnish for protection and looks.
Laid everything out on the garage floor. Felt real now.
Assembly Process
Started simple: clicked a few rows of planks together normally, just straight. Got the hang of the locking system – snap, tap gently with the mallet. Did this for two rows along one edge, straight lines. This felt easy.
Now came the tricky part: cutting for the herringbone. Measured the angle – needed 45-degree cuts on the ends of each plank to make the zig-zag pattern. Marked them carefully. Used the hand saw. Sweat a lot here, hands got sore. Each cut needed checking. Cut a whole bunch of planks this way.
Time to form the pattern. Took the first pre-cut plank. Spread a thin line of wood glue along the grooved edge that would connect to the already laid straight row. Positioned it carefully against the existing plank. Angled it to start the V shape. Tapped it tight with the mallet. Then took the next pre-cut plank. Applied glue on its grooved edge. Positioned it mirroring the first cut plank, clicking it into the opposite side of the first V. More tapping. Kept repeating this – cut plank, glue, position at the angle, click, tap – row after row. Slowly the classic herringbone started crawling across the floor pad. Super satisfying! Glue was messy but helped lock the angles.
Finishing Touches
Once the whole pad was laid out? Stepped back. Looked awesome! But the raw edges were rough. Took the sandpaper, started smoothing everything down – edges, tops, the joints where glue oozed. Vacuumed up all the dust.
Time for the varnish. Brushed on a good, thick coat across the whole surface. Let it dry completely overnight according to the can. Couldn’t resist touching it – felt smooth.
The moment of truth: Carefully lifted one section of the pad. It held together! Clicked sections stayed locked. The glued angles felt solid. Set it back down. Actually bounced a ball on it – the sound! That authentic hardwood “thump” even on my little pad.
So Where Do I Know This From?
Honest? Saw a random sports brand doing these mini parquet display pieces online once. Got stuck in my head. Figured it had to be mostly assembly skill and patience, not rocket science. Just lots of cutting, gluing, and clicking. Turns out it mostly was. Harder than it looked, but way more achievable than building the Boston Garden in my shed. Looks sharp, feels legit. Made it myself. Why know this stuff? Just obsessed enough to try!
Bottom line: Click-together flooring + precise angle cuts + gallons of patience = your own mini parquet pad. Cost some sweat and time, but it’s way better than I thought it would be. Not perfect, but I made it.


