
Okay folks, let’s talk about putting together that hard assembled wooden floor pad for the driveway hoop. You know, the kind that snaps together? Looked easy online, seriously. Real life? Bit of a different story.
Dragging the Beast Home
First things first, hauling those boxes out the car. Man, they were heavier than they looked! Seriously underestimated that. Ended up making like three trips from the curb to the garage, feeling every pound. Definitely a workout before the workout.
Unpacking the Puzzle
Opened Box 1, and bam – planks everywhere! Nice quality wood, I’ll give it that. Felt sturdy. Box 2 had more planks and this little bag full of… stuff. Edging strips kinda things, clips, random plastic bits that made zero sense at first glance. Threw the instructions on top of it all. Needed a clear space for this battle.
That “Helpful” Manual
Grabbed the instructions. Pictures? Pretty decent. Words? Not so much. Felt like someone translated them a dozen times. “Interlock tab A into groove B ensuring perpendicular juxtaposition.” Say what? ? Figured I’d just try snapping planks together and hope for the best.
The Clicking Game Begins
Started laying the base planks side-by-side. Went pretty smooth at first! Snapped together with a solid “click,” felt good. Got cocky, started row 2. That’s where the fun started. Getting the edge of row two to lock down onto the first row? Different ballgame. Had to push harder than expected, ended up almost climbing on the plank just to get it down. Had to backtrack and flip two planks because I stuck the “tongue” up instead of down. D’oh! ?
Finding the Groove
Took a breather, walked around the half-finished pad. Finally noticed these tiny arrows on the ends of each plank. Lightbulb moment! Needed all arrows pointing the same direction for the locking bits to actually align. Game changer! Once I sorted that, snapping subsequent rows became way easier. Still used the rubber mallet though – gentle taps. Don’t want to split that tongue thing!
The Final Countdown (& Edges)
Getting the base all down felt like a victory. Mostly. Until I remembered the edge pieces. These weren’t click-in. They had these weird plastic clips you slide on the end, then screw through the plank into the clip from the top down. Annoying! Holding the clip in place, driving the screw without stripping the head… took patience. And some sore fingers. Finished it off with the corner pieces, kinda just jammed them into the grooves. Good enough.
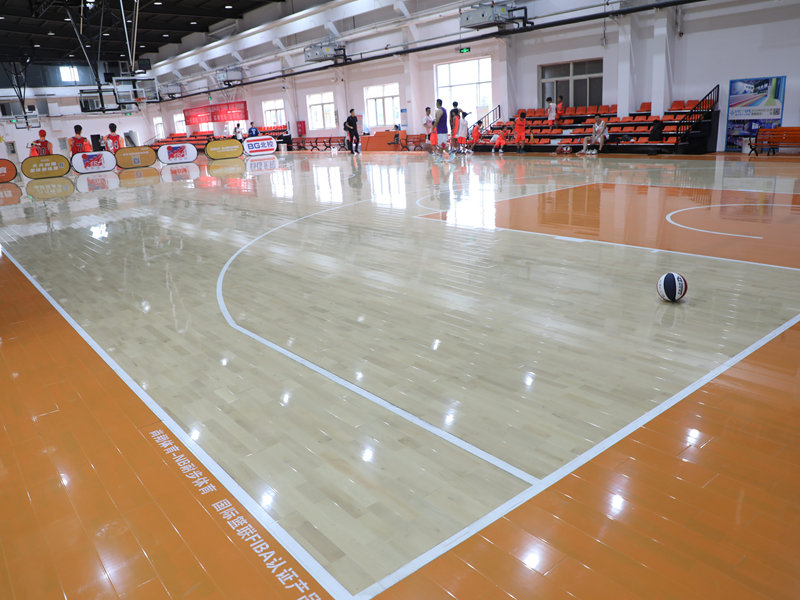
Testing the “Court”
Finally stood back. Looked… surprisingly legit! Got the ball, did a few dribbles. Solid! No bounce or wobble. Then took a fake drive, slid those sneakers across it. Had just enough grip. Honestly? Super pleased with the end result. That first make on the new surface felt sweet. Worth the scraped knuckles and questionable translation skills!
So yeah. Took way longer than the box promised. Involved more grunting, sweat, and re-reading instructions than I’d care to admit. But got it done. Feels solid. Kids love it. Just gotta keep the weather off it. Pro tip? Check all those tiny arrows before you start clicking!


