
Okay, so I’ve been meaning to fix up this old room in my house, and I decided to go with wooden flooring. It just looks so classy, you know? But I wanted to make sure it was comfy, especially since I plan to set up a little volleyball practice area. Yeah, I know, indoors! But hey, gotta practice those bumps and sets somehow, right?
Getting Started
First things first, I cleared out the entire room. Furniture, old rugs, everything. It was like an archaeological dig, unearthing stuff I’d forgotten I even owned.
Cushion Time
Then came the important part – the cushions! I didn’t want to just slap the wooden flooring down on the hard concrete. I needed some padding, both for comfort and to protect the floor (and my knees) during volleyball drills. I found these interlocking foam tiles online. They seemed perfect – easy to install, provided good cushioning, and wouldn’t break my budget!. I ordered a bunch, making sure to get enough to cover the whole room, plus a little extra, just in case.
Laying it down
Laying down the foam tiles was a breeze. It was like a giant jigsaw puzzle, except all the pieces were the same shape. They just clicked together. I started in one corner and worked my way across the room. I had to use the utility knife to cut off a corner of the tile,It took some, uh, “creative trimming” to get them to fit perfectly around the edges of the room.
Wooden Flooring
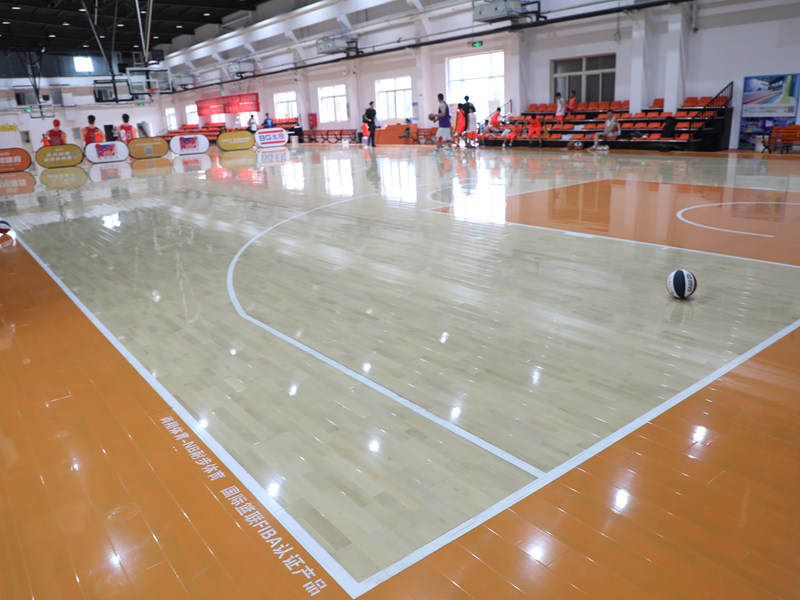
Next up: the wooden flooring. I’d picked out this lovely oak – not too dark, not too light, just * flooring came in these long * guy at the home improvement store had shown me how to assemble them. They had this click-lock system, so you basically just fit them together and they snap into place. Sounds easy, right?
Assembling the floor
It started out okay. I got the first few rows down without too much trouble. But then… things got tricky. Some of the planks just wouldn’t cooperate. I’d get one side clicked in, and the other side would pop * become somewhat hard.I sweated a lot.
After a lot of huffing and puffing (and maybe a few not-so-nice words), I finally got the hang of it. The trick, I realized, was to make sure the planks were perfectly aligned before applying any pressure. And a rubber mallet helped to gently tap them into place without damaging the edges.
Finishing Up
Getting the flooring to fit around the doorways and corners was another challenge. There was a lot of measuring, cutting, and re-cutting involved. Let’s just say I’m glad I bought extra planks! Finally, I nailed down the baseboards to cover the gaps between the flooring and the walls. And that was it!
I stood back and admired my handiwork. It wasn’t perfect, but it was mine. And more importantly, it was ready for some volleyball action! I’ve already spent a few hours practicing, and the cushioned floor feels great. No more sore knees after diving for those low balls!


