
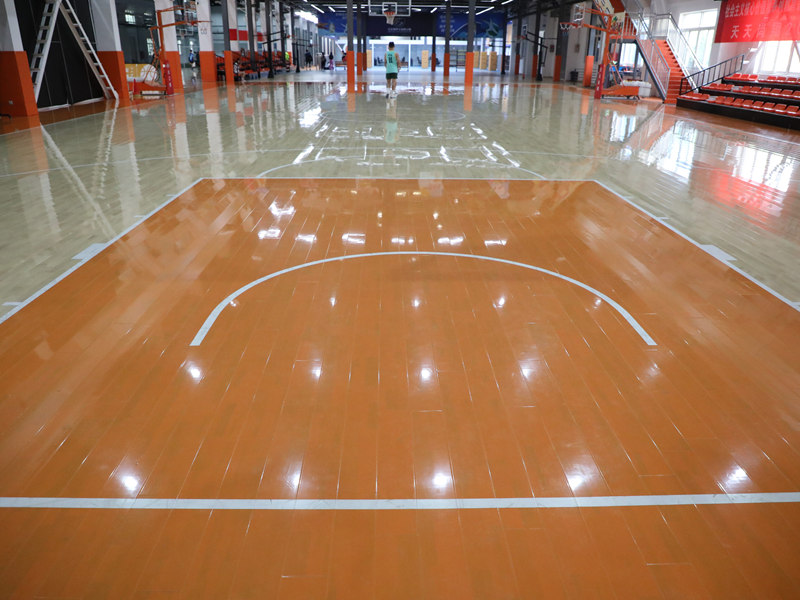
Alright, folks, let’s dive into this project I tackled: putting together some rubber volleyball court flooring. It’s that interlocking stuff, you know, the kind that looks like a giant puzzle.
First things first, I cleared out the area. This was a must. Got rid of any furniture, rugs, random junk lying around. I wanted a totally blank canvas to work with. We are talking about our a basement storage room.
Next, I unboxed all the materials. I had these plywood sheets and the rubber tiles, all stacked up and ready to go. Checked the packing list to make sure I had all the pieces. There is nothing worse than getting halfway through and realizing you’re missing something.
The Plywood Base
So, the plywood was the base for the whole thing. I started laying them down, one by one. These sheets, they were pretty big, and I wanted to make sure they were lined up nice and straight. I was trying to make them fit perfectly and used a simple way to align them.
- Line up: Make the plywood sheets close.
- Fixed: Fixed them with some nails.
Once the plywood was all set, it was time for the fun part: the rubber tiles!
Assembling the Rubber Tiles
These tiles, they had these little interlocking tabs on the edges. Like a jigsaw puzzle, but way bigger. It was pretty satisfying snapping them together.
I started in one corner and just worked my way across the room. Row by row, clicking those tiles together. It’s kind of therapeutic, actually. You get into a rhythm, and before you know it, you’ve covered a good chunk of the floor.
Keep going to finish my work.
And boom! There it is. A brand new rubber volleyball court floor, all assembled and ready for action. Looks pretty good, if I do say so myself. It’s always a good feeling to step back and admire a job well done, especially when you did it yourself!


