
Okay, so a while back, I got this gig to install some LVL volleyball hard maple wooden flooring. It sounded pretty straightforward, but let me tell you, it was a bit of a journey. I figured I’d share my experience, just in case anyone else is thinking of tackling a similar project.
Getting Started
>
First things first, I had to gather all the materials. This wasn’t just a quick trip to the home improvement store. I needed the actual flooring, of course – hard maple, specifically designed for volleyball courts. Then there was the underlayment, the adhesive, and all the tools. I’m talking about a power saw, a tapping block, a mallet, spacers, the whole nine yards. Seriously, my garage looked like a construction zone for a week.
Prepping the Space
>
Next up was the prep work, which, honestly, is probably the most crucial part. The existing floor was some old, beat-up concrete. I had to make sure it was super clean and level. I spent a good day just sweeping, vacuuming, and scrubbing. Then I used a self-leveling compound to fill in any dips or cracks. You don’t want any unevenness showing through your brand-new floor, trust me.
Laying Down the Underlayment
>
Once the concrete was ready, I rolled out the underlayment. This stuff is important because it provides a bit of cushion and helps with sound dampening. Plus, it acts as a moisture barrier, which is key for a wooden floor. I made sure to overlap the seams and tape them down securely. No shortcuts here!
The Real Fun Begins: Installing the Flooring
>
Now for the main event: installing the actual maple planks. I started in one corner, carefully applying adhesive to the subfloor and setting the first plank in place. I used spacers to maintain a consistent gap around the perimeter of the room – this is essential for allowing the wood to expand and contract with changes in humidity.
Then, it was plank after plank, clicking them together and using the tapping block and mallet to ensure a tight fit. It’s a bit of a workout, I won’t lie. My knees were definitely feeling it after a few hours. But seeing the floor take shape was pretty satisfying.
Finishing Touches
>
After all the planks were down, I installed the baseboards and transition strips. These little details really make a difference in the overall look. I also filled in any tiny gaps with wood filler and gave the entire floor a good cleaning.
The Final Result
>
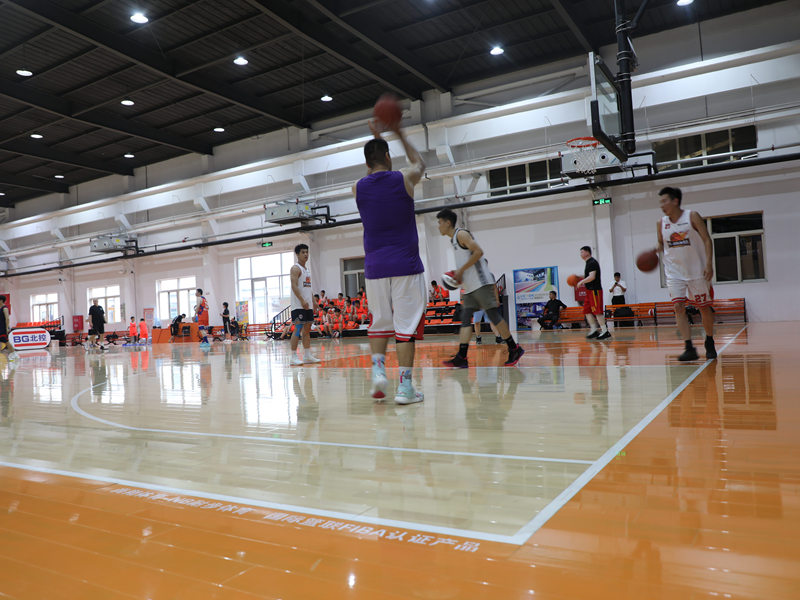
Finally, It’s done. And man, it looked good. The hard maple had this beautiful, warm tone, and the whole court felt solid and professional. All in all, the project took the large portion of the week, including a couple of late nights. There were moments where I questioned my sanity, but seeing the finished product made it all worthwhile.
It’s not a simple DIY, but it’s definitely doable if you’re patient and willing to put in the work.


