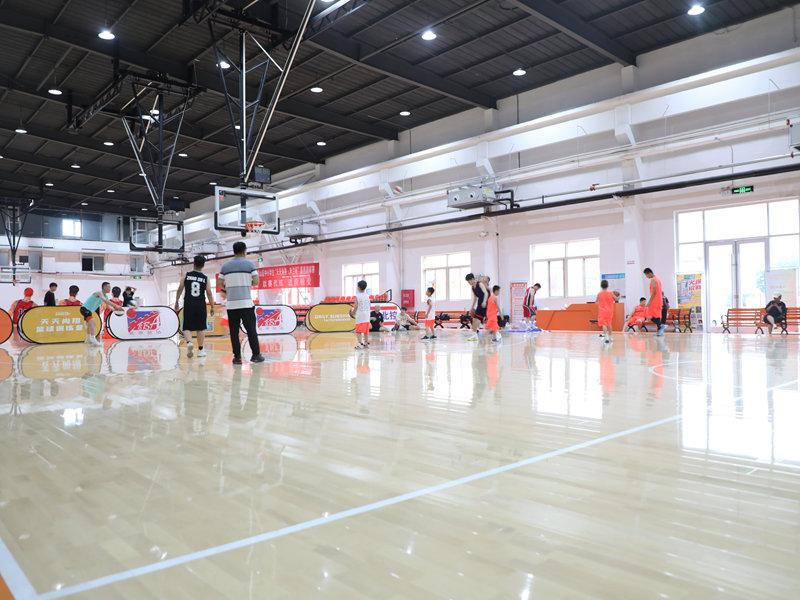
Alright, so, I’ve been wanting to upgrade my home gym for a while, and the floor was the biggest thing. I was looking for something durable, stable, and, you know, not ugly. Ended up deciding on a LVL (that’s Laminated Veneer Lumber) volleyball sleeper system with wooden flooring. Sounds fancy, but it’s basically a sturdy, springy floor. Here’s how the whole thing went down:

Planning and Ordering
First, I had to measure everything out. Twice. Okay, maybe three times. Gotta be sure, right? Then I spent some time looking at different types of wood and LVL. Ended up choosing a pretty standard option—nothing too exotic. I ordered all the materials, and let me tell you, that was a HEAVY delivery.
Prepping the Space
Before the materials even arrived, I had to clear out the old gym space. This meant moving all the equipment, ripping up the old, nasty carpet (good riddance!), and making sure the concrete subfloor was clean and level. I used some self-leveling compound in a few spots to make sure everything was perfect.
Building the Sleeper System
This was the real work. I started by laying down the LVL sleepers. These are basically long beams that create the “skeleton” of the floor. I spaced them out evenly according to the instructions I found. It took a little bit of muscle to wrangle them into place, but nothing too crazy. Used a ton of construction adhesive and screws to secure them to the concrete.
- Laying the Sleepers: This felt like putting together a giant puzzle, just with way heavier pieces.
- Securing Everything: Lots of glue, lots of screws. My drill got a serious workout.
Adding the Plywood Subfloor
Once the sleepers were in, I put down a layer of plywood. This gives the floor some extra rigidity and creates a smooth surface for the final flooring. I Staggered the seams of the plywood for extra strength. More screws! I felt like a screw-shooting machine by the end of this.
Installing the Wooden Flooring
This was the fun part – actually seeing the finished floor come together. I used a tongue-and-groove hardwood flooring. Basically, the pieces interlock, which makes installation (relatively) easy. Starting was a bit tricky to get straight, but once the first few rows, were down, it was smooth sailing. Just tapping the pieces together with a rubber mallet and securing them with flooring nails.
- Click, Tap, Nail:That was basically the rhythm of this whole stage.
- Making Cuts: Had to use a saw to cut the boards to fit around the edges of the room. Measure twice, cut once, that’s my motto!
The Finishing Touches
After all the flooring was down, I added some baseboards around the edges to give it a clean look. I also applied a few coats of polyurethane to protect the wood and give it a nice, durable finish. The waiting was the worst part! Had to let each coat dry completely before adding the next.
And that’s it! My new home gym floor is done. It’s solid, springy, and looks amazing. Honestly, it was a bigger project than I initially thought, but totally worth it. Now I have a professional-feeling space to work out in, and I did it all myself! Feels pretty good.


