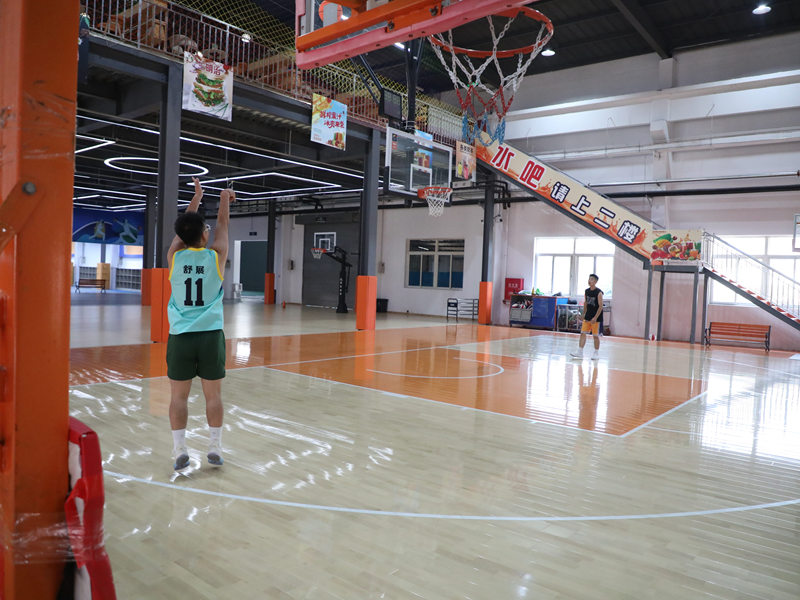
Okay, so I’ve been wanting to upgrade my home gym for a while now. I finally decided to go all-in and install a proper volleyball court floor. After some research, I went with the LVL (Laminated Veneer Lumber) parquet assembly wooden flooring. It seemed like a good balance of durability, performance, and, well, let’s be honest, it looked pretty cool.

Getting Started
First things first, I cleared out the entire space. This was a bigger job than I anticipated. I had to move all the gym equipment, which was a workout in itself! Once the room was empty, I gave the concrete subfloor a thorough cleaning. I mean, really thorough. I swept, vacuumed, and even mopped it to make sure there was no dust or debris.
Prepping the Subfloor
The instructions emphasized the importance of a level subfloor. Mine was…mostly level. There were a few dips and bumps. So, I got some self-leveling compound and went to town. This stuff is pretty easy to work with; you just mix it with water and pour it on. It does a pretty good job of finding its own level. I let that dry completely, which took about a day.
Laying the Underlayment
Next up was the underlayment. This is basically a thin foam layer that goes between the concrete and the wood. It helps with sound dampening and provides a little bit of cushioning. I rolled it out, cut it to size, and taped the seams together. Super straightforward.
The LVL Adventure Begins
Now for the main event: the LVL! These planks are long and surprisingly heavy. I started by laying out the first row along the longest wall, making sure to leave a small expansion gap between the wood and the wall (the instructions recommended about 1/2 inch). This is important because wood expands and contracts with changes in humidity.
The parquet assembly was a bit like putting together a giant puzzle. Each plank had a tongue and groove system. I applied wood glue to the grooves, slid the planks together, and then tapped them into place with a rubber mallet. It was slow going at first, but I got the hang of it. It’s oddly satisfying to see the floor come together.
Row by Row, Plank by Plank
I continued this process, row by row, making sure to stagger the joints between planks. This not only looks better but also makes the floor stronger. I had to make some cuts around doorways and other obstacles. Luckily, I had a circular saw, which made this part much easier. I always wore safety glasses, always a good idea, no fun getting wood in your eyes.
Finishing Touches
Once all the planks were down, I installed the baseboards around the perimeter of the room. This covered up the expansion gap and gave the floor a nice, finished look. After that i just needed to clear and clean everything again.
The Final Result
The whole project took me a couple of weekends, but it was totally worth it. The new floor looks amazing, and it feels great underfoot. It’s a massive upgrade from the old concrete. Now, I just need to get some friends over for a game!


