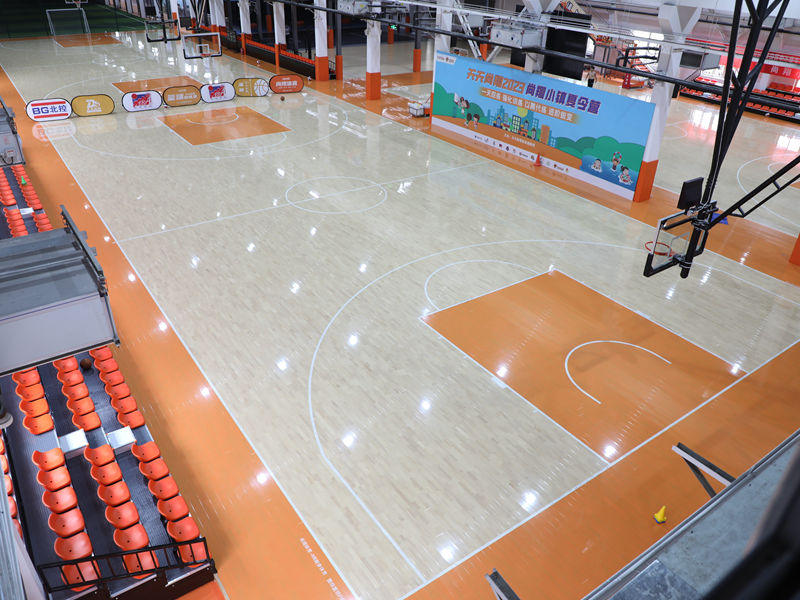
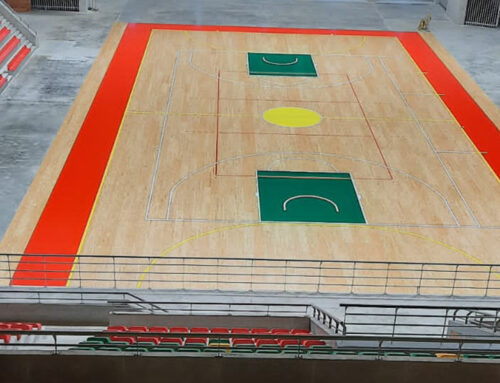
Yesterday, I decided to tackle a project I’ve been putting off: installing LVL dancing parquet wooden flooring in my spare room. I’ve always loved the look of parquet, and the “dancing” pattern seemed like a fun challenge. I’m no expert, but I’m pretty handy, so I figured, why not?

First, I cleared out the room completely. This was probably the easiest part, just moving furniture and making space. Then came the less fun part: checking the subfloor. I needed it to be level, clean, and dry. Luckily, mine was in pretty good shape, just a few minor spots that I leveled out with some self-leveling compound. Let that dry completely. It’s important because If the ground not smooth, the floor may be uneven later.
Next, I gathered my materials. I had already picked up the LVL (Laminated Veneer Lumber) parquet tiles, adhesive, and a few tools like a notched trowel, a rubber mallet, a tapping block, and a saw. I also made sure I had spacers to keep the gaps between the tiles consistent.
Then the real work began. I started by laying out a dry run of the tiles. I placed a few rows without adhesive, figuring out the pattern and making sure I liked how it looked. This helped me get a feel for the process and identify any potential problems before I got to the gluing stage.
With the layout planned, I started applying the adhesive to the subfloor with the notched trowel. I worked in small sections, about two or three rows at a time, so the adhesive wouldn’t dry out before I could get the tiles down.
I carefully placed each tile, pressing it down firmly into the adhesive. I used the spacers to keep the gaps even, and I used the tapping block and rubber mallet to gently tap the tiles into place and ensure they were level with each other. Make sure the floor will look consistent.
- Place the tiles: Carefully align and place each tile.
- Use spacers: Ensure even gaps between tiles.
- Tap gently: Use a tapping block and mallet for a snug fit.
It was slow going, and my back started to ache after a while. But it was also satisfying to see the pattern emerge. I kept working my way across the room, section by section, applying adhesive, placing tiles, tapping them in, and checking for level.
The trickiest part was cutting the tiles to fit around the edges of the room and the doorway.I have a table saw, so I can cut the titles to perfect size. If you don’t have it, things might be a little difficult.
I measured carefully, and I made a few mistakes, but thankfully I had bought extra tiles.
The Last Step
Finally, after a full day of work, I had the entire floor installed! I removed the spacers and let the adhesive cure overnight. The next day, I gave the floor a good cleaning and stood back to admire my handiwork. It wasn’t perfect, but I was proud of it. It looks great, and it’s definitely a unique feature in my house. Mission accomplished!


