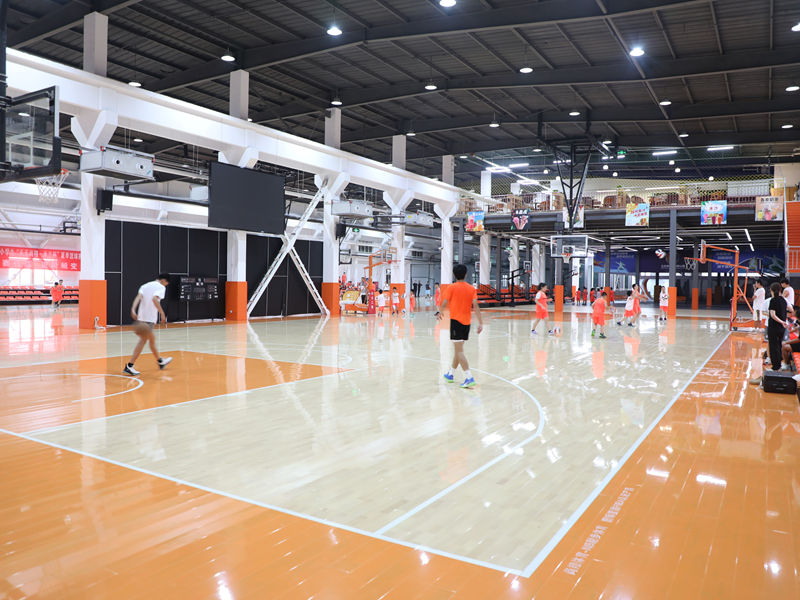
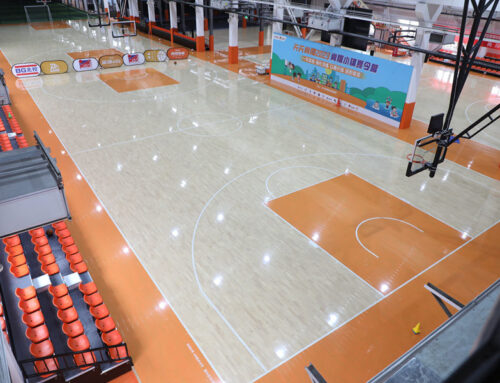
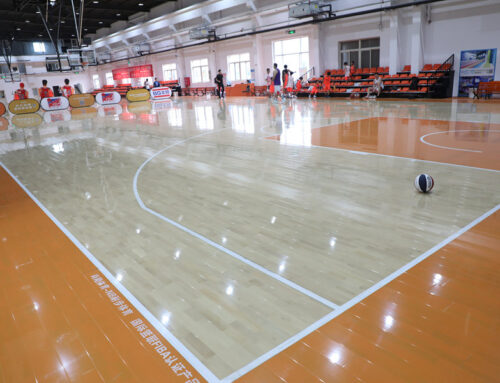
Alright, folks, gather ’round! Today, I’m gonna share my little adventure with installing some LVL Basketball oak assembled wooden flooring. It wasn’t a massive project, just a small area, but I figured I’d document the whole thing.

Getting Started
First things first, I cleared out the space. Moved all the furniture, took down any wall hangings, the whole nine yards. You gotta have a blank canvas, right? Then I gave the existing floor a good sweep and vacuum. I wanted to make sure there was no dust or debris that could mess with the new flooring.
Prepping the Subfloor
Now, my subfloor is concrete, and luckily, it was already pretty level. I did a quick check with a long level, just to be sure. If you’ve got any major dips or bumps, you’ll want to address those with some self-leveling compound. Trust me, it’s worth the extra effort. A flat subfloor is key to a good-looking finished product.
Laying Down the Underlayment
Next up, I rolled out the underlayment. I used this foam stuff – pretty standard. It helps with sound dampening and provides a little bit of cushioning. I made sure to overlap the seams by a few inches and taped them down with some good quality tape. Don’t skimp on the tape!
The Fun Part: Laying the Flooring
Okay, here’s where the magic happens. I started along the longest straight wall, leaving a small expansion gap – about 3/8 of an inch – between the flooring and the wall. This is super important, as wood expands and contracts with changes in humidity. The first row, I carefully selected the straightest boards.
Then, I got to work, snapping the boards together. These were pre-assembled oak pieces, so they had a tongue-and-groove system. It was pretty straightforward – just align the tongue of one board with the groove of the other and click them into place. I used a tapping block and a rubber mallet to gently tap them together, making sure the seams were nice and tight. There is a satisfying sound like a crisp high five, every time they snap into place, I feel like I have accomplished something.
As I moved across the room, I staggered the joints, just like you see in a brick wall. This makes the floor stronger and looks way better. For the last row, I had to rip some boards lengthwise to fit. Luckily, I have a table saw, but a circular saw would work too. Again, remember that expansion gap!
Finishing Touches
Once all the flooring was down, I installed some quarter-round molding around the perimeter of the room to cover that expansion gap. I nailed it to the baseboards, not the flooring itself. This allows the floor to move freely.
Finally, I gave everything a good clean. Removed all the scraps, swept up the sawdust, and admired my handiwork. There were a few minor challenges, but it was very satisfying!
So that is my story with my LVL Basketball flooring installation. It’s not rocket science, but it does take a bit of patience and attention to detail. Hope this helps anyone thinking of tackling a similar project!


