
So, I’ve been messing around with this whole portable court idea for a while, and I finally decided to take the plunge with LVL Basketball’s hevea portable wooden flooring. Let me tell you, it’s been a journey!
Getting Started
First, I measured my space. Gotta make sure this thing fits, right? I had this empty area in my backyard that was just begging for a basketball court. Once I had the dimensions down, I contacted LVL to get a quote and figure out the specifics.
The Installation Process
The flooring arrived in these big panels. Honestly, I was a little intimidated at first. But the cool thing is, they’re designed to interlock, kinda like giant puzzle pieces.
- I started by laying down a moisture barrier. Living in a place where it rains a lot, I figure it couldn’t hurt to protect the wood from underneath.
- Then, I began connecting the floor, and it needs at least two people to install. It took a bit of effort to snap them together,It was pretty satisfying, though.
- The edges were a little tricky. I had to do a little adjust and fitting to get them to fit perfectly, but nothing too crazy.
The Finished Product
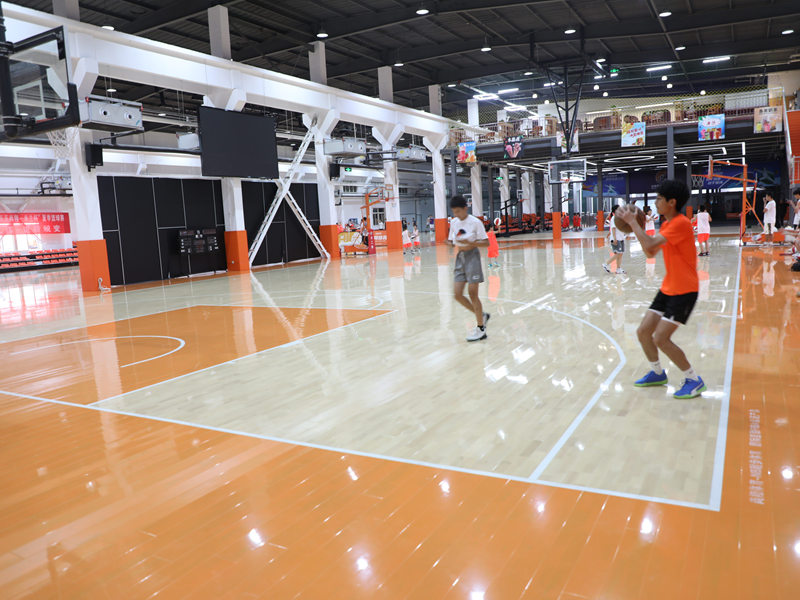
After a few hours of work , I stood back and looked at my new portable court. It looked pretty awesome, if I do say so myself. The hevea wood has this nice, smooth finish, and it feels really solid underfoot.
I’ve played a few games on it, and it’s been great, It’s definitely an upgrade from playing on the uneven grass I had before.
So, that’s my experience with the LVL Basketball portable wooden flooring. It was a bit of a project, but totally worth it in the end. If you’re thinking about getting one, just make sure you’ve got some space and are ready for a little bit of DIY work. But trust me, having your own basketball court is pretty sweet!


