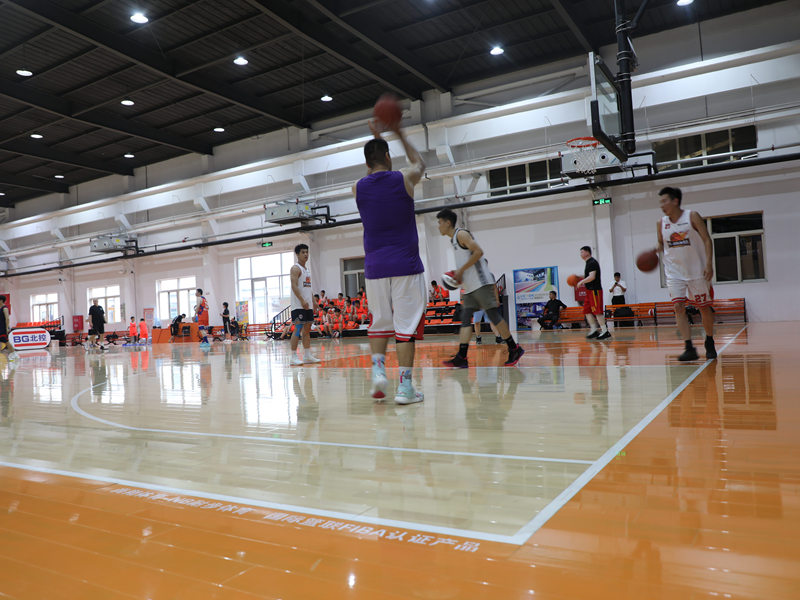
Alright, folks, let’s talk about my little adventure with putting in some new flooring for a basketball court. The project? LVL Basketball birch assembled wooden flooring. Sounds fancy, huh? It kinda is, but the process? Let me tell you, it was a hands-on experience.

Getting Started
First things first, I had to clear out the old space. This wasn’t some pristine, empty room. Nah, it was a storage area, full of, well, junk. Boxes, old equipment, you name it. It took a good day just to get everything out and sweep the concrete floor clean. I wanted a totally blank canvas to work with.
Prepping the Subfloor
Next up, making sure the concrete was level. This is super important, you guys. Any dips or bumps, and your basketball court is gonna feel… off. I used a self-leveling compound for this. Basically, you mix it up like pancake batter (but don’t eat it!), pour it on, and it magically finds its own level. Science, I guess. Letting that dry took about a day, too.
The Moisture Barrier
Because this was going over concrete, I needed a moisture barrier. Wood and concrete don’t always play nice, and moisture can cause all sorts of problems – warping, buckling, the whole nine yards. I rolled out this plastic sheeting, overlapping the seams and taping them down. It felt like wrapping a giant present, but for, like, a floor.
Laying Down the LVL
Now, the fun part! LVL, or Laminated Veneer Lumber, is basically like super-strong plywood. It’s the base for the whole shebang. I started in one corner, laying down the first piece and making sure it was square with the walls. This is crucial, or your whole floor will be wonky. Then, it was just a matter of connecting the LVL pieces together, using construction adhesive and screws. It felt like putting together a giant jigsaw puzzle, only heavier.
The Birch Flooring
Once the LVL was down, it was time for the pretty stuff – the birch flooring. These pieces were tongue-and-groove, meaning they fit together like, well, puzzle pieces again! I applied adhesive to the LVL and started laying down the birch, tapping each piece into place with a rubber mallet. It’s important to leave a little gap around the edges for expansion, so I used spacers to keep everything consistent.
The Finish Line
I did section at a time, because that glue sets up quickly. I spread the glue, and assemble the wood.
- Apply adhesive.
- Lay down flooring.
- Tap into place.
- Repeat.
After all the flooring was down, I let it sit for a couple of days to really set. Then came the sanding. Oh, the sanding. It was dusty, it was loud, but it made everything smooth and even. Finally, I applied several coats of polyurethane finish, letting each coat dry completely before adding the next. This gives it that shiny, basketball-court look and protects the wood.
And… that’s it! It was a lot of work, but seeing it all come together? Totally worth it. It’s not perfect, mind you. There are a few little imperfections here and there, but hey, that’s part of the charm, right? It’s handmade, with my own two hands. And that’s pretty cool.


