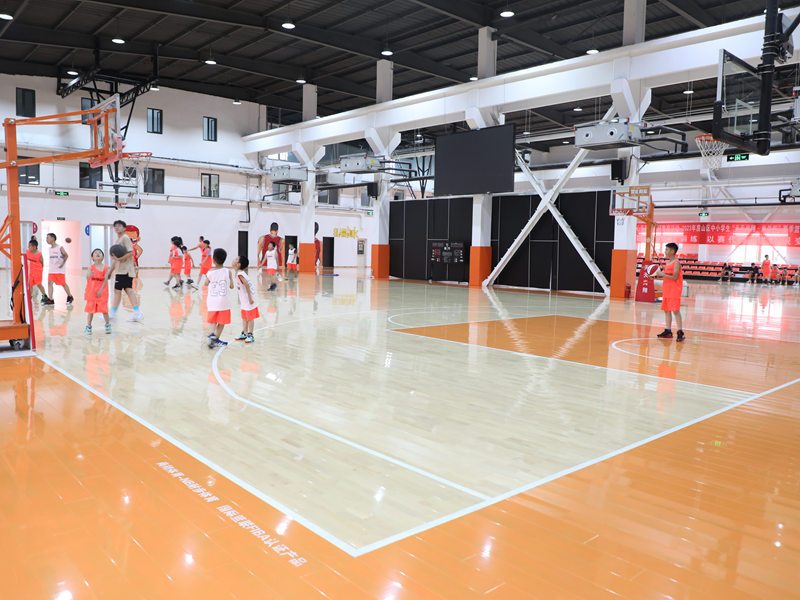
Okay, so I’ve been wanting to upgrade my home basketball court for a while now. I finally decided to pull the trigger and go with a beech LVL (Laminated Veneer Lumber) system. It seemed like a good balance of durability, cost, and aesthetics. I have zero professional experience, just what I learn and try.

First, I cleared out the old, cracked concrete surface. That was a whole workout in itself! Jackhammer, wheelbarrow, the whole nine yards. I made sure to get rid of every last bit of debris and level out the ground as much as possible. A good foundation is key, right?
Next, I laid down a vapor barrier. This is basically a thick plastic sheet that prevents moisture from seeping up from the ground and messing with the wood. I overlapped the edges and taped them down securely with some heavy-duty tape. Don’t want any sneaky water damage!
Then came the sleepers. These are basically long pieces of treated lumber that the flooring panels will rest on. I spaced them out evenly, following the manufacturer’s instructions. I used a level constantly to make sure everything was, well, level! A few shims here and there helped to get it perfect.
Now for the fun part – installing the actual LVL panels! These things are heavy, so I definitely enlisted the help of a buddy. We started from one corner and worked our way across, clicking the panels together. They have this tongue-and-groove system that makes it pretty straightforward.
It’s important to leave a small expansion gap around the perimeter of the court. Wood expands and contracts with temperature changes, so you need to give it some room to breathe. We use special tool to make sure every pieces are lock.
- Cut the panels to fit around the edges. For this I use a circular saw.
- Use a tapping block and a rubber mallet to tap the panels snugly together. No gaps!
Once all the panels were down, I installed the transition strips around the edges to cover the expansion gap and give it a clean, finished look. A bit of nailing and they were good to go.
The final result
Seriously, I’m stoked with how it turned out! The beech looks amazing, and the surface feels super solid and smooth. It’s a huge upgrade from the old concrete, and I can’t wait to actually play on it. I have plan to add layer on top of it for better ball bouncing and protect it better from the elements. But all in all, pretty happy with my DIY project!


