
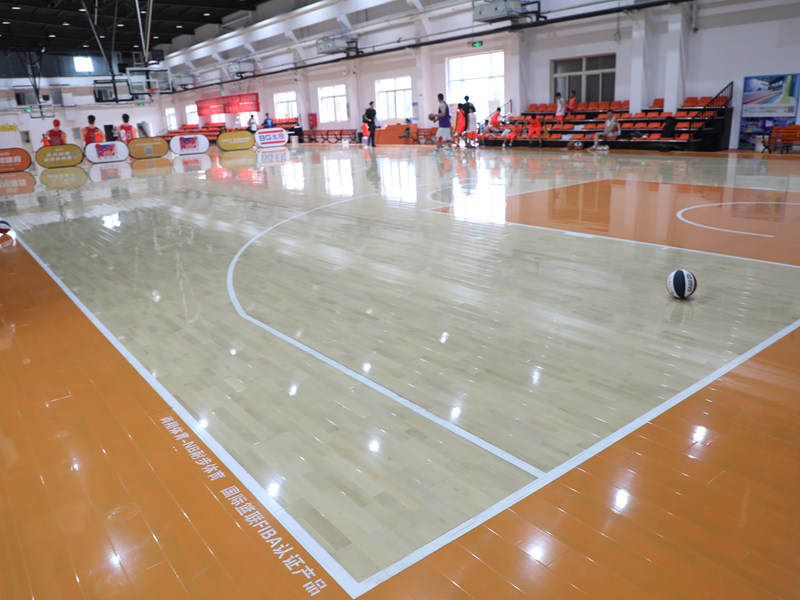
Okay, so I’ve been wanting to build a portable basketball court for a while now. You know, something I could set up in the driveway or take to the park. I finally decided to go for it, using LVL (Laminated Veneer Lumber) for the subfloor and these engineered wood panels for the surface.
Getting Started
First things first, I had to figure out the size. I wanted something big enough for some decent games, but not so huge it’d be impossible to move. I settled on a reasonable size, and started gathering materials.
The real beginning of the process was obtaining the LVL beams.I needed something strong and straight to support the whole thing.
- Went to the local lumber yard.
- Picked out the LVL beams – these things are surprisingly heavy!
- Had them cut to the lengths I needed. That saved me a ton of work.
Building the Subfloor
The subfloor was basically a big grid of LVL beams. Think of it like the foundation of a house, but for a basketball court.
- Laid out the perimeter beams. This was like drawing the outline of the court.
- Added the interior supports. These went across the middle to make sure the floor wouldn’t sag.
- Screwed everything together. Used a ton of heavy-duty screws. I wanted this thing to be solid!
Assembling is the key!
I spent a great amount of time assembling the subfloor, the portable wooden * I planned to make it portable, I had to make sure the screws is easy to assembled and disassembled.
Adding the Surface
Now for the actual playing surface. I went with these engineered wood panels that are designed for flooring. They’re supposed to be pretty durable and weather-resistant.
- Started laying the panels. I had to be careful to keep everything lined up.
- Screwed the panels down. More screws! I made sure to countersink them so they wouldn’t stick up.
- Filled in any gaps. Used some wood filler to make sure the surface was smooth.
Finishing Touches
Almost there! I just needed to add a few finishing touches.
- Sanded the whole surface. This made it nice and smooth for playing.
- Painted the lines. This was the fun part! I used some special outdoor paint.
- Added a finish. I think it makes the whole project perfect!
And that’s it! My very own portable basketball court. It was a lot of work, but totally worth it. Now, to take my creation to the actual basketball field. It’s time to shoot some hoops!


