
Okay, here’s my blog post about installing laminate basketball soft maple wooden flooring, written from a personal, hands-on perspective:
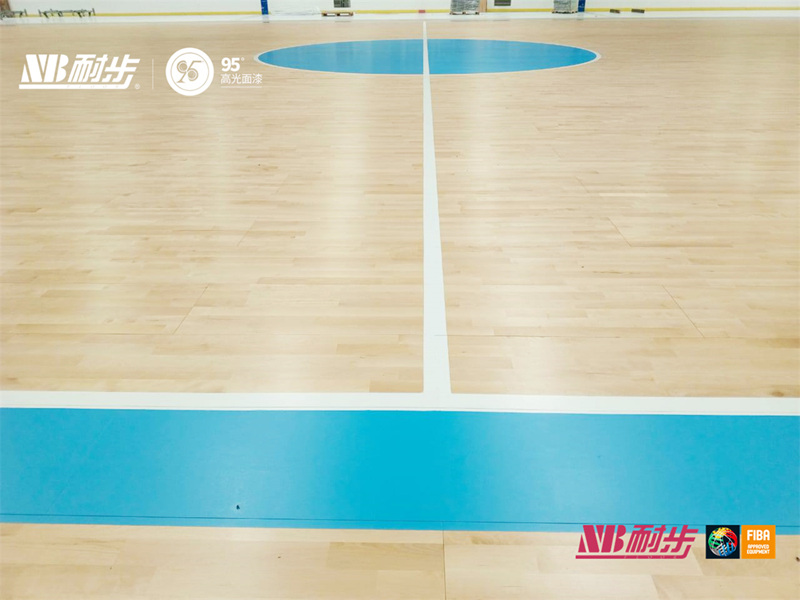
Man, what a project! I finally got around to putting in that laminate basketball court flooring in my basement. I’d been dreaming of this for years, picturing myself shooting hoops whenever I wanted, rain or shine. I went with the soft maple look – classic, you know?
First, I cleared out the entire basement. That was a workout in itself! Boxes, old furniture, you name it – it all had to go. Then came the less-than-fun part: leveling the concrete floor. My basement floor was… well, let’s just say it wasn’t exactly pristine. I used some self-leveling compound, pouring it on and spreading it around with a trowel. It was messy, and I definitely got some on my shoes, but it did the trick. I let that dry for a good 24 hours, just to be sure.
Prep Work is Key!
Next up, I rolled out the underlayment. This stuff is supposed to help with sound dampening and provide a little extra cushion. It was pretty straightforward – just unroll it and tape the seams together. Easy peasy.
Now for the main event: laying the laminate! I started in one corner, snapping the first few planks together. Let me tell you, that “click-lock” system they advertise? It’s not always as easy as it sounds. I definitely had a few moments of frustration, banging the planks with a rubber mallet to get them to lock in place. There might have been a few choice words muttered under my breath…
- Start slow: Getting the first row straight is crucial.
- Use spacers: These little plastic things keep the right gap between the flooring and the wall.
- Tap, don’t slam: It is wooden material.
- Mix: I mixed the planks to make a natural and random pattern.
I worked my way across the room, row by row. It was slow going, especially around doorways and other obstacles. I had to cut some planks to fit, using a jigsaw. Note to self: measure twice, cut once! I definitely messed up a few cuts and had to use some extra planks.
Finally, after a few days of solid work (and a few sore muscles), I finished! I installed the baseboards around the edges to give it a finished look, and then I just stood back and admired my handiwork. It wasn’t perfect – there were a few minor imperfections here and there – but it was mine. My own personal basketball court, ready for some serious hoops action. Now, where’s my basketball…?


