
Okay, here’s my blog post about putting together that laminate basketball court floor:
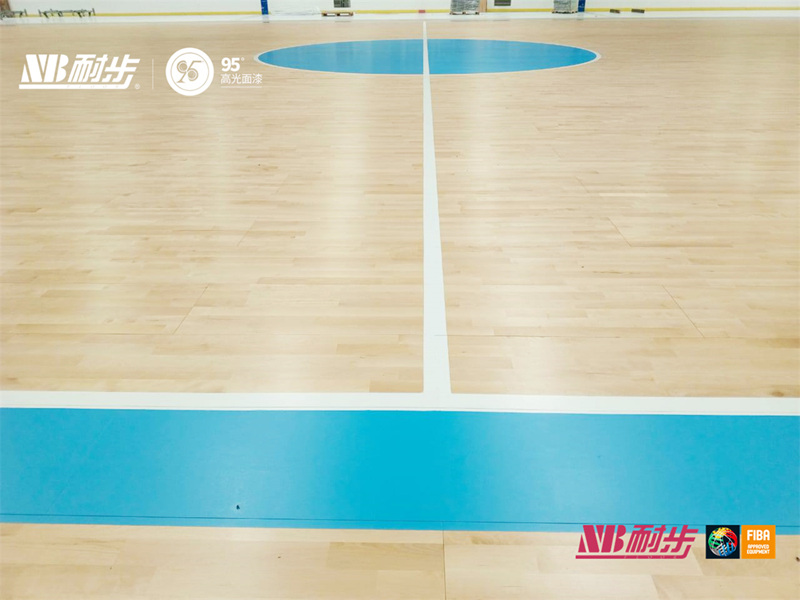
Alright, so I decided to take on this project – laying down a laminate basketball court floor, the kind that looks like soft maple. It’s supposed to be assembled, which, you know, should mean it’s easier. Let’s see how that went.
Getting Started
First things first, I cleared out the entire area. This was a workout in itself! Moved all the furniture, rolled up the old rug, and swept the heck out of the concrete subfloor. Gotta have a clean slate, right?
Then, I laid down the underlayment. This stuff is supposed to help with sound and moisture, feels a bit like a giant foam puzzle. Taped the seams together, making sure it was all smooth and flat.
The “Fun” Part: Laying the Planks
Okay, this is where the “assembled” part was supposed to shine. The planks have this click-lock system. You’re supposed to just angle one plank into another, and click, they’re together. Sounds easy, yeah?
Well the process is not that smoth, and it really test your patience.
- First row: I started along the longest wall, leaving a little gap for expansion (used some spacers for that). The first few planks were okay, a little wiggling and they clicked in.
- Getting the hang of it: I figured out that a good, solid tap with a rubber mallet was key. Too gentle, and it wouldn’t lock. Too hard, and you risk damaging the edges.
- The middle rows: This is where I really got into a rhythm. Angle, tap, click, repeat. I was feeling pretty good, like a flooring pro! My back, though, was starting to complain.
- Cutting around doorways: This was tricky. I used a jigsaw (after measuring like five times) to cut the planks to fit around the door frames. Not perfect, but good enough. Caulking will hide the sins, right?
- The last row: Ugh. The last row is always the worst. I had to rip down some planks lengthwise to fit the remaining space. My table saw skills were definitely tested. A few choice words may have been uttered.
Finishing Touches
After all the planks were down, I removed the spacers and installed the baseboards. This really made it look finished. Covered up those expansion gaps nicely.
Finally, I gave the whole floor a good cleaning. Vacuumed up all the sawdust and debris, then wiped it down with a damp mop. Stepped back, admired my handiwork (and my aching back).
Overall, it was a bigger job than I anticipated, even with the “assembled” flooring. But, hey, I did it! And it looks pretty darn good, if I do say so myself. Now, to break it in with a game of… well, maybe just walking. My knees need a break.


