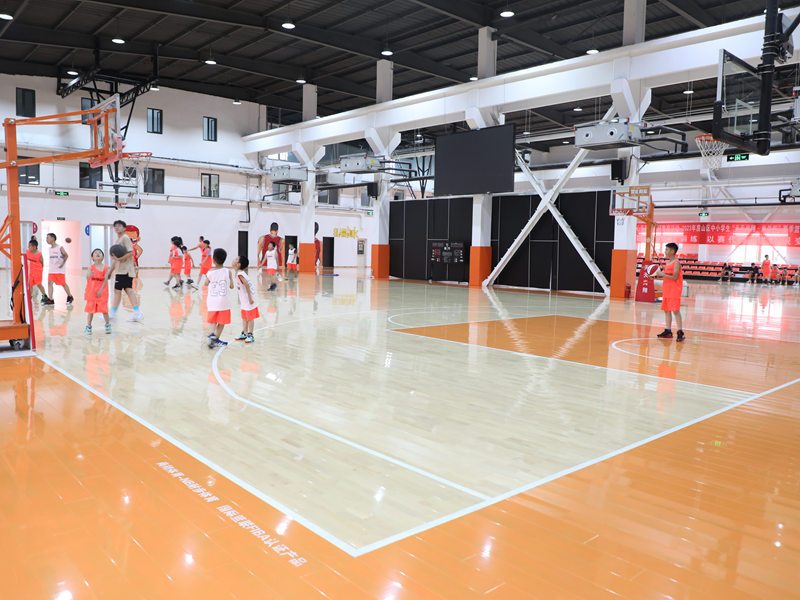
Okay, so I’ve been wanting to redo my home gym floor for, like, forever. It was just plain old concrete, cold and kinda depressing. I finally decided to go all out and install a real, proper sports floor – the kind you see in volleyball courts. I went with a keel system and those interlocking wooden parquet tiles. Here’s how the whole thing went down.

Prepping the Concrete
First things first, I had to make sure the concrete was ready. I cleaned the heck out of it. Swept it, like, three times, then vacuumed it. Then I went over it with a damp mop – nothing too wet, just enough to get any leftover dust.
The concrete was pretty level already (thank goodness!), but there were a couple of low spots. I used some self-leveling compound to fill those in. It’s like pouring pancake batter, it finds its own level. I let that dry completely – took about a day.
Laying Down the Keel
Next up was the keel system. This is basically the framework that goes under the wooden tiles. It gives the floor that nice “bounce” and helps with shock absorption. Mine came in these long strips. I started by laying them out according to the plan I’d sketched out. It’s important to leave a little gap around the edges of the room – expansion gaps, they call ’em. That lets the wood expand and contract with temperature changes without buckling.
I used construction adhesive to glue the keel strips to the concrete. I put down a good bead of adhesive, then pressed the keel down firmly. I made sure to weigh them down while the adhesive cured – I used some old weights and stacks of books. Whatever works, right?
Installing the Parquet Tiles
This was the fun part! The parquet tiles I chose are these pre-finished wooden squares that interlock. It’s like a giant puzzle. I started in one corner and worked my way across the room, clicking the tiles together. They have these little tongues and grooves that fit snugly.
I used a rubber mallet to tap them into place – gotta be gentle, you don’t want to damage the edges. It’s kinda satisfying, that “thunk” sound when they lock together.
- Tip: Stagger the seams! Don’t make them all line up in straight rows. It looks better and it’s stronger that way.
The last row was a bit tricky. I had to cut some of the tiles to fit against the wall. I used a circular saw for that – made sure to measure twice, cut once! I left that same expansion gap around the edges, just like with the keel.
Finishing Touches
Once all the tiles were down, I installed some baseboard molding around the perimeter to cover up those expansion gaps. It gives it a nice, finished look.
And that’s it! It took me a couple of weekends, working on and off, but it was totally worth it. The floor looks amazing, feels great underfoot, and it’s way better for workouts. My knees are thanking me already! It feels like I Have my pro volleyball space.


