
Okay, here’s my blog post about putting together that keel, volleyball, rubber tree, assembled wooden floor:
Man, what a project this was! I started out thinking, “Oh, this’ll be a fun weekend thing.” Nope. More like a “fun” few weekends, plus some weeknights thrown in for good measure. But hey, it’s done, and I’m pretty stoked with how it turned out.
Getting Started
First things first, I cleared out the entire space. This was crucial. I needed room to, you know, actually move and lay things out. Then I did a deep clean of the subfloor, making sure there weren’t any stray nails, bits of debris, or anything that could mess with the new floor.
The Keel Situation
The keel part was interesting. Basically, it’s like the spine of the whole operation. I laid down these long support beams, making sure they were perfectly level. Seriously, I spent forever with a level, shimming things here and there. If the keel’s off, the whole floor’s gonna be wonky, and nobody wants a bouncy, uneven volleyball court.
Rubber Tree Underlayment?
Okay, about that “rubber tree” part… I used a rubber underlayment. I’m guessing it might be made from rubber trees, but honestly, I just wanted something that would provide good cushioning and sound dampening. Volleyball involves a lot of jumping and diving, so a little extra give is a good thing. I rolled this stuff out over the keel, making sure to overlap the seams and tape them down securely.
Assembling the Wooden Floor
Now for the actual wood. This was the “assembled” part – it came in these interlocking planks. It was kinda like putting together a giant jigsaw puzzle. I started in one corner and worked my way across the room, clicking the planks together. The instructions said to use a tapping block and a mallet, and they weren’t kidding. You gotta give ’em a good whack to get them to snap into place.
- Tip #1: Don’t be shy with the mallet. But also, don’t go crazy. You want a snug fit, not shattered wood.
- Tip #2: Stagger the seams! This makes the floor stronger and looks way better than having all the seams line up.
- Tip #3: Leave a little gap around the edges of the room. Wood expands and contracts with changes in humidity, so you need to give it some breathing room.
Finishing Touches
Once all the planks were down, I installed some trim around the edges to cover that expansion gap. This made everything look nice and finished. Then came the sanding… oh, the sanding. I rented a big floor sander and went over the whole thing a few times, starting with a coarser grit and working my way to a finer one. This made the floor super smooth and ready for the finish.
Finally, I applied several coats of polyurethane. This is what protects the wood and gives it that nice, shiny look. It also makes it easier to clean up spills, which, let’s be honest, are gonna happen during volleyball games.
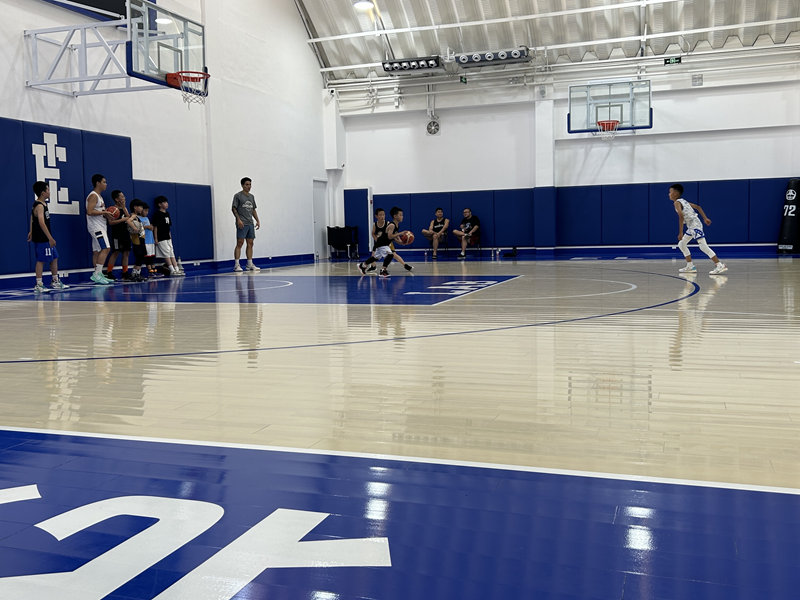
It was a lot of work, but seeing the finished product makes it all worthwhile. Now I’ve got a sweet indoor volleyball court (or, you know, a really nice multi-purpose room) that’s ready for some action!


