
Alright, folks, gather ’round! Today, I’m gonna share my little adventure of putting together a “keel Volleyball pine assembling wooden flooring.” Sounds fancy, huh? It’s basically just putting down a wooden floor, but with extra steps for a sports court. Let me walk you through it, step by clumsy step.
The Prep Work
First things first, I cleared out the space. This was no small feat, as my garage was…well, let’s just say it was a “storage enthusiast’s paradise.” After a good day of moving stuff and sweeping, I had a nice, empty concrete slab to work with.
Next, I laid down a vapor barrier. This is basically a big plastic sheet that keeps moisture from the ground from messing with the wood. I just rolled it out, overlapping the edges, and taped it all down. Easy peasy.
The Keel System – The Fun Begins!
Now for the “keel” part. This is what gives the floor its bounce and makes it suitable for, you know, actual volleyball playing. Instead of just laying the wood straight on the concrete, I built a framework of sorts using these pine “sleepers,” as some folks called them. This created some space.
I spaced the sleepers out evenly – used a measuring tape and everything! – and secured them to the concrete. It was like building a giant, flat ladder on the floor. I was careful when I built it, not to make too much noise, and that there was some room between the boards.
Laying the Pine Flooring
With the keel system in place, it was time for the actual flooring. These were long, tongue-and-groove pine boards. Starting from one wall, I slotted the first board into place, making sure it was nice and snug against the wall. I secured it to the keel with flooring nails, also known as “cleats”.
Then came the slightly tricky part: fitting the next board. The tongue-and-groove design is supposed to make it easy, but let me tell you, sometimes those boards just don’t want to cooperate. I wiggled, I tapped, I may have even pleaded a little, until “click!” – they snapped together.
I repeated this process, board after board, row after row. It was slow going, and my knees definitely felt it, but it was satisfying to see the floor taking shape. I used a rubber mallet to gently persuade any stubborn boards into place, and a nail gun to secure everything to the sleepers.
The Finishing Touches
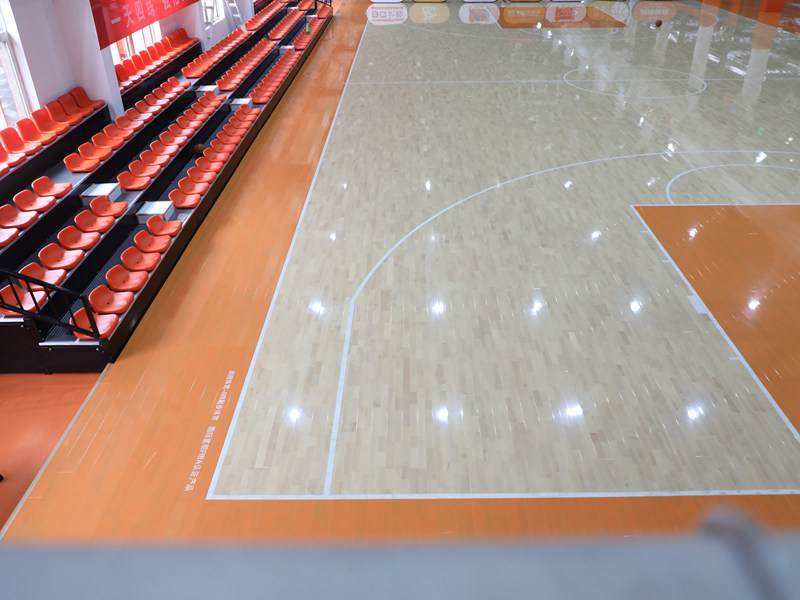
Once all the boards were down, I installed baseboards around the edges to cover the gap between the flooring and the wall. This gave it a nice, clean look. And, of course, a good sanding and a few coats of polyurethane to protect the wood and give it a nice sheen.
And there you have it! My very own “keel Volleyball pine assembling wooden flooring.” It wasn’t exactly a walk in the park, but it was a fun project, and now I have a pretty awesome space for, well, anything that requires a bouncy wooden floor!


