
Okay, so I decided to tackle this project: building a “keel dancing pine portable wooden flooring.” Sounds fancy, right? It’s basically a portable dance floor made of pine, with a supportive structure underneath (the “keel”). I wanted something I could set up in my backyard for some outdoor dance practice, and then easily store away.
Getting Started
First things first, I needed a plan. I sketched out a rough design. Nothing too complicated, just a rectangular platform with some supports underneath. I decided on pine because it’s relatively inexpensive and easy to work with, and had friend help me get it.
The “Keel” (Support Structure)
The keel is the backbone of this whole thing. I used 2x4s for this. I built a simple frame, like a very shallow box, with cross-pieces for extra support. Think of it like a mini-version of the floor joists in a house. I made sure everything was level and square, because a wobbly dance floor is no good!
- I used a lot of wood glue and screws to put the keel together. I wanted it to be rock-solid.
- I spent a good amount of time sanding down any rough edges or splinters. Nobody wants a splinter in their foot while they’re dancing!
The Dance Surface
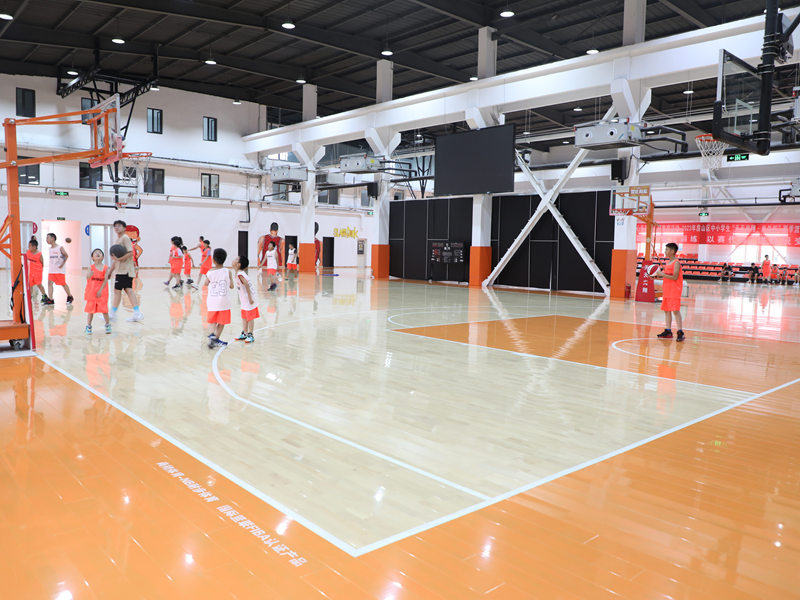
For the actual dance surface, I used pine planks. I laid them out on top of the keel, making sure they were snug against each other.
- I secured the planks to the keel with more screws. I made sure to countersink the screws so they wouldn’t stick out and snag anyone’s shoes.
- After all the planks were attached, I gave the whole surface a good sanding. I started with a coarser grit sandpaper and worked my way up to a finer grit, until it was nice and smooth.
Making it Portable
The “portable” part was the trickiest. I wanted to be able to break it down for storage. My solution was to build the floor in two smaller sections instead of one big one.
- I used some heavy-duty hinges to connect the two sections. This way, I could fold the floor in half for easier carrying and storage.
- I attached some simple rope handles to the sides of each section to make it easier to move around.
Finishing Touches
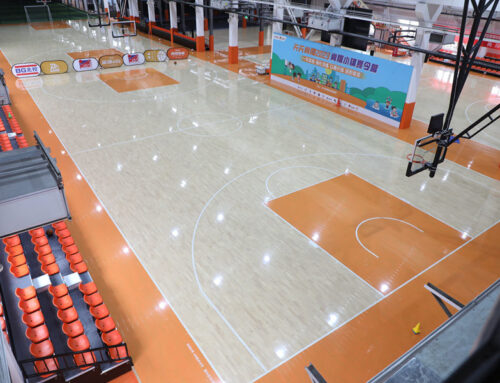
Once everything was assembled, I applied a couple of coats of polyurethane to protect the wood from the elements. I let it dry completely between coats, and gave it a light sanding with very fine sandpaper after the final coat, just to make sure it was super smooth.
And that’s it! My very own “keel dancing pine portable wooden flooring.” It took a weekend of work, but it was totally worth it. Now I can practice my moves anytime, anywhere (well, anywhere with a relatively flat surface!). It’s not perfect, of course, but I’m happy and proud of what I create!


