
Alright, folks, let’s talk about my recent adventure in home improvement: laying down some “keel dancing oak assembled wooden flooring.” Sounds fancy, huh? It kinda is, but the process? Not so much. It was a learning experience, let me tell you.
Prepping the Battleground
First things first, I had to get the room ready. This involved clearing out everything. Like, everything. Furniture, rugs, the random junk that accumulates in corners… it all had to go. Then came the fun part (not really): cleaning. I swept, vacuumed, and even mopped the subfloor to make sure it was spotless. You don’t want any sneaky dust bunnies messing with your beautiful new floor.
The Unboxing and Acclimation
The flooring arrived, and the boxes, they were heavier than they looked. After I check that I have received all of them, and it turns out I was missing one. Then I spent sometime trying to findout who should I contact, the website provide an error 404 page. After I finally found it, they told me it will take 48 hours to give me back my missing box.
The real first step is, I let the wood hang out in the room for a few days. Apparently, this is called “acclimation.” It lets the wood get used to the temperature and humidity of the room, so it doesn’t go all wonky later on. It felt a bit silly, just staring at boxes of wood, but hey, I wanted to do this right.
Laying Down the Keel
The “keel” part of this flooring is basically these strips of wood that create a framework. I measured, and measured again (measure twice, cut once, right?), and started laying them down. This involved a lot of kneeling, which my knees weren’t thrilled about. I used some construction adhesive to stick them to the subfloor, making sure everything was nice and level. This part was surprisingly satisfying, seeing the framework take shape.
Assembling the Wooden Puzzle
Then came the actual flooring. These were pre-assembled planks, which made things a bit easier. They clicked together – a surprisingly satisfying sound. I started at one wall and worked my way across the room, row by row. It felt like putting together a giant, wooden jigsaw puzzle. There was some tapping involved, using a rubber mallet and a tapping block, to make sure everything was snug and secure. My arms got a workout, let me tell you.
Dealing with the Tricky Bits
Of course, it wasn’t all smooth sailing. There were doorways and corners to deal with. This meant cutting the planks to fit. I used a jigsaw for this, and let’s just say my cuts weren’t always perfect. There was some trial and error, and a few choice words muttered under my breath. But eventually, I managed to get everything to fit, more or less.
The Finishing Touches
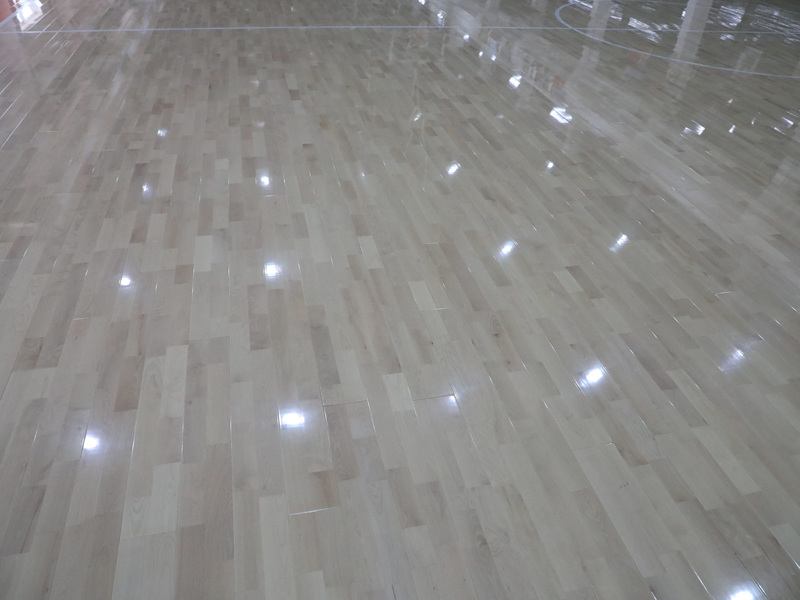
Once all the planks were down, I installed some baseboards to cover the edges and give it a polished look. This involved more measuring, cutting, and nailing. Finally, I gave the whole floor a good clean, stood back, and admired my handiwork.
- My back was sore.
- My knees were complaining.
- There were a few imperfections.
But you know what? It looked pretty darn good. I had actually installed a wooden floor, all by myself. And that feeling of accomplishment? That was worth all the sweat and sore muscles.


