
So, I decided to give my living room a new look, and what’s a better way to spice things up than a fresh floor? I’ve always loved the warm, classic vibe of wooden flooring, but I also wanted something I could potentially move or change later. That’s when I stumbled upon this “keel dancing hevea portable wooden flooring” thing. Sounds fancy, right? It’s basically a portable wooden floor – perfect for a commitment-phobe like me!
Getting Started
First things first, I measured my living room. Gotta know how much of this stuff to get, you know? It wasn’t a perfect square, with a little nook by the window, but I did my best to get a rough estimate.
The Unboxing
The flooring arrived in these manageable boxes. Inside, there were these wooden panels, not too heavy, not too light. They had this interlocking system, kind of like giant puzzle pieces. The “hevea” part, I learned, is the type of wood – rubberwood, apparently, which is supposed to be pretty eco-friendly. “Keel dancing,” I’m guessing, refers to the flexible backing that makes it portable.
- Checked every box carefully to see if all parts are complete.
- Every panels inspected for damages or defects.
Putting It Together
This was the fun part! I started in one corner, laying down the first panel. Then, I took the next one and clicked it into place. It was surprisingly easy! The panels fit together snugly, with a satisfying “click.” I kept going, row by row, like building a giant, wooden jigsaw puzzle. The interlocking system was pretty forgiving, even when I messed up a couple of times and had to redo a section.
- Some panels were very hard to connect, so I used a rubber mallet to make them fit.
- I also used some wooden blocks to make sure everything are well placed.
The Tricky Parts
The edges and that little nook by the window were a bit of a challenge. I had to cut some of the panels to fit. I just used a regular saw, nothing fancy. It wasn’t the prettiest cutting job, I admit, but hey, it’s going to be hidden by the baseboards anyway!
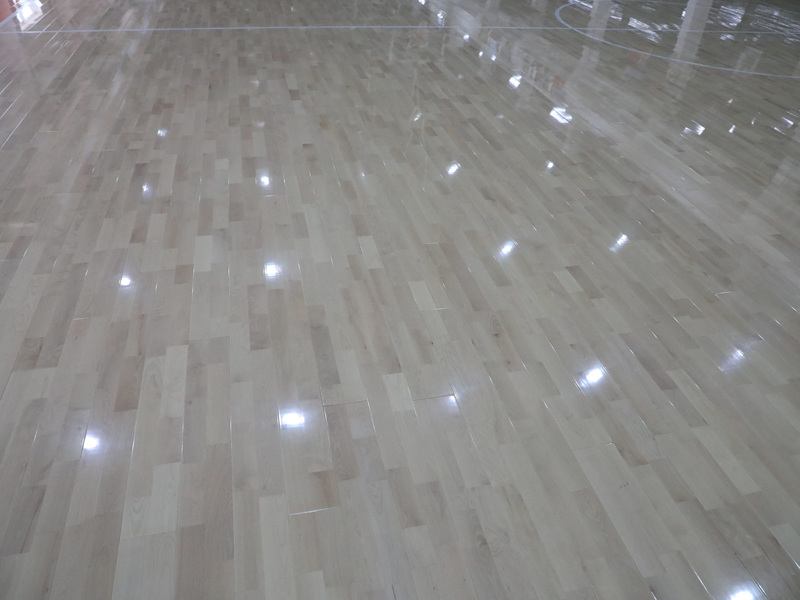
The Finished Product!
After a few hours of work (and a couple of coffee breaks), it was done! My living room had a brand-new, shiny wooden floor. And the best part? If I ever move or just want a change, I can just unclick the whole thing and take it with me. No messy glue, no permanent commitment. Pretty neat, huh?
Overall, I’m pretty happy with how it turned out. It wasn’t super difficult, even for a DIY newbie like me. And it definitely gave my living room that cozy, upgraded look I was going for.


