
Okay, so I’ve been wanting to redo the flooring in my workshop for, like, forever. It was this old, cracked concrete that was just a nightmare to keep clean and was super uncomfortable to stand on for long periods. I finally decided to take the plunge and install some real wood flooring. After a bunch of research, I went with keel dancing hard maple assembled wooden flooring. Here’s how it went down:
Prepping the Space
First things first, I had to get that old concrete floor ready. This involved a LOT of sweeping and scrubbing. I mean, years of accumulated sawdust, dirt, and who-knows-what-else had to go. I used a stiff-bristled broom and a shop vac to get up as much of the loose stuff as possible.
Then, because the concrete was so uneven, I poured some self-leveling compound. That was a bit messy, I gotta admit, but it made a HUGE difference. It’s important to have it smooth level before laying any wood down. Let that stuff dry and cure completely – took about a full day in my case.
Laying Down the Underlayment
Next up was the underlayment. I chose a basic foam underlayment because it was a good price. This is the layer that protects the wood.
I rolled it out across the floor, making sure to overlap the seams a bit. I used some heavy-duty tape to secure the seams and keep everything in place. It’s pretty simple and makes a big difference with sound and temperature, I think.
Installing the Flooring
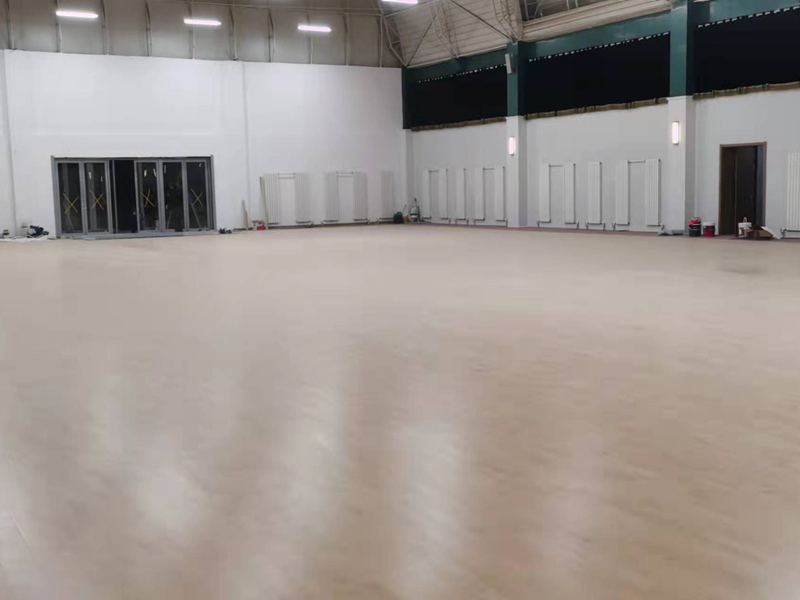
Now for the fun part – actually putting down the flooring! The keel dancing hard maple I chose came in pre-assembled planks, which made things WAY easier. It’s basically like a big puzzle. I started in one corner of the room, laying down the first row of planks along the longest wall.
It’s super important to leave a small gap between the flooring and the wall – that’s for expansion and contraction. Wood moves with changes in humidity, and if you don’t leave that gap, you’ll end up with buckling later on. I used some little spacers to make sure the gap was consistent all the way around.
The planks themselves had a tongue-and-groove system, so they clicked together pretty easily. I used a rubber mallet to gently tap them into place, making sure everything was nice and snug. For the last row, I had to rip some of the planks lengthwise to fit, which was a bit of a pain, but my trusty circular saw made it manageable.
I staggered my rows to make them stronger.
Finishing Touches
Once all the flooring was down, I installed some baseboards around the perimeter of the room to cover up that expansion gap and give it a finished look. Just a simple, white baseboard that I nailed into place. Then fill the holes in the wall with putty.
And that’s pretty much it! The whole project took me about a week of evenings and some weekends, but it was totally worth it. My workshop looks SO much better now, and it’s way more comfortable to work in. The hard maple is super durable, and it should hold up to all the abuse I throw at it. Plus, it’s way easier to clean than that old concrete!


