
Okay, here’s my blog post about building that portable wooden dance floor:
So, I’ve been wanting a good, solid surface to practice my popping and locking. My apartment has carpet, which is, like, the worst for that kind of stuff. I looked around at buying a portable dance floor, but they were either super expensive or kinda flimsy. That’s when I thought, “Hey, I can probably build one myself!” And I was right!
The “Keel” Idea
First, I had to figure out the base. I wanted something that would give the floor some spring, but also keep it stable. I ended up going with a simple “keel” design. Think of it like the bottom of a boat, but upside down. It is made of several wooden boards, running lengthwise, to distribute the weight and provide consistent support.
I went to the local hardware store. I picked up some decent-quality plywood for the surface. Then, to try to save some dollars, I found that I could use slightly cheaper 2x4s for the keel parts.
Putting It All Together
Cutting the Wood: I started measuring, cutting, and laying out the wood on the ground. It wasn’t super precise, I just wanted to get the general size and shape * I use a handy circle saw to cut the plywood and 2x4s into my design.
Making the Keels: Then I got down to building the keels. I basically laid out the 2x4s in a grid pattern, with the long pieces running the length of the floor. I screwed them together with wood screws. It is pretty simple, and I didn’t need to be a master carpenter to get it done.
Attaching the Surface: Once the keel frame was done, I laid the plywood sheets on top. I made sure to stagger the seams, and cut the sheet so it’s like bricks in a wall, which I think makes it stronger. Then, I screwed the plywood down to the keel frame, making sure to use plenty of screws so it wouldn’t creak or wobble.
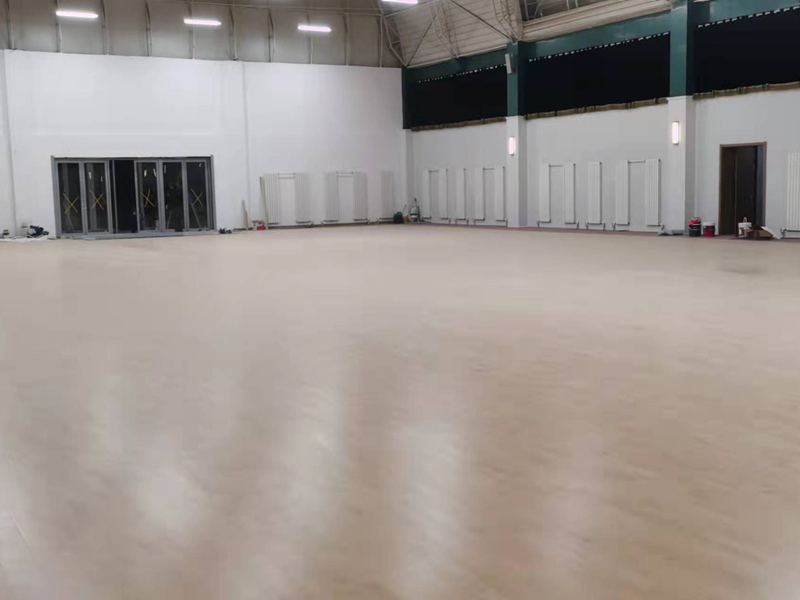
The Finished Product (and Some Dancing!)
Sanding and Smoothing: The very last wood-working step was to grab some sandpaper and smooth out any rough edges. I didn’t want any splinters ruining my dance moves!
Portability Test: It can be disassembled and reassembled. That was part of the plan from the start. It’s not super light, but I can definitely move it around by myself.
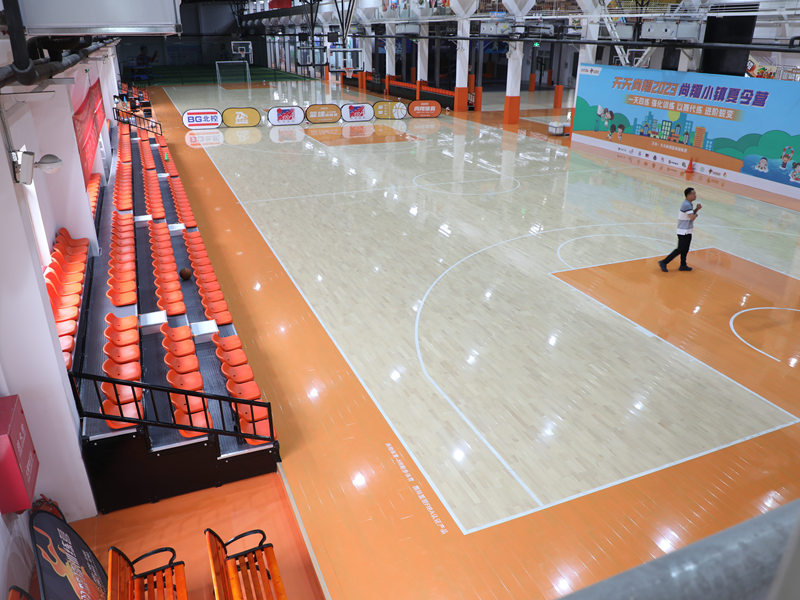
Dance Test: Okay, the real test. I cranked up some tunes and started moving. And you know what? It felt great! The floor had just the right amount of give, and it was way better than practicing on the carpet. My spins were smoother, my footwork felt cleaner… I was in heaven.
So, yeah, that’s the story of my DIY portable dance floor. It was a fun project, and it definitely improved my dance practice. If you’re thinking about building one yourself, I say go for it! It’s totally doable, even if you’re not a woodworking expert. Just take your time, measure carefully, and don’t be afraid to get your hands dirty. Also, if you want something solid and stable, you must use plenty of screws.


