
Okay, so I’ve been wanting to do this for a while, and I finally took the plunge and documented the whole process. I’m talking about laying down a keel basketball parquet wooden flooring. It’s not as scary as it sounds, believe me!
Getting Started
First things first, I did a ton of research. Watched a bunch of videos, read some articles, the whole nine yards. I wanted to make sure I knew what I was getting myself into. Then, I started gathering my materials. This was a bit of a scavenger hunt, but I managed to track down everything I needed.
- The Wood: This was the most important part, obviously. I opted for a good quality, pre-finished parquet. Saved me a ton of time on staining and sealing.
- The Keel System: There are different system that used for supporting the floor, make sure it suitable for your subfloor.
- Tools: Circular saw, jigsaw, measuring tape, level, hammer, nails, and some good knee pads.
- Subfloor Prep Stuff: Depending on what you’re working with, you might need leveling compound, plywood, or a vapor barrier.
Prepping the Subfloor
My subfloor was a bit of a mess. It’s an old concrete slab, so it had some cracks and uneven spots. I started by giving it a good sweep and cleaning. Then, I used a self-leveling compound to fill in the low spots and make everything nice and smooth. This part took a while to dry, so I had to be patient.
The Keel
The direction of keel should consider about the mainly light direction, this would reduce the effect of shadows that generated by gap of parquet.
Then put the keel on the correct positon, consider about the spacing, make sure it follow the requirement of the parquet manufacturer’s requirement.
Laying the Parquet
Once that keel was done, it was time for the fun part – laying the actual parquet! I started in one corner, working my way out. It’s like putting together a giant puzzle. The parquet pieces had tongue-and-groove edges, so they clicked together pretty easily.
I used a rubber mallet to gently tap the pieces into place. For the edges, I had to use a jigsaw to cut the parquet to fit. This was a bit tricky, but I took my time and made sure to measure twice, cut once.
Finishing Touches
After all the parquet was down, I installed some baseboards around the perimeter of the room to cover up the expansion gap. Then, I gave the whole floor a good cleaning.
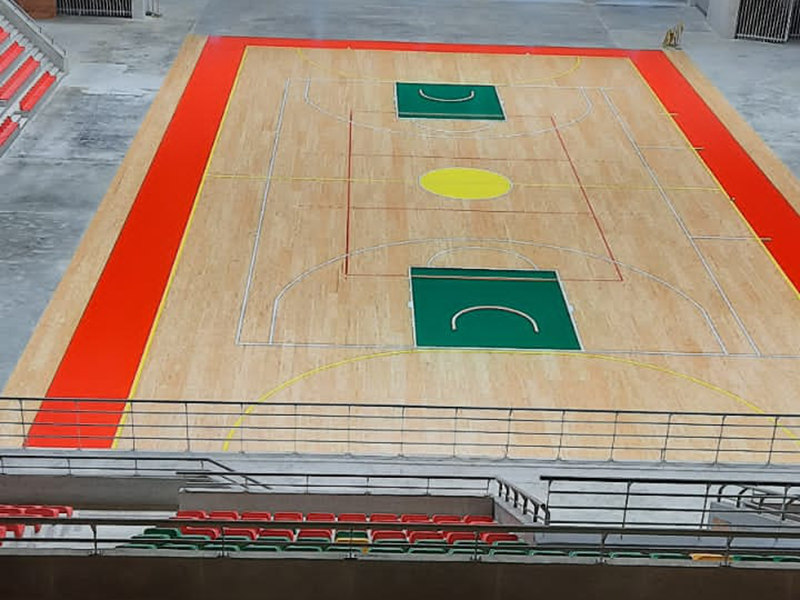
Honestly, it turned out way better than I expected! It’s got that classic basketball court look, and it feels amazing underfoot. The whole project took me a couple of weekends, but it was totally worth it. If you’re thinking about doing something similar, I say go for it! Just do your research, take your time, and don’t be afraid to ask for help if you need it.


