
Okay, let me walk you through how I put together this cushioned basketball flooring. It was quite the weekend project, but totally worth it.

Getting Started – The Unboxing and Prep
So, the whole setup arrived – the birch wooden flooring planks and these rolls of cushion material. First thing I did was clear out the room completely. Had to move furniture, sweep, and then vacuum like crazy. You really want a clean base to start with, trust me.
I unrolled the cushion stuff next. It looked like thick black foam padding. I just rolled it out across the entire floor, wall to wall. Had to trim it here and there with a basic utility knife to get it snug against the walls and fit around corners. Didn’t need anything fancy. Just made sure it lay flat with no big bumps or overlaps. Getting this base layer right felt pretty important.
Laying Down the Birch Wood
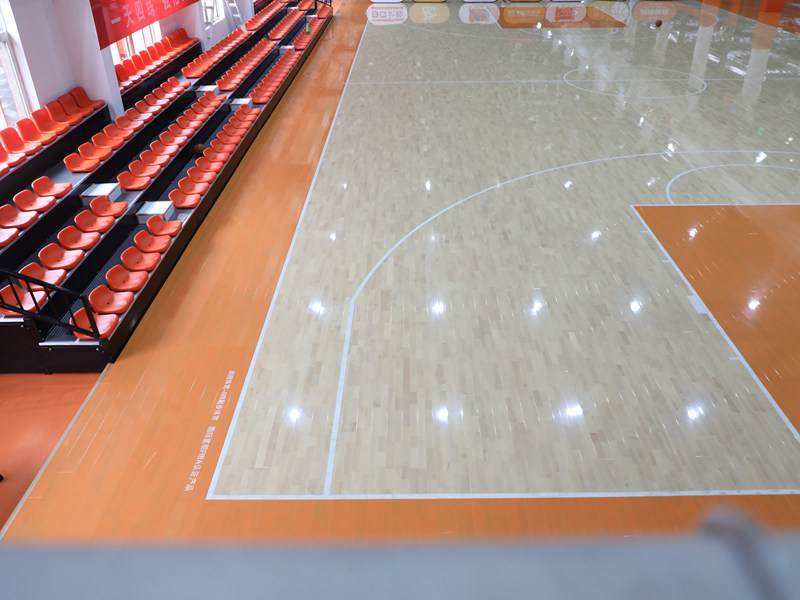
Alright, then came the main event: the wooden flooring. These were nice birch planks. They had this system where they kind of snapped together. I started along the longest wall, like the instructions usually suggest.
Putting the first row down was slow going. Had to make sure it was straight. Then, the next row just sort of angled in and clicked down. It was actually kind of satisfying hearing that click sound.
- I basically worked my way across the room, row by row.
- Some pieces needed a little persuasion – a gentle tap with a rubber mallet helped seat them firmly. Didn’t want to bang too hard, though.
- When I got to the end of a row, I usually had to cut a plank to fit. Measured it, marked it, and used a saw I borrowed. Measure twice, cut once, right? Although, I might have measured three times sometimes just to be sure.
- The piece I cut off often started the next row, which helped stagger the joints and made it look better, less like obvious lines.
Dealing with Tricky Bits and Finishing Up
Corners and doorways were a bit fiddly. Required more careful measuring and cutting. Took some patience, not gonna lie. There were a couple of moments I had to stop, step back, and think about how to cut a weird angle. But I got there.
Once all the planks were down, it already looked amazing. The birch wood has a nice, bright look. And walking on it? You could immediately feel the difference with that cushion underneath. It has a bit of give, which feels great – definitely feels like a proper basketball surface.
Last step was just cleaning up all the sawdust and small offcuts. Didn’t bother with baseboards immediately, just wanted to get the floor itself done. Stood back and admired the work. Felt pretty good, having assembled it myself. It wasn’t super complicated, just took time and careful work, piece by piece.


