
Okay, let me walk you through this project I tackled recently. It involved our oak wooden flooring, the area we sometimes use for a bit of basketball practice indoors, and adding some cushions to it. Not like sofa cushions, mind you, but proper padding.
Starting Point: The Oak Floor
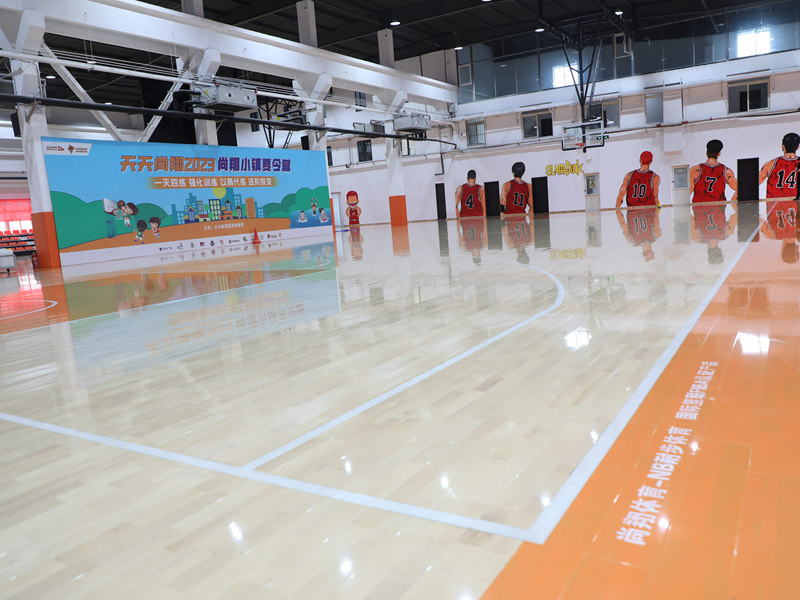
So, we have this really nice oak wooden flooring. Looks great, shiny, solid stuff. But, whenever someone started bouncing a basketball, wow, the noise! It echoed quite a bit. Plus, landing on it repeatedly, you could feel it in your joints after a bit. It’s hard stuff, that oak.
Figuring Out a Solution
I spent some time thinking about it. We needed something to absorb the impact, reduce the noise. Looked at just throwing down some mats, but I wanted something that felt a bit more permanent, or at least more fitted to the space. The idea was to add a cushioning layer somehow. I wasn’t looking for professional court specs, just something better for casual play at home.
Getting Hands-On: The Process
Here’s what I ended up doing:
- Prep Work First: Like any job, starting right is key. I cleared the whole area. Moved furniture, swept the floor really well, then gave it a good mop. Wanted that oak surface clean and free of any dirt or grit before putting anything down. Let it dry completely.
- The Cushion Material: I decided to go with interlocking rubber tiles. Found some that were pretty thick, designed for gyms or play areas. Seemed like they’d do the trick for absorbing shock and sound. Ordered enough to cover the main practice spot.
- Laying it Down: This was the main part of the job. Starting from one corner, I began laying down the tiles. They fit together like big puzzle pieces. Took a bit of planning to make sure the pattern lined up and I wouldn’t end up with weird tiny cuts at the end.
- Cutting and Fitting: Along the edges of the area, I inevitably had to cut some tiles. Measured carefully, marked them, and used a heavy-duty utility knife. This needed some patience and a steady hand to get clean cuts. Safety first, of course, used gloves.
- Securing (or not): These tiles were heavy enough and interlocked tightly, so I didn’t need any adhesive. They just lay flat and stayed put because of their own weight and the tight fit. Made it less permanent too, in case we wanted to change it later.
The Result
Once all the tiles were down, it looked pretty neat. A totally different surface now, obviously. The real test was bouncing the basketball. Big difference! The sound was way down, much duller, not that sharp echoey bang we had before. And walking or jumping on it? Felt much, much better. Softer landing, less jarring.
We’ve been using it like this for a while now. The cushion tiles are holding up well to the basketball bouncing and general foot traffic. It does the job I wanted it to do: makes playing a bit of basketball indoors more comfortable and a lot quieter. Plus, I figure it’s giving that nice oak flooring underneath some protection too, which is definitely a good thing.
So yeah, that was my little adventure in cushioning the basketball area on our oak wooden floor. A bit of work, mostly in the cutting and fitting, but pretty straightforward overall. Happy with how it turned out.


