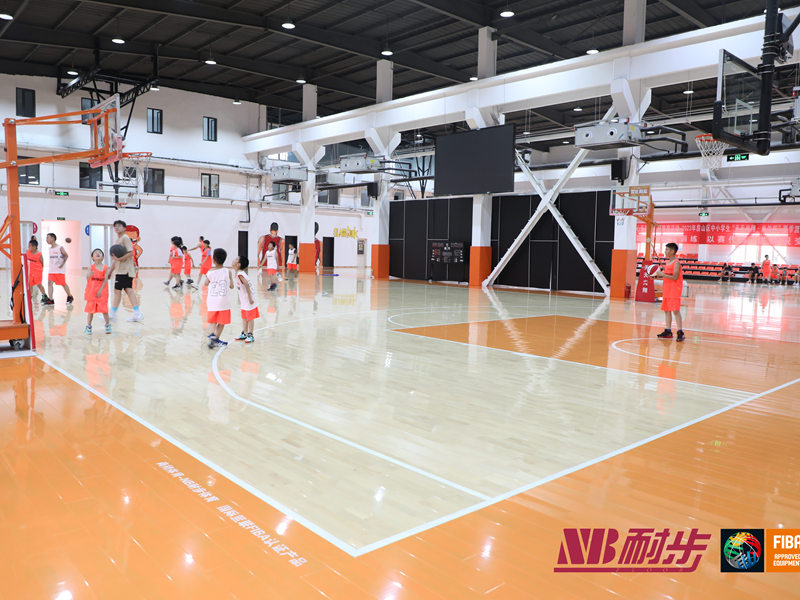
So, I finally did it. Got that cushioned basketball maple flooring I’d been eyeing for the basement project. Always wanted a space that felt a bit more… solid, you know? Especially for bouncing a ball around without shaking the whole house. The maple wood looked great online, and the whole ‘assembled wooden flooring’ bit sounded manageable enough for a weekend job. Or so I thought.

Getting Started – Unpacking the Beast
First thing, getting the boxes downstairs was a workout itself. Those things are heavy. Once I got them down, I just let them sit for a couple of days, like the instructions vaguely suggested. Something about letting the wood get used to the room? Seemed weird, but okay. Then came the unpacking. Lots of plastic wrap. The maple planks looked really nice, though. Smooth finish. You could see the cushion system attached to the bottom of some pieces – looked like little rubbery pads. Interesting stuff.
Tools I grabbed:
- A rubber mallet (borrowed one)
- Tape measure
- Pencil
- A saw (just my regular hand saw, hoped it would be enough)
- Gloves
- Knee pads (important!)
The subfloor was just concrete. I swept it clean, made sure it was pretty level. Didn’t want any weird bumps showing through later.
Putting it Together – Click, Tap, Repeat
Alright, the actual assembly. I started along the longest wall, like most guides say. Laid down the first row. These things have a tongue and groove system, supposed to just click together. Some did. Others needed a bit more… persuasion. That’s where the rubber mallet came in handy. Gentle taps, mostly. Gentle being the key word. I cracked the edge on one piece early on by being too eager. Lesson learned.
It was slow going at first. Figuring out how to angle the planks just right to get them to lock took a minute. You line up the groove, push down and forward, then tap it snug. You could feel the cushioned layer compress a bit as you worked, which was kinda neat. It wasn’t complicated, just repetitive. Row after row. Knees started complaining after the first hour, glad I remembered those pads.
Had a tricky bit around a support column in the middle of the room. Measuring and cutting those pieces took way longer than laying the full planks. My hand saw worked, but it wasn’t the cleanest cut. Had to sand the edges down a bit so they wouldn’t look too rough where they met the column trim later.
The Final Stretch and Thoughts
The last row was another pain. Had to measure the gap carefully and rip the planks down to size width-ways. More careful sawing. Finally, got the last piece tapped in. Stood back. Looked pretty darn good, if I say so myself.
Walking on it feels solid, but definitely different. You can feel that slight give from the cushion system underneath. It’s not super bouncy like a trampoline, but it’s softer than just concrete or regular hardwood. Definitely absorbs impact better – tried bouncing the basketball lightly, and it felt right. Less jarring.
Overall? It took longer than I expected. Lots of kneeling, tapping, and measuring. Cutting was the fiddliest part. But seeing it all done, that assembled maple floor looking sharp, it feels good. A solid weekend project. Happy with how it turned out, feels much more like a proper rec space now. That cushion thing really does make a difference underfoot.


