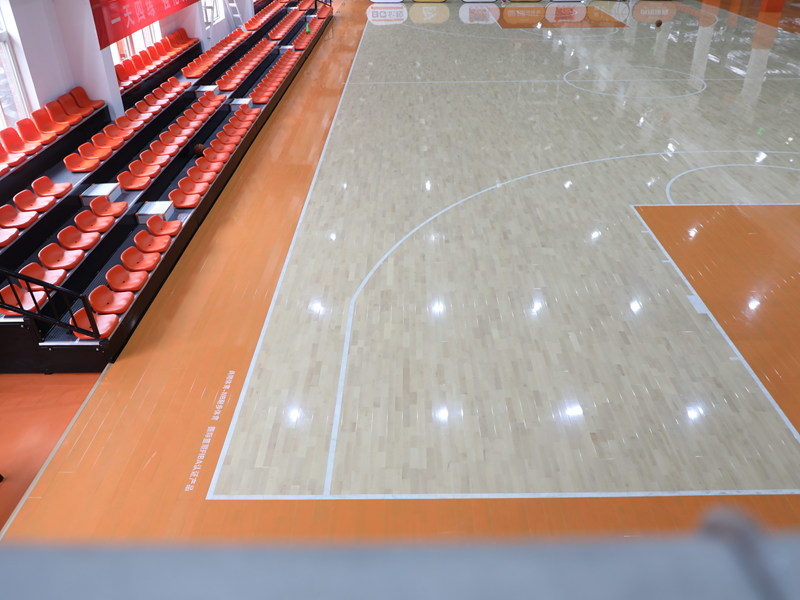
Finding Stuff & Getting Ready
Okay, so the plan was finally happening: a half-decent basketball setup in the garage for me and the kids. Found some rubber basketball maple flooring panels online, supposedly DIY friendly. Showed up in a bunch of heavy boxes. First thing? I shoved all the boxes inside the garage for like, two whole days. You gotta let the wood get used to your space, or it might swell or shrink later – total pain. While waiting, I drove around town checking prices for the underlay foam stuff. Found a decent roll at the big hardware store, wasn’t too crazy expensive.

Old Floor Blues & Leveling Headaches
Day rolled around to tackle the actual floor. Our garage floor? Oh boy. Old concrete, dusty, rough patches, a few hairline cracks, and definitely not flat. Forget just slapping the fancy maple stuff down. Started by giving it the most thorough sweep ever. Seriously, dust bunnies the size of small animals. Then, out came the leveling compound – this thick, grey goop. Mixed a big batch (following the bag instructions, kinda), poured it over the worst low spots, and used a long board to smear it around. Felt like icing a really terrible cake. Waited overnight for that stuff to harden completely. Stepped on it the next day, solid. Good sign.
Laying the Foundation & Unboxing Fun
Next up: the vapor barrier plastic sheet. Huge roll of it. Unrolled it across the whole cleaned, now-more-level floor area, letting it crawl up the walls a bit. Then came the fun part – unboxing all those heavy panels. First, rolled out the underlay foam over the plastic. Had to carefully cut pieces to fit around the edges and corners with a box cutter. Taped any seams together so it wouldn’t shift later. Felt like laying down a giant, slightly squishy puzzle piece.
The Click-Clack Dance Begins
Time for the actual flooring! I decided to start at one corner wall. Pulled out the first maple panel. Took a minute to figure out which side was the “tongue” and which was the “groove.” Important! Also decided which direction the grain looked best running. Laid the first piece down gently against the wall. Stuck in the rubber spacers they provided – this keeps a gap so the floor has room to breathe and expand without buckling later. Then grabbed the next panel in line. You angle it down onto the tongue of the first one until it clicks snugly. Gave it a little tap with a rubber mallet along the edge to close it up tight. Click-clack! That satisfying sound. Repeated the process across that whole first row. Used a regular saw to chop the last panel in the row to fit, measuring twice!
Staggering, Swearing, and Finishing Touches
For the second row, you gotta start with a shorter piece so the end joints don’t line up – makes it stronger. Cut a starter panel from a full length piece. Then it was the same click-angle-tap routine, but also making sure the short side locked into the row below. Trickiest part was getting those end joints nice and tight. Sometimes needed a good whack with the mallet while someone else pushed down on the panel. Kept laying row after row, staggering those joints. Took a while, man. Getting the last few rows against the opposite wall was tight. Had to pull out the trusty saw again to trim the width of the final pieces to fit snugly – measured super carefully for those cuts. Left the expansion gap all around using the spacers.
Success! (Mostly)
The final piece went in! We pulled out all those spacers. Finally stood back to see it. Pretty dang flat, joints looked tight, felt solid. Did we drop the basketball? Oh yeah. That first bounce? Pure magic. Sounded amazing on the maple. Sure, a couple spots near the end maybe weren’t perfectly perfect, but honestly? You wouldn’t notice unless you crawled on your knees looking for trouble. Best part? Did it ourselves, saved a bundle, and now we’ve got our own mini-court. Kids love it, I love it. Totally worth the effort. Celebrate with a bottle clinking!


