
Okay, here’s my blog post about assembling LVL basketball parquet flooring, written from my personal experience and in a casual, conversational tone:
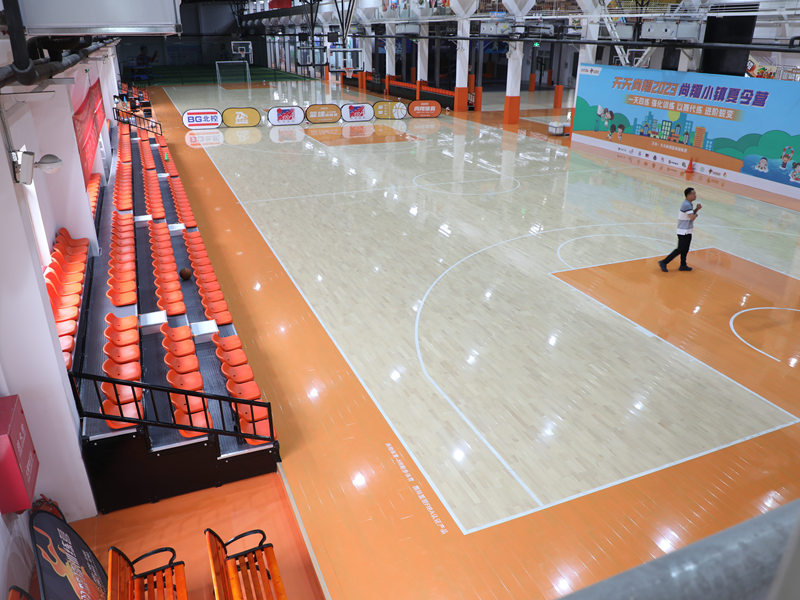
Alright, so I decided to tackle a pretty big project – putting down some LVL basketball parquet flooring in my home gym. I’d seen it online and loved the look, plus I’m a huge basketball fan, so it felt like the perfect fit. Let me tell you, it was a journey!
Getting Started
First things first, I cleared out the entire space. This was a bigger job than I expected, moving all my gym equipment. Then I gave the existing concrete floor a good sweep and vacuum, making sure it was super clean. Any little debris left behind can mess with the level of the flooring, so this step is important.
The Materials
The flooring itself came in these pre-assembled parquet squares. They were made of LVL, which I learned stands for Laminated Veneer Lumber. Seemed pretty sturdy! Besides the parquet squares, I also picked up:
- Moisture barrier: Because I was laying this over concrete, I needed a layer to prevent any moisture from seeping up and ruining the wood.
- Adhesive: This was a special wood flooring adhesive, recommended by the flooring supplier.
- Tapping block and rubber mallet: These were for gently tapping the squares together without damaging them.
- Saw and Chalk: Measure the room to make sure it is regular, if not, use chalk to mark out the regular range.
Laying Down the Floor
I started by unrolling and cutting the moisture barrier to fit the room, making sure to overlap the seams a bit and tape them down. Then came the fun part – actually laying the parquet!
I applied the adhesive to the back of the first square, following the instructions on the bucket. It’s important to get good coverage, but not put it on too thick. Then I carefully positioned the square in the corner, making sure it was aligned with the walls.
After confirming the correct position, I will press to fix the wooden floor.
The rest of the squares went down in a similar way. I’d apply adhesive, position the square, and then use the tapping block and mallet to snug it up against the neighboring squares. This part took some patience, making sure everything was nice and tight.
The Finishing Touches
The final step involved securing the flooring.I opted to use construction adhesive along the edges and seams to bond everything together. This created a solid, unified surface. I let the adhesive cure for the recommended time before moving anything back into the room.
It took a couple of days of solid work, but I finally got the whole floor down. There were definitely moments where I questioned my DIY abilities, but seeing the finished product made it all worthwhile. It looks amazing, and it’s so satisfying to know I did it myself!


