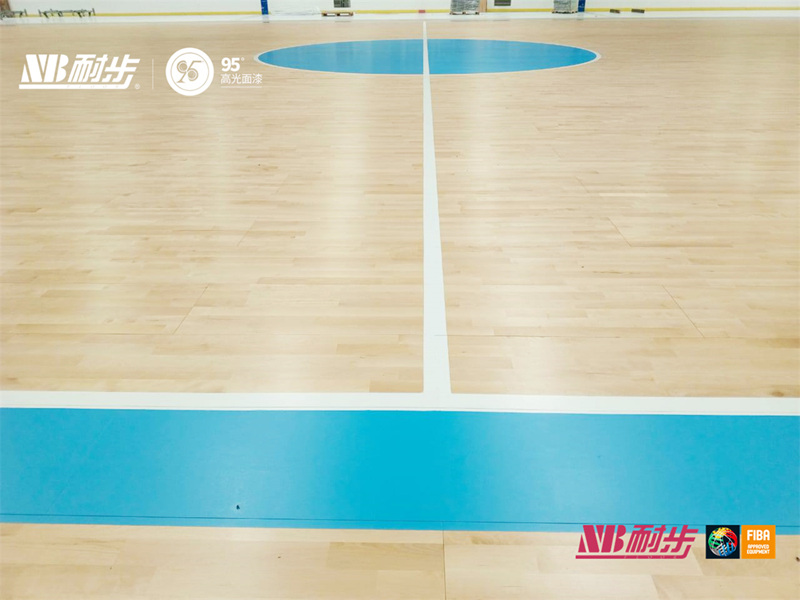
Alright, so I’ve been meaning to get this project done for ages, and I finally tackled it – laying down some batten basketball rubber tree wooden flooring. Sounds fancy, right? It’s basically just a nice, springy wooden floor, perfect for, well, basketball, but also just good for any high-impact activity.

First things first, I cleared out the entire space. This was probably the most boring part, just hauling furniture and junk out of the room. Made a mental note to have a garage sale soon, too much clutter.
Next up, I checked the subfloor. It’s super important to have a level and solid base. Mine was concrete, thankfully, so I didn’t have to do any major work there, just a good sweep and a once-over to make sure there were no major cracks or bumps.
Then came the battens. These are basically just wooden strips that create a framework and give the floor that “springy” feel. I laid them out perpendicular to the direction I wanted the final floorboards to run. Spaced them out evenly – used a measuring tape, nothing fancy – and secured them to the concrete with some heavy-duty construction adhesive and concrete screws. Had to borrow a hammer drill for that, my regular one wasn’t cutting it.
Once the battens were down and the adhesive had dried (gave it a full 24 hours, just to be safe), I started laying down the actual rubber tree wooden flooring. These were tongue-and-groove planks, so they fit together pretty snugly. I started in one corner, working my way across the room, row by row.
For each plank, I applied a bead of adhesive to the batten where it would sit, and then slotted it into the previous plank. A rubber mallet helped to tap them into place nice and tight. Gotta make sure those seams are almost invisible.
The tricky part was cutting the planks to fit around the edges of the room. I used a jigsaw for that – carefully measured each cut, and made sure to leave a small expansion gap around the perimeter. The floor needs a little room to breathe with changes in temperature and humidity.
After all the planks were down, I let the adhesive cure for another day. Then, I went around and filled that expansion gap with a flexible sealant. This keeps out moisture and debris, and also gives the floor a nice, finished look.
Finally, I gave the whole floor a good clean and…that was pretty much it! It took a couple of weekends, a bit of sweat, and a few borrowed tools, but I’m really happy with how it turned out. The floor feels great underfoot, nice and bouncy, just like I wanted. Now, to actually play some basketball!


