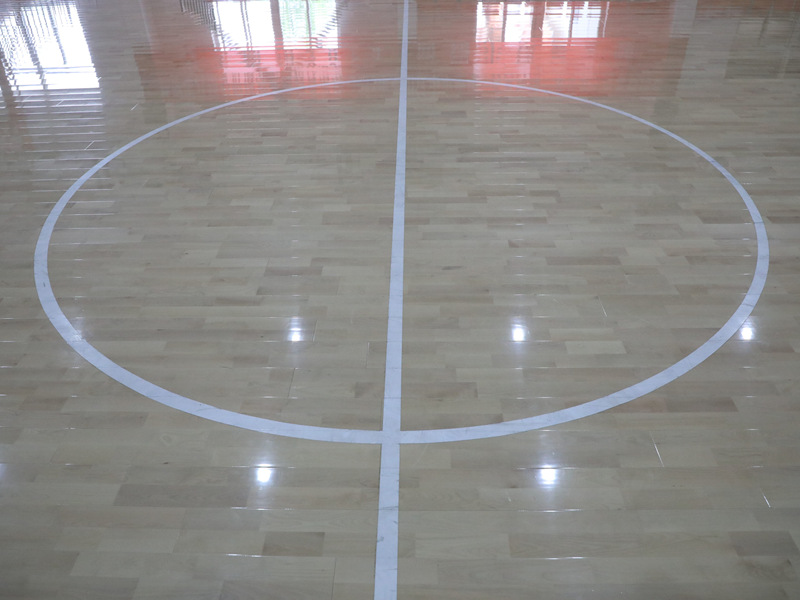
So last weekend, I finally tackled that backyard basketball court project I’d been putting off for months. Got tired of my kids complaining about playing on uneven concrete, you know? Here’s exactly how I installed those rubber-backed oak portable floor panels step by step. Took me about 8 hours total with beer breaks included.

Getting Started
First thing I did was clear the garage space where I wanted the court. Swept out all the leaves and dirt like crazy with my stiff broom. Measured the area twice – screw ups here would’ve ruined everything. Ordered 200 sq ft of those interlocking wood panels online, way cheaper than hiring pros.
Ground Prep
Key lesson learned: don’t skip this part! I poured two bags of leveling sand and spread it super thin with a rake. Then stomped around like an idiot checking for bumps. Saw one dip near the garage door, fixed it by dumping extra sand and spraying water to pack it down. Let it dry overnight – patience sucks but matters.
Laying the First Row
Started in the corner farthest from the door. Plopped down the first panel rubber-side down. These things have grooves on all edges, clever design. Hammered the second panel’s tongue into the first one’s groove real gentle with a mallet – CRACK sound means good connection. Kept going till the first row clicked together. Used my level constantly like my life depended on it.
- Pro tip: Wore kneepads! My 40-year-old joints thanked me later
- Screwed up row alignment once, had to pry three panels apart – frustrating but fixable
Building Up the Court
The second row needed offsetting like brickwork. Cut one panel in half with my jigsaw – oak splintered a bit but whatever. Interlocked new row with the first, stomping each connection with my work boots. Repeated this pattern sweating buckets. Around row four, realized I’d created a slight gap against the wall. Shoved spare rubber strips in the space – hidden perfection!
Finishing Touches
Last row required trimming panels to fit. Marked cut lines with chalk, wore goggles against flying wood chips. Installed boundary pieces using rubber adhesive – smells nasty but holds tight. Finally dumped a whole bucket of basketballs for the ultimate test. Kids went crazy dribbling immediately, zero wobbles anywhere! Totally worth the sore back.
Honestly thought this would be way harder. If my clumsy self can DIY it, trust me – anyone can. Just go slow with the leveling and first row alignment. Next project: adding LED court lights!


