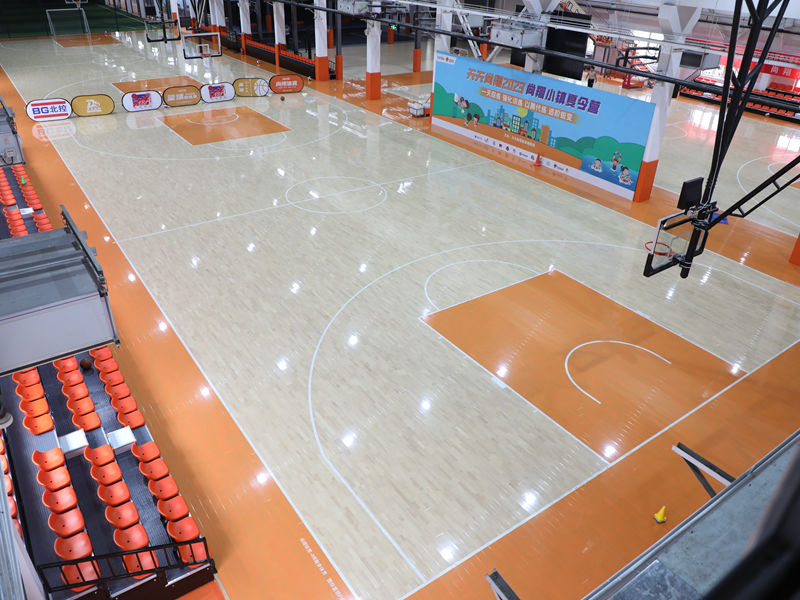
Getting started with my backyard volleyball dream
So my sister’s kids kept begging for a volleyball pad in the backyard. Found some hevea assembly wooden flooring – that rubbery wood stuff people use for gyms. Seemed like a weekend project, right? Let me tell you exactly what I did, step by messy step.

First, the ground prep disaster
Cleared out all the junk on my patio – old flower pots, that rusty grill, kid’s broken scooter. Swept like crazy but the concrete was lumpy as heck. Used a level and oh boy, big dips everywhere. Bought some self-leveling concrete goop at the hardware store.
- Mixed that powder with water until it looked like pancake batter
- Dumped it in the low spots like pouring gravy on mashed potatoes
- Waited two freakin’ days for it to dry solid
Unboxing felt like Christmas morning
Those wooden plank things came in flat boxes, smelled kinda funny like fresh tires. Found the groove-and-tongue edges. Important trick: left the boxes open in my garage for 48 hours so the wood could “get used to the weather” like the instructions said.
Time to start snapping pieces together
Started in the corner where the fence meets the house. Put the first plank groove-side towards the wall. Laid it down gentle. Next plank came at an angle – maybe 30 degrees? – then slapped it down flat against the first one. Heard this satisfying CLICK.
Used my rubber mallet to tap the planks real snug. Actually used my old flip-flop when the mallet wouldn’t fit near the fence. Did like five rows sideways, then realized I needed to stagger the joints like bricks. Oops.
My stupid mistake and quick fix
Got to the seventh row and pieces wouldn’t click anymore! Turns out I bashed too hard and the tongue got crushed. Had to take everything apart back to row three. Felt like an idiot. Bought spare planks for this exact reason – smartest move ever.
Cutting the awkward bits
When I hit the curved garden edge, busted out the circular saw. Marked the plank with chalk where the curve was. Freehand cutting gave me a wobbly edge. Eventually made a cardboard template like a kindergartner doing arts and crafts. Worked perfect though.
Final touches and the big reveal
Swept all the sawdust off with a broom. Saw some tiny gaps near the cut edges, so I rubbed wood filler paste with my finger. The kids poured water on it as a “test” before I could stop them. Water pooled at the edge instead of soaking through – good sign?
Three weekends later, we had our first game. That THUMP sound when the ball hits? Beautiful. My feet didn’t hurt after playing either. Worth every cuss word dropped during installation.


