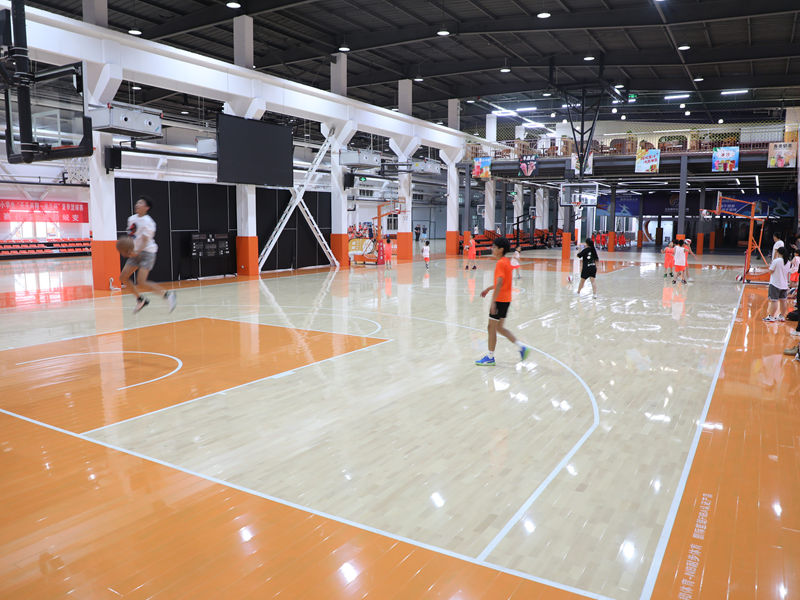
Alright folks, let’s get into today’s project – putting together that cushioned basketball maple flooring everyone’s been asking about. Honestly, looked a bit intimidating at first glance, but broken down? Totally doable. Here’s exactly how it went down for me.

The Unboxing and Pre-Game
First things first, I lugged all the boxes into my garage space where I was setting up this court. You need room to spread out. Opened ’em up carefully. Found the big panels for the actual maple floor, a ton of smaller pieces that would lock together, plus these big rolls of rubbery stuff – that’s the cushioning, super important for safety and bounce. Don’t forget the baggies full of little tools, connectors, and spacers. Kept everything organized, piled by type.
Prepping the Base – Cushion Time!
Cleared the whole floor area completely. You cannot skip this step. Vacuumed like crazy – any tiny rock hiding there will haunt you later. Laid down the big rubber cushion rolls side-by-side. These things are thick and kinda stubborn! Had to trim the edges where they met the walls using just a box cutter, measuring twice and cutting once. Pushed the pieces tight together so there were no gaps. Felt good walking on that spongy layer already!
Starting the Maple Puzzle
Time for the wood. Plan was to start in one corner and build outwards. Grabbed the first panel – it had grooves on two sides and tongues on the other two. Placed it carefully into that first corner, but crucially, left a little gap (maybe the width of my pinky finger) between the wood and the wall. Used the little plastic spacers provided to keep that gap consistent – the floor needs room to breathe and shift a tiny bit. This is non-negotiable.
Locking and Hammering Away
Next panel time. Lifted the new one at an angle, hooked its tongue edge into the groove of the first panel already down. Felt it click kinda loosely. Then, here’s where the muscle comes in: I grabbed the special tapping block (looks like a fat piece of plastic) and placed it against the free edge of the new panel. Whacked that tapping block solidly with a hammer – this forces the groove and tongue to lock tight. Whack! Whack! Heard that satisfying “thunk” as they pulled tight. That tapping block is essential – hitting the wood directly damages it! Kept going row by row. Tip: stagger the seams, like brickwork, so the ends of the panels in one row aren’t right next to the ends in the next row. Makes the whole floor way stronger.
Fighting the Middle Sections
Once I was a few rows in, things got trickier. No wall to lean against for leverage anymore. For panels in the middle of the floor? Had to get clever. Used this little tool called a pull bar. Hooked one end under the edge of the panel I was trying to connect. Then slammed the pull bar with the hammer, essentially yanking the new panel sideways towards the existing row until it clicked and locked. It was a workout, and my back definitely felt it by the end!
The Final Push & Trim
Getting towards the last rows felt awesome. Measure carefully to see how wide that final row needs to be before cutting (because it probably won’t fit perfectly as-is). Used a basic straightedge and pencil to mark, then carefully cut along the mark with a circular saw – go slow! Don’t rush this cut. Took off the spacers around the edge – that gap stayed looking neat and even. Finally, popped in this skinny little trim piece around the very edge of the whole court. It hides that gap beautifully and gives it a professional finish.
Playtesting! (The Best Part)
First thing I did? Dropped the ball. That lovely thump-thump-thump sound was perfect. Then I went for some dribbles and cuts. The difference that cushion layer makes! So much kinder on the knees than concrete, and the ball response felt true off the maple surface. Took maybe a weekend total. It wasn’t super fast, but just following the steps patiently got me there. Anybody else thinking about it – go slow, use the right tools (especially that tapping block and pull bar!), and leave those gaps. Totally worth the effort for your own piece of the court.


